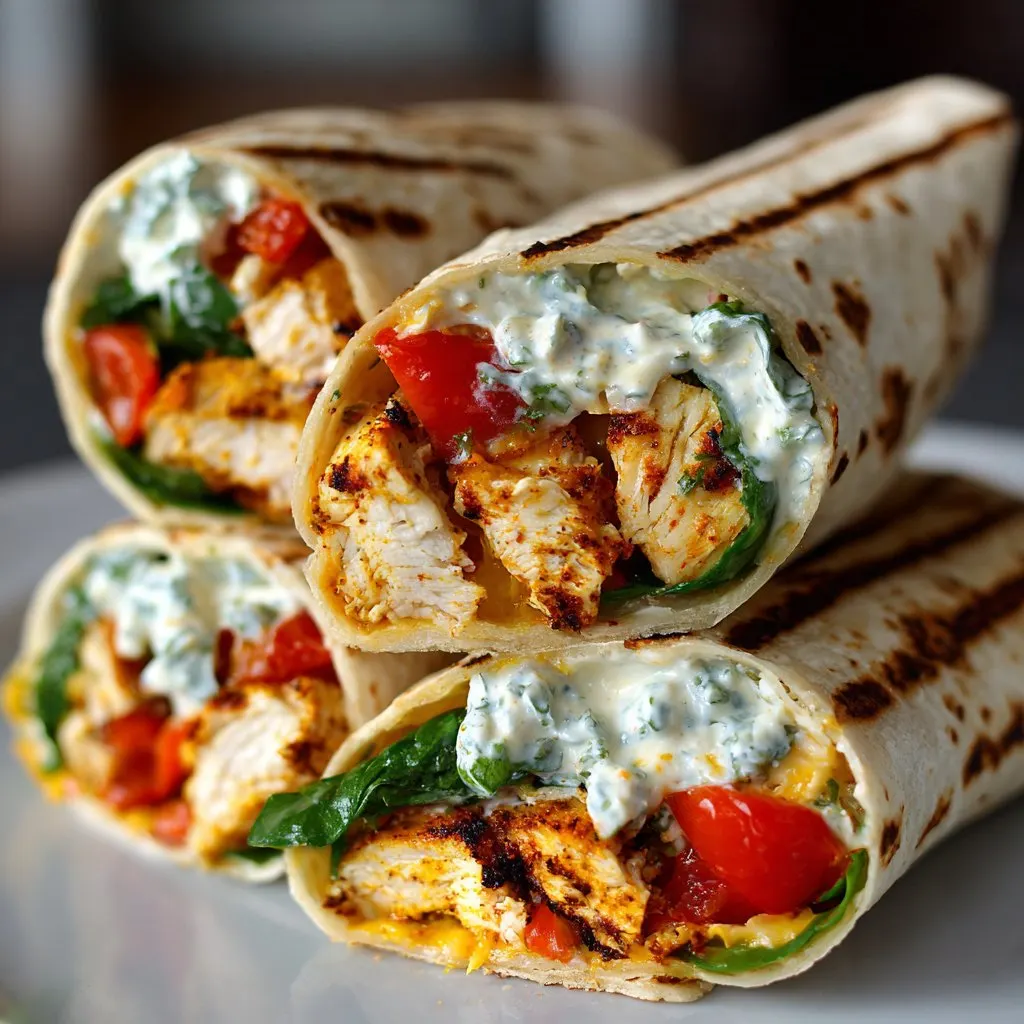
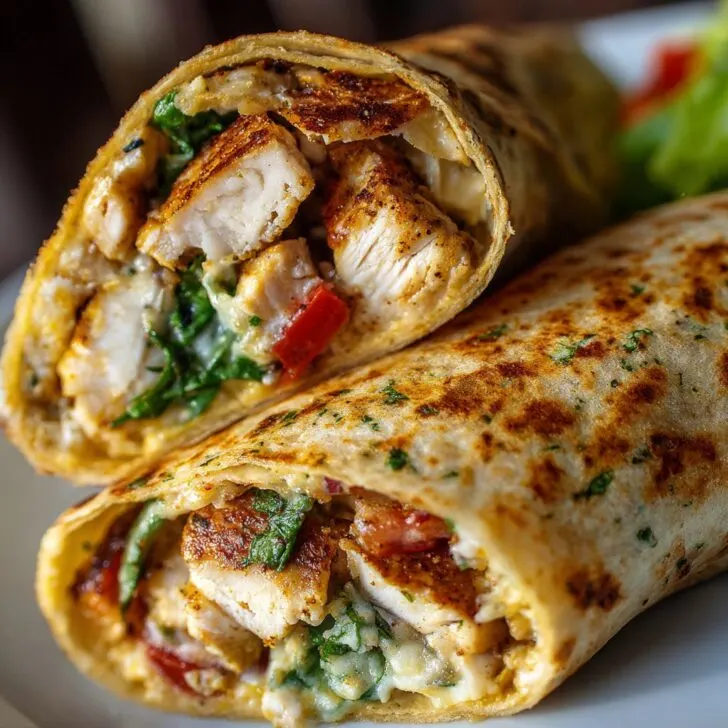
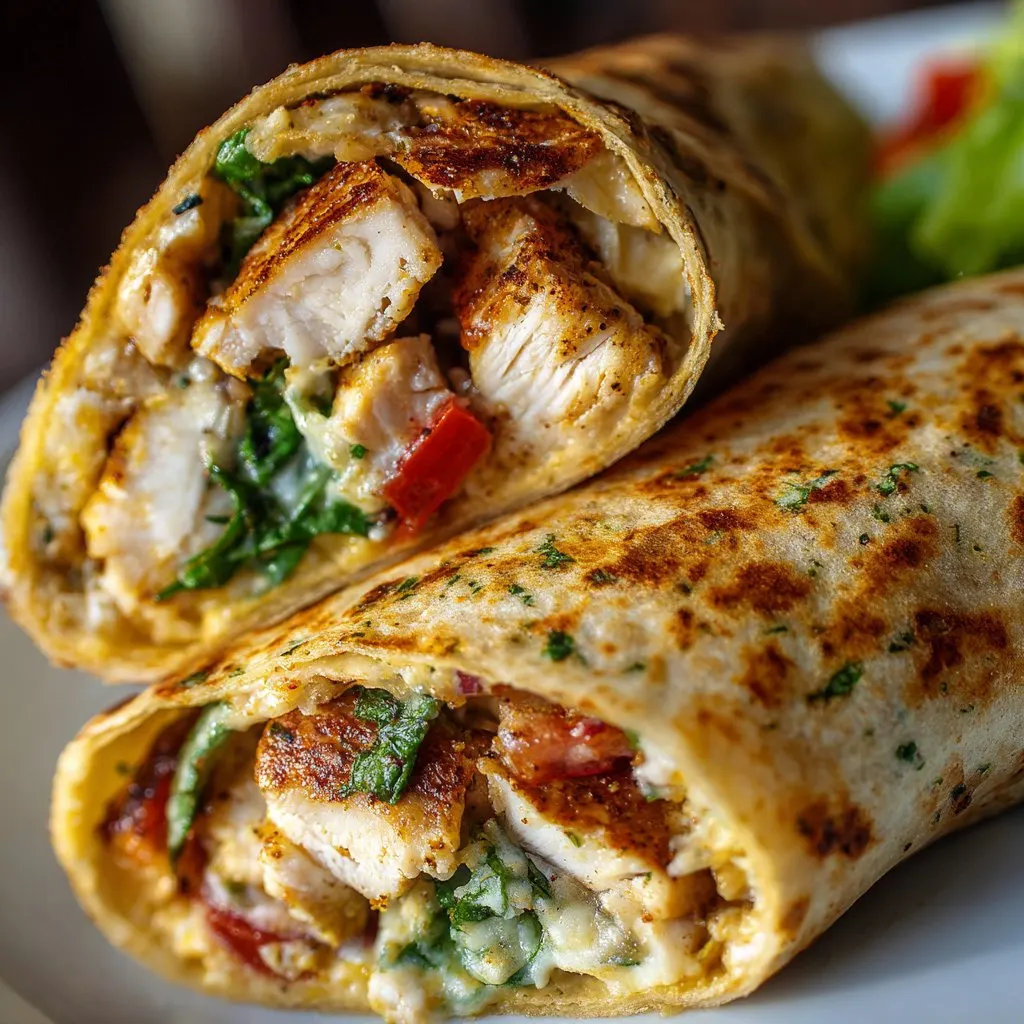
Hey y'all! If you're searching for a comforting, mouth-watering, and super easy meal you can whip up in a flash, these Cheesy Garlic Chicken Wraps Quick Lunch are just what you need. Perfect for a speedy lunch, after-school snack, or even a light dinner, they’re packed with juicy chicken, gooey cheese, and irresistible garlicky goodness—all wrapped in a warm, toasty tortilla. Let’s get cooking!
Why You'll Love This Cheesy Garlic Chicken Wraps Quick Lunch
- Ready in just 25 minutes, making it ideal for busy weekdays or a lazy weekend treat.
- Loaded with cheesy, garlicky flavor that always satisfies your cravings.
- Customizable with your favorite veggies, cheeses, or proteins.
- Kid-friendly and perfect for packed lunches or quick dinners.
- Minimal clean-up required thanks to the one-pan cooking method.
Ingredients for Cheesy Garlic Chicken Wraps Quick Lunch
- 2 medium boneless, skinless chicken breasts (about 12 oz), diced
- 1 tablespoon olive oil
- 1 teaspoon garlic powder
- 2 cloves garlic, minced
- ½ teaspoon smoked paprika
- ½ teaspoon sea salt
- ¼ teaspoon black pepper
- 1 cup shredded mozzarella cheese
- ½ cup shredded cheddar cheese
- 4 large flour tortillas (10-inch)
- 2 tablespoons unsalted butter, melted
- 2 tablespoons chopped fresh parsley (optional, for garnish)
How to Make Cheesy Garlic Chicken Wraps Quick Lunch
Step 1: Prepare the Garlic Chicken
- Heat olive oil in a large skillet over medium-high heat.
- Add diced chicken, garlic powder, minced garlic, smoked paprika, salt, and black pepper.
- Sauté for 5-7 minutes until chicken is golden brown and fully cooked (internal temp should reach 165°F).
Step 2: Assemble the Wraps
- Lay the tortillas flat and sprinkle mozzarella and cheddar evenly over each.
- Top with the hot garlic chicken, dividing it evenly.
- Roll up each tortilla tightly, folding in the sides as you go.
Step 3: Toast the Wraps
- Brush the outside of each wrap with melted butter for a golden, crispy finish.
- Return wraps to the skillet (seam-side down) over medium heat and cook for 2-3 minutes per side until golden brown and the cheese is melty.
- Slice in half, sprinkle with fresh parsley if desired, and serve hot!

Notes for Perfect Cheesy Garlic Chicken Wraps Quick Lunch
- To save time, use pre-cooked rotisserie chicken and simply sauté with garlic and spices (rotisserie chicken tips).
- For extra flavor, add a teaspoon of Italian seasoning when cooking the chicken.
- Try whole wheat or gluten-free tortillas for a healthier twist! Find more tips on healthy cooking here.
Cheesy Garlic Chicken Wraps Quick Lunch Variations
- Spicy Buffalo: Toss the cooked chicken in buffalo sauce before assembling the wraps.
- Veggie-Packed: Add sautéed bell peppers, spinach, or mushrooms for extra nutrition.
- BBQ Style: Swap garlic powder for BBQ seasoning and use smoked gouda instead of mozzarella.
Equipment Needed for Cheesy Garlic Chicken Wraps Quick Lunch
- Large skillet or nonstick pan
- Knife and cutting board
- Measuring spoons
- Basting brush (for butter)
- Spatula
Storage Instructions for Cheesy Garlic Chicken Wraps Quick Lunch
Store any leftover wraps in an airtight container in the refrigerator for up to 3 days. Reheat in a skillet over medium heat for 2-3 minutes per side or microwave for 1-2 minutes until warmed through. Freezing is not recommended, as tortillas can become soggy.
Serving Suggestions & Pairings for Cheesy Garlic Chicken Wraps Quick Lunch
- Pair with a crisp green salad or crunchy slaw.
- Serve with sweet potato fries or a bowl of tomato soup.
- Enjoy with a refreshing iced tea or lemonade for a complete meal.
Pro Tips for Best Cheesy Garlic Chicken Wraps Quick Lunch Results
- Don’t overfill the wraps to prevent them from splitting while toasting. For more wrap assembly tips, check out Taste of Home's guide.
- Let the chicken rest for a few minutes off the heat before adding to the tortillas; this keeps it juicy.
- Try a mix of cheeses like pepper jack or provolone for added flavor complexity.
FAQ – Cheesy Garlic Chicken Wraps Quick Lunch
- Can I make these wraps ahead of time?
- Yes! Assemble and store them in the fridge, then toast fresh when ready to eat for best texture.
- What’s the best cheese for melty wraps?
- Use a blend of mozzarella and cheddar for the best melt and flavor, but feel free to experiment with your favorites!
- Are Cheesy Garlic Chicken Wraps Quick Lunch kid-friendly?
- Absolutely—they’re mild, cheesy, and easy to eat, but you can always adjust seasonings to suit your kiddos’ palates.
Prep Time: 10 minutes
Cook Time: 15 minutes
Total Time: 25 minutes
Servings: 4 wraps
Ingredients
- 2 cups cooked chicken breast, shredded
- 1 cup shredded mozzarella cheese
- ½ cup shredded cheddar cheese
- 4 large flour tortillas
- 2 tablespoons unsalted butter
- 2 cloves garlic, minced
- ¼ cup mayonnaise
- 1 tablespoon chopped fresh parsley
- Salt and black pepper to taste
Instructions
-
1In a small skillet, melt the butter over medium heat. Add minced garlic and sauté for 1-2 minutes until fragrant. Remove from heat and let cool slightly.
-
2In a bowl, mix together the mayonnaise, sautéed garlic butter, and chopped parsley. Season with salt and black pepper to taste.
-
3Lay out the flour tortillas. Spread a generous spoonful of the garlic sauce onto each tortilla.
-
4Top each tortilla with shredded chicken, mozzarella cheese, and cheddar cheese.
-
5Roll up each tortilla tightly to form wraps. Place them seam-side down in a large skillet over medium heat. Cook for 2-3 minutes per side, or until the cheese is melted and the tortillas are golden brown.
-
6Slice the wraps in half and serve warm. Enjoy your cheesy garlic chicken wraps for a quick lunch!
Approximate Information for One Serving
Nutrition Disclaimers
Number of total servings shown is approximate. Actual number of servings will depend on your preferred portion sizes.
Nutritional values shown are general guidelines and reflect information for 1 serving using the ingredients listed, not including any optional ingredients. Actual macros may vary slightly depending on specific brands and types of ingredients used.
To determine the weight of one serving, prepare the recipe as instructed. Weigh the finished recipe, then divide the weight of the finished recipe (not including the weight of the container the food is in) by the desired number of servings. Result will be the weight of one serving.
Did you make this recipe?
Please consider Pinning it!!


