Introduction
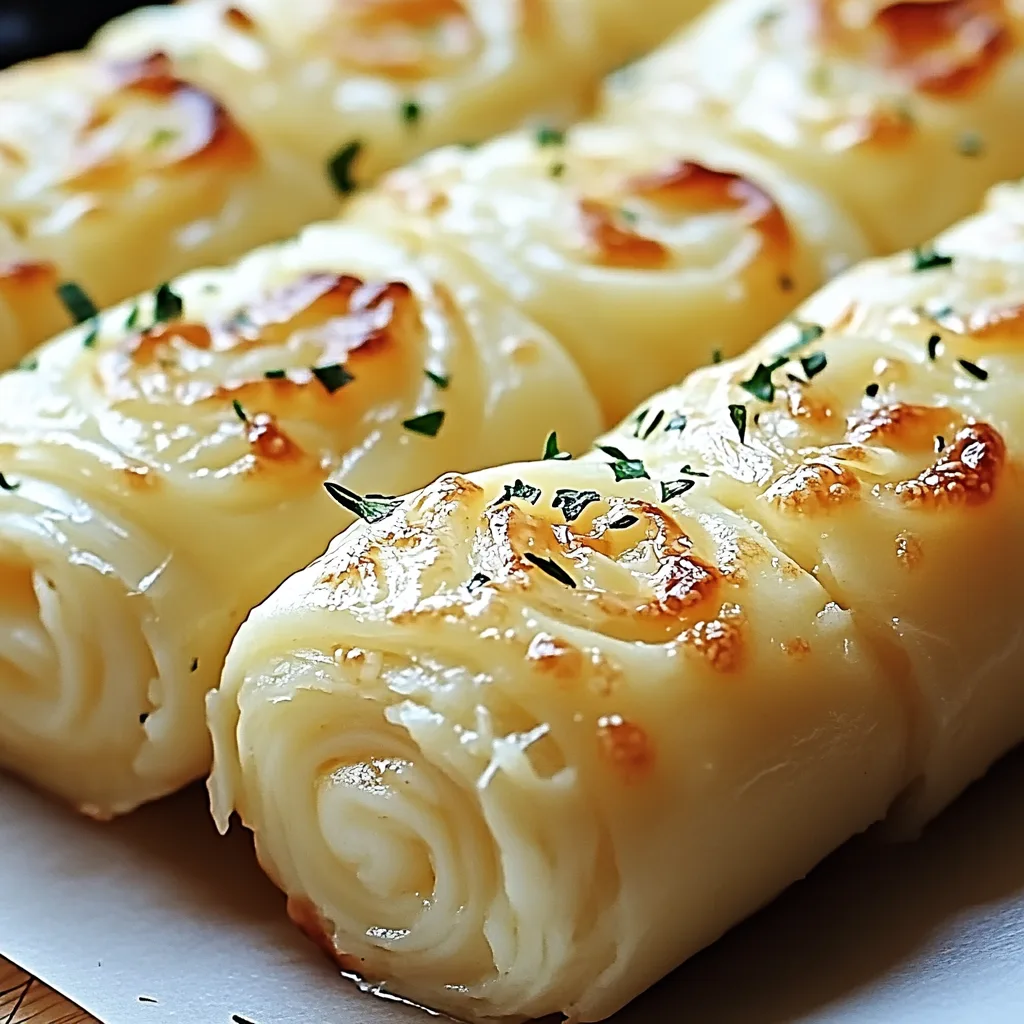
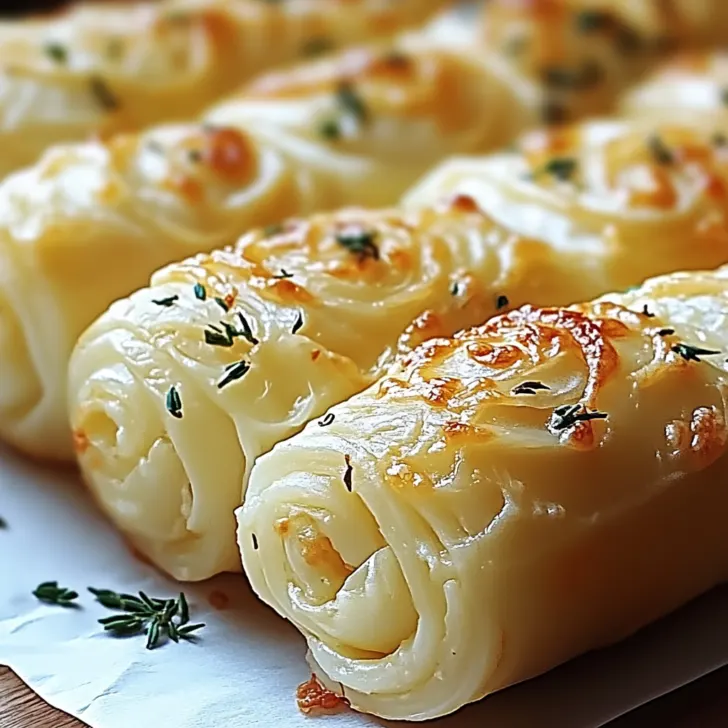
Hey there! Today I want to share with you one of my all-time favorite recipes: Cheesy Garlic Butter Rollups. These little bites of heaven are packed with flavor and are the perfect appetizer or snack for any occasion. I remember the first time I made them for a party, and they were an absolute hit! Since then, I've made them countless times for family gatherings and they always disappear within minutes. Trust me, once you try these Cheesy Garlic Butter Rollups, you'll be hooked!
Why You'll Love This Recipe
I make these Cheesy Garlic Butter Rollups when I want to impress my guests with a delicious and unique appetizer. The combination of melted cheese, savory garlic butter, and soft dough is simply irresistible. My family goes crazy for these rollups because they are bursting with flavor and incredibly addictive. Plus, they are super easy to make, so you don't have to spend hours in the kitchen to enjoy a mouthwatering treat. Trust me, your taste buds will thank you!

Ingredients
For the Cheesy Garlic Butter Rollups, you'll need the following ingredients:
- 1 package of refrigerated crescent rolls
- 1 cup shredded mozzarella cheese
- 4 tablespoons unsalted butter, melted
- 2 cloves garlic, minced
- 1 tablespoon fresh parsley, chopped
- Optional: grated Parmesan cheese for sprinkling
- Optional: marinara sauce for dipping
I sometimes use cheddar cheese instead of mozzarella when I want to add a bit more sharpness to the rollups. Feel free to experiment with different types of cheese to find your perfect combination. Also, if you're in a hurry, you can use pre-made garlic butter instead of making it from scratch. My grandmother always insisted on using a specific brand of refrigerated crescent rolls, but honestly, any version works fine.
Directions
1. Preheat your oven to 375°F (190°C) and line a baking sheet with parchment paper.
2. Unroll the crescent roll dough and separate it into triangles.
3. In a small bowl, mix together the melted butter, minced garlic, and chopped parsley.
4. Brush each triangle of dough with the garlic butter mixture.
5. Sprinkle a generous amount of shredded mozzarella cheese onto each triangle.
6. Starting from the wider end, roll up each triangle and place them on the prepared baking sheet.
7. Optional: sprinkle some grated Parmesan cheese on top of the rollups for an extra cheesy kick.
8. Bake the Cheesy Garlic Butter Rollups in the preheated oven for 12-15 minutes, or until they are golden brown and the cheese is melted and bubbly.
9. Remove from the oven and let them cool for a couple of minutes before serving.
10. Optional: serve with marinara sauce for dipping.
These Cheesy Garlic Butter Rollups are best enjoyed fresh out of the oven when the cheese is still gooey and the dough is perfectly flaky. This is usually where I can't resist sneaking a taste before they even make it to the serving plate. Don't worry if the rollups look a bit weird at this stage - they always do! Once they are baked to golden perfection, they will be absolutely irresistible.
Notes
I've discovered through trial and error that it's important to brush each triangle of dough with the garlic butter mixture evenly. This ensures that every bite is packed with flavor. Also, if you want to add a little extra kick to your rollups, you can sprinkle some red pepper flakes on top before baking.
Variations
I love experimenting with different flavors and ingredients, and the Cheesy Garlic Butter Rollups are no exception. Here are a couple of variations I've tried:
1. Cheesy Pepperoni Rollups: Add a slice of pepperoni on top of the cheese before rolling up the dough. This adds a delicious savory twist to the rollups.
2. Spinach and Feta Rollups: Instead of using mozzarella cheese, substitute it with crumbled feta cheese and chopped spinach. These rollups are a great option for vegetarians.
Now, I have to admit, not all of my experiments turn out as planned. One time, I tried adding diced jalapeños to the rollups, thinking it would give them a spicy kick. However, it ended up being a bit too overpowering and took away from the overall flavor. But hey, that's what experimenting in the kitchen is all about!
Storage
Although it's rare for these Cheesy Garlic Butter Rollups to last long in my house, you can store any leftovers in an airtight container in the refrigerator. They will stay fresh for up to 2 days. Simply reheat them in the oven or microwave before serving. Though honestly, in my house, they never last more than a day!
Serving Suggestions
I love serving these Cheesy Garlic Butter Rollups as a party appetizer, but they are also great for snacking on while watching a movie or for a quick lunch. You can serve them on their own or with a side of marinara sauce for dipping. Personally, I think they taste best when they are still warm and the cheese is ooey-gooey.
Pro Tips
Through my culinary adventures, I've learned a few valuable lessons when it comes to making the perfect Cheesy Garlic Butter Rollups:
1. Don't rush the rolling process. Take your time to ensure the rollups are tightly rolled, so the filling doesn't spill out during baking.
2. If you want a crispier texture, you can brush the tops of the rollups with a little extra melted butter before baking.
3. Experiment with different herbs and spices to customize the flavor of your rollups. For example, you can add some dried oregano or basil to the garlic butter mixture for a Mediterranean twist.
4. Feel free to get creative with the cheese! Try using a combination of different cheeses like cheddar, provolone, or even blue cheese for a more intense flavor.
FAQ
Q: Can I make these rollups ahead of time?
A: Absolutely! You can prepare the rollups up to a day in advance and store them in the refrigerator until you are ready to bake them. Just make sure to cover them tightly with plastic wrap to prevent them from drying out.
Q: Can I freeze the rollups?
A: Yes, you can freeze the unbaked rollups for future use. Simply arrange them on a baking sheet and place them in the freezer until they are firm. Once frozen, transfer them to a freezer-safe container or bag. When you're ready to enjoy them, bake them directly from frozen, adding a few extra minutes to the baking time.
Q: Can I use puff pastry instead of crescent roll dough?
A: Absolutely! Puff pastry works great for these rollups and will give them a flakier texture. Just make sure to follow the same steps and adjust the baking time accordingly.
I hope you give these Cheesy Garlic Butter Rollups a try and enjoy them as much as I do. They are the perfect combination of gooey cheese, fragrant garlic butter, and buttery dough. Whether you serve them as an appetizer or enjoy them as a snack, they are always a crowd-pleaser. So go ahead, get creative with the fillings, and make these tasty rollups your own. Happy cooking!

Cheesy Garlic Butter Rollups
Cheesy Garlic Butter Rollups are delicious appetizers packed with flavor, featuring melted cheese, savory garlic butter, and soft dough. These rollups are easy to make and a crowd-pleaser for any occasion.
Ingredients
- 1 package of refrigerated crescent rolls
- 1 cup shredded mozzarella cheese
- 4 tablespoons unsalted butter, melted
- 2 cloves garlic, minced
- 1 tablespoon fresh parsley, chopped
- Optional: grated Parmesan cheese for sprinkling
- Optional: marinara sauce for dipping
Directions
-
Preheat your oven to 375°F (190°C) and line a baking sheet with parchment paper.
-
Unroll the crescent roll dough and separate it into triangles.
-
Mix together the melted butter, minced garlic, and chopped parsley in a small bowl.
-
Brush each triangle of dough with the garlic butter mixture.
-
Sprinkle shredded mozzarella cheese onto each triangle.
-
Roll up each triangle from the wider end and place them on the baking sheet.
-
Optional: sprinkle grated Parmesan cheese on top.
-
Bake in the preheated oven for 12-15 minutes until golden brown and cheese is melted.
-
Let cool for a few minutes before serving.
-
Optional: serve with marinara sauce for dipping.

