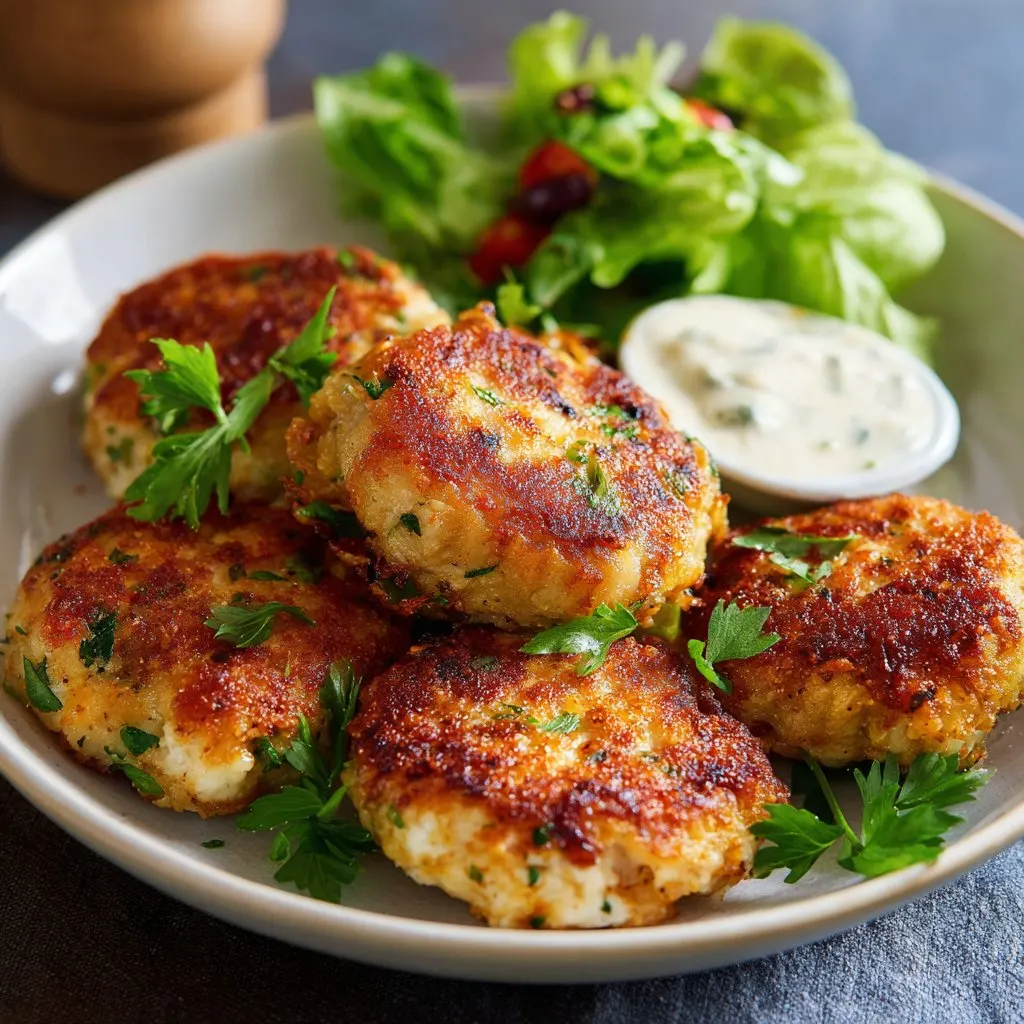
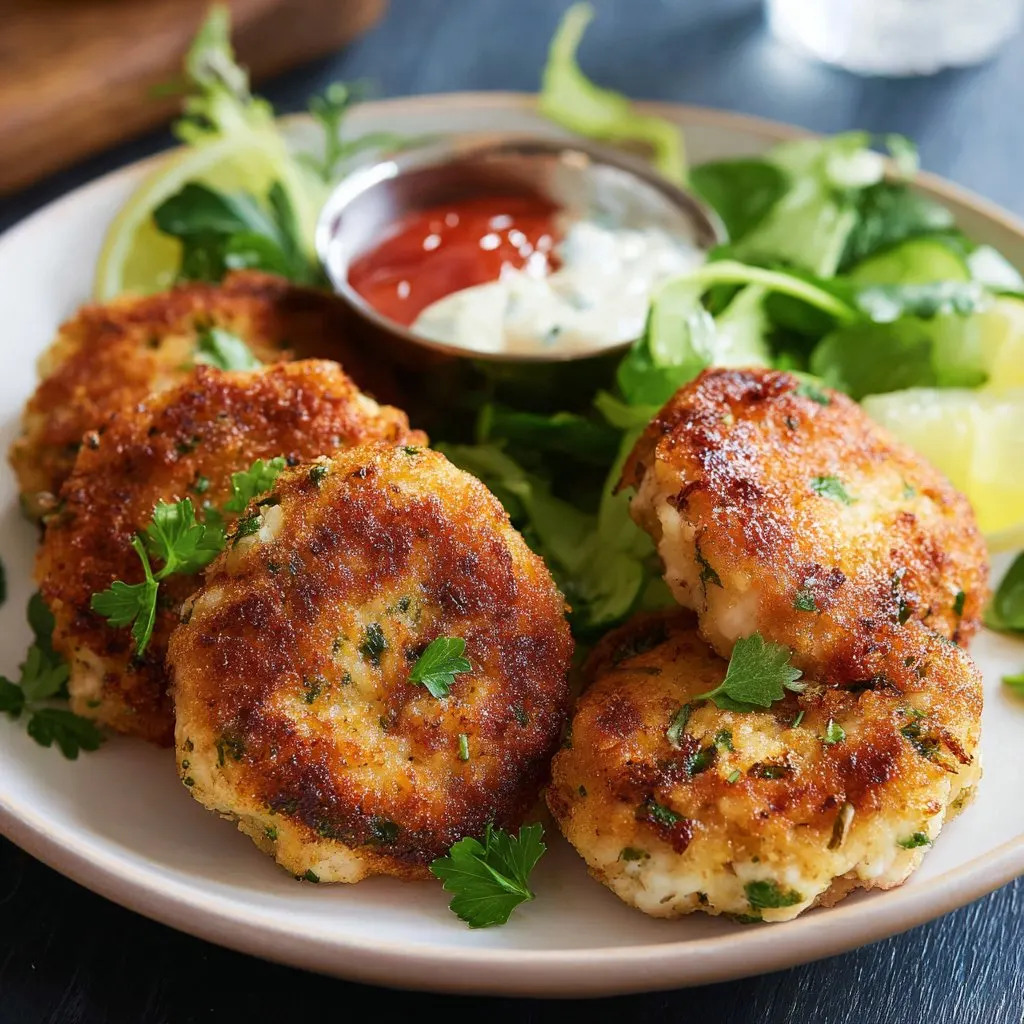
Hey y'all! Craving a meal that's delicious, juicy, and a total crowd-pleaser? This Air Fryer Chicken Rissoles Recipe is your ticket to golden, crispy rissoles that are healthy and oh-so-satisfying. Whether it's a quick weeknight dinner, laid-back lunch, or appetizer for your next gathering, these rissoles deliver big flavor with minimal fuss. Let's get cooking!
Why You'll Love This Air Fryer Chicken Rissoles Recipe
- Quick & Easy: Ready in under 30 minutes with simple prep and cleanup.
- Healthier Choice: Less oil than pan-frying, but just as crispy and delicious.
- Family Friendly: Mild flavors and juicy texture that little ones (and picky eaters) love.
- Freezer-Friendly: Perfect to make ahead and reheat for busy lunches or dinners.
- Customizable: Easily swap spices, veggies, or protein to suit your cravings.
Air Fryer Chicken Rissoles Recipe Ingredients
- 1 lb (450g) ground chicken
- ½ cup panko breadcrumbs
- ¼ cup grated Parmesan cheese
- 1 medium carrot, grated
- 1 small onion, finely diced
- 2 garlic cloves, minced
- 2 tablespoons fresh parsley, chopped
- 1 large egg
- 1 tablespoon Worcestershire sauce
- 1 teaspoon dried Italian herbs
- ½ teaspoon smoked paprika
- ¾ teaspoon salt
- ½ teaspoon black pepper
- Olive oil spray
How to Make Air Fryer Chicken Rissoles – Step-by-Step Directions
Step 1: Prep the Chicken Mixture
- In a large bowl, combine ground chicken, panko breadcrumbs, grated Parmesan, grated carrot, diced onion, minced garlic, parsley, egg, Worcestershire sauce, dried herbs, smoked paprika, salt, and pepper.
- Mix thoroughly with clean hands or a spatula until just combined. Don’t overmix, or the rissoles may turn tough.
Step 2: Shape the Rissoles
- With damp hands, scoop about 2 heaping tablespoons of the mixture and form into round, slightly flattened patties (about 2 inches wide).
- Place shaped rissoles on a tray or plate.
Step 3: Preheat the Air Fryer
- Preheat your air fryer to 375°F (190°C) for 3 minutes. This ensures even browning.
Step 4: Cook in the Air Fryer
- Lightly spray the air fryer basket with olive oil.
- Arrange rissoles in a single layer, leaving space between them (cook in batches if needed).
- Spray tops with a little more oil. Air fry for 10 minutes, flip, spray again, and cook for another 6-8 minutes, or until golden and an instant-read thermometer shows 165°F (74°C) in the center.
Step 5: Serve & Enjoy
- Let rissoles rest for 2 minutes before serving to lock in the juices.
Prep time: 10 minutes
Total time: 25 minutes
Servings: 4-5
Notes & Helpful Tips
- If ground chicken is very lean, add 2 teaspoons of olive oil for extra juiciness.
- For extra crunch, dredge patties in additional panko before air frying (learn more about air frying techniques).
- Want a spicy kick? Add ½ teaspoon of chili flakes to the mixture.

Variations on Air Fryer Rissoles
- Cheesy Rissoles: Add ½ cup shredded mozzarella or your favorite cheese.
- Greek Style: Mix in ¼ cup crumbled feta, ½ teaspoon dried oregano, and a handful of diced spinach.
- Asian-Inspired: Swap parsley for cilantro, add 2 teaspoons soy sauce, and a dash of ginger.
Required Equipment for Air Fryer Chicken Rissoles Recipe
- Air fryer (any basket-style or oven-type will work)
- Large mixing bowl
- Measuring cups and spoons
- Spatula or fork
- Tray or plate for shaping rissoles
- Cooking spray bottle
How to Store Air Fryer Chicken Rissoles
- Refrigerate leftover rissoles in an airtight container for up to 4 days.
- Freeze cooked and cooled rissoles for up to 2 months; thaw overnight in the fridge.
- Reheat in the air fryer at 350°F (175°C) for 4-5 minutes, until heated through and crisp again.
Serving Suggestions & Pairings
- Serve with a crisp green salad, fluffy mashed potatoes, or stuffed in a sandwich roll with slaw.
- Pair with sweet chili sauce, tzatziki, or your favorite dipping sauce (see chicken sauce ideas).
- Great with roasted veggies or alongside steamed rice for a complete meal.
Pro Tips for Perfect Air Fryer Chicken Rissoles Recipe
- Don’t overcrowd the air fryer – cook in batches if necessary for even browning.
- Use a digital meat thermometer to guarantee juicy, safely cooked rissoles; aim for 165°F (74°C) inside (see USDA guidelines).
- If freezing unbaked, separate with parchment to prevent sticking.
FAQ for Air Fryer Chicken Rissoles Recipe
- Can I use turkey or beef instead of chicken?
Yes, ground turkey or lean beef works great—just check for doneness and adjust cook time slightly if needed. - How do I keep the rissoles extra juicy?
Don’t overcook, and feel free to add a splash of olive oil or a few tablespoons of grated zucchini (squeezed dry) to the mixture. - Can I make these gluten-free?
Absolutely! Swap panko for gluten-free breadcrumbs for a tasty GF version.
Ingredients
- 500g ground chicken
- 1 small onion, finely grated
- 1 large carrot, grated
- 2 cloves garlic, minced
- ⅓ cup breadcrumbs
- 1 large egg
- 2 tablespoons fresh parsley, chopped
- 1 teaspoon dried mixed herbs
- ½ teaspoon salt
- ¼ teaspoon black pepper
- Olive oil spray
Instructions
-
1In a large mixing bowl, combine the ground chicken, grated onion, grated carrot, minced garlic, breadcrumbs, egg, chopped parsley, mixed herbs, salt, and black pepper.
-
2Mix the ingredients thoroughly until well combined.
-
3With wet hands, shape the mixture into 8 even patties.
-
4Preheat the air fryer to 180°C (356°F) for 3 minutes.
-
5Lightly spray the air fryer basket with olive oil, place the rissoles in a single layer, and spray them lightly with more olive oil.
-
6Cook for 7-8 minutes, flip the rissoles, and cook for another 7 minutes or until golden brown and cooked through. Serve hot.
Approximate Information for One Serving
Nutrition Disclaimers
Number of total servings shown is approximate. Actual number of servings will depend on your preferred portion sizes.
Nutritional values shown are general guidelines and reflect information for 1 serving using the ingredients listed, not including any optional ingredients. Actual macros may vary slightly depending on specific brands and types of ingredients used.
To determine the weight of one serving, prepare the recipe as instructed. Weigh the finished recipe, then divide the weight of the finished recipe (not including the weight of the container the food is in) by the desired number of servings. Result will be the weight of one serving.
Did you make this recipe?
Please consider Pinning it!!


