Let Me Tell Ya—The Story Behind My Favorite Sugar Cookies
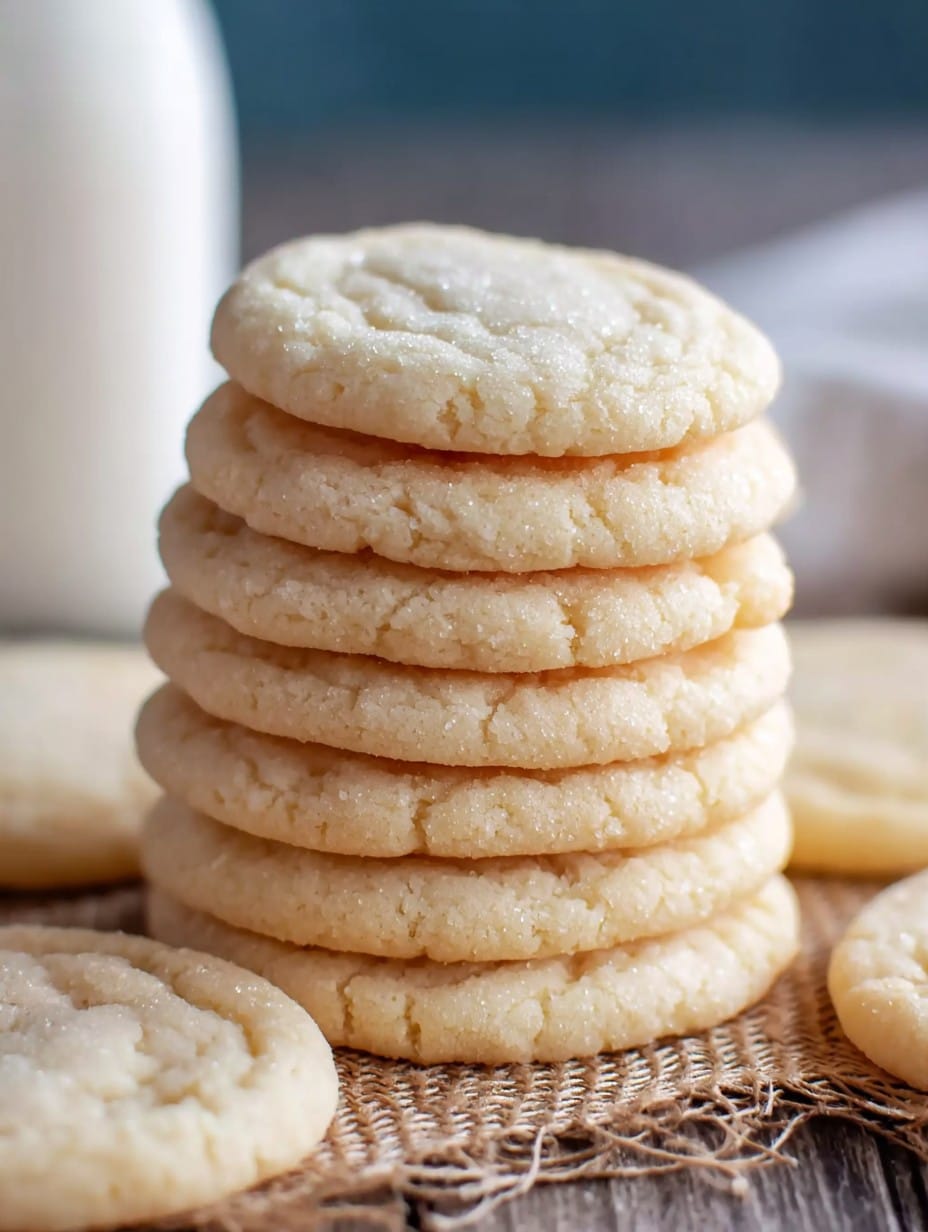
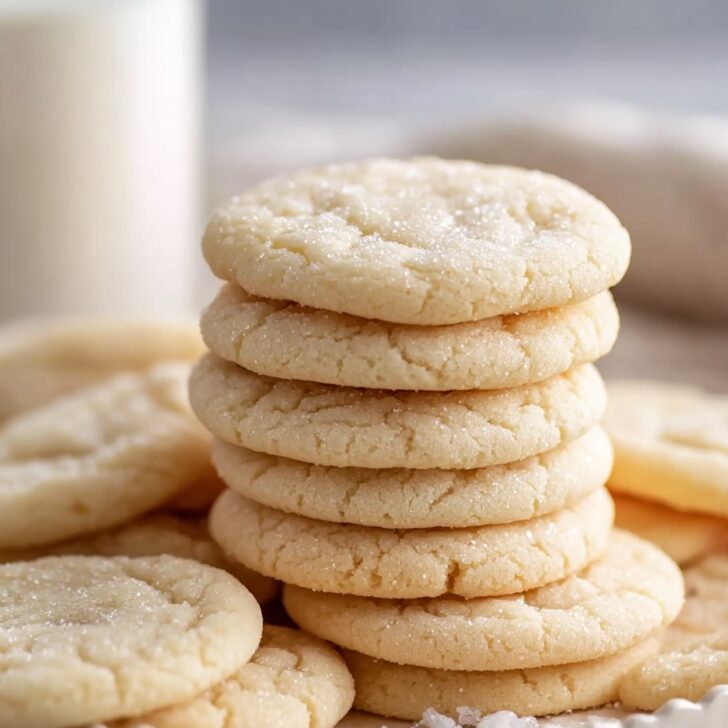
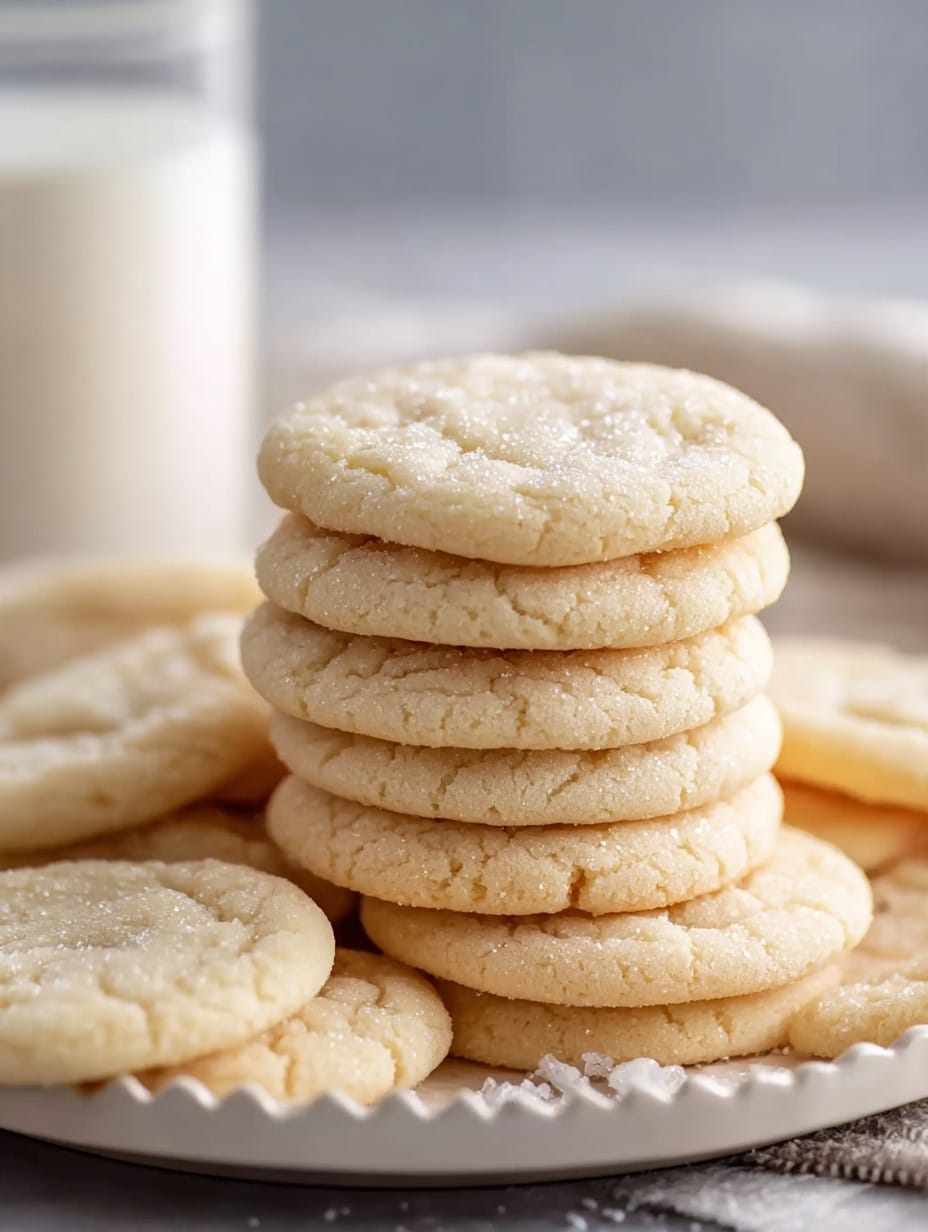
Okay, so here’s the thing: I didn’t even like sugar cookies that much growing up. (Seriously, give me chocolate—any day!) But then one rainy Saturday afternoon, when my sister and I were about halfway through a mystery novel and craving something cozy, she convinced me to try her old recipe—with a few tweaks of course. I was shocked—these were so soft and chewy, sorta like biting into a sweet, buttery cloud. Now, any time there’s a family gathering, or I wanna win someone’s affection (hey, it works), this Soft and Chewy Sugar Cookies Recipe is my go-to. There’s a gentle nostalgia in every bite. Even the dog perks up when he hears me banging pans around; he’s no fool.
Why This Is the Cookie I Reach For (and My Family Devours)
Let’s be honest: I make these whenever I need to bribe someone—just kidding (mostly). My family goes crazy for these because they stay soft for days (if they last that long, which is once in a blue moon), and you don’t get those jawbreaking edges some sugar cookies end up with. Plus, you don’t need to mess about with rolling pins or fancy cutters. Just scoop and bake. Once I tried skipping the chill step because I was impatient—disaster! Ended up with one giant cookie blob (tasty, though). Anyway, if you’re pressed for time, a little chill still helps.
Gathering Your Cookie Arsenal (Err, Ingredients)
- 2 and 3/4 cups (340g) all-purpose flour – Sometimes, if I’m feeling adventurous, I’ll sneak in a handful of whole wheat. Not traditional but it works in a pinch.
- 1/2 teaspoon baking powder – Grandma would’ve insisted on Clabber Girl, but I just grab whatever’s handy.
- 1 teaspoon baking soda
- 1/2 teaspoon salt (Kosher, table salt… honestly, whatever’s in the cupboard)
- 1 cup (225g) unsalted butter, room temp – I’ve used salted before and just skipped the extra salt. Works fine!
- 1 and 1/2 cups (300g) granulated sugar – Have totally subbed in half brown sugar for a hint of caramel once or twice. Just makes ’em softer.
- 1 large egg
- 2 teaspoons vanilla extract – Nielsen Massey if I’m feeling posh, the store brand if not. Don’t sweat it.
- 1/4 cup (60ml) milk – Whole, 2%, almond; whichever’s lurking in the fridge.
- Extra sugar for rolling, preferably coarse—but I’ve used regular in a pinch.
Let’s Get Mixing—Your Cookie Adventure Awaits
- Prep stuff: Oven time—preheat to 350°F (180°C). Line your baking trays with parchment, or just grease ’em if that’s your style. I can never seem to find parchment at the right time.
- Dry ingredients: In a bowl, whisk together the flour, baking powder, baking soda, and salt. I just use a fork if my whisk is MIA—works just the same.
- Cream away: Beat the butter and sugar together till fluffy and lighter in color, about 2 minutes. Stand mixer, hand mixer, strong biceps—all are equally valid (the last one is a workout though).
- Egg and vanilla go in: Add the egg and vanilla; keep beating till it’s smooth. Here’s where I usually sneak a taste and try not to think about the raw egg.
- Milk and flour—together at last: Stir in the milk, then, in 2 or 3 doses, gently mix in your dry ingredients. Don’t go wild; overmixing makes things tough. It’s not supposed to look perfect right now—honestly, a bit sticky is good.
- Chill out (I mean, the dough): Cover and pop it in the fridge for 30 minutes. Or, if I’m in a rush, just a quick 15 in the freezer does the trick. Taking a tea break now is highly recommended.
- Scoop and roll: Grab tablespoon-sized bits (I use a cookie scoop if I haven’t misplaced it), roll into balls, and coat in sugar. Place on the tray—leave a little space unless you fancy conjoined twin cookies.
- Bake time: Pop them in for 9 to 11 minutes, till the edges are just set and slightly golden. Don’t overdo it—they keep cooking as they cool. If they’re too pale in the middle, that’s alright. Trust me, they firm up.
- Cooling (sort of): Let them sit on the tray for 5 minutes before moving to a wire rack. Actually, sometimes I just eat ’em warm right off the tray. Who can truly wait?
Notes and Casual Lessons (The Things Nobody Tells You)
- Your butter really does need to be soft—too cold, and your arm’ll fall off mixing.
- If your dough’s too sticky to handle, add a spoonful of flour. Go easy, though; they’re supposed to be soft.
- Baking two trays at once? Rotate halfway; otherwise, you get an awkward underdone-overdone situation (been there!).
- I tried baking these with coconut oil once. It… wasn’t the same. Tasted like sunscreen, somehow.
Taught by Trial: Cookie Variations
- Swap in lemon or almond extract for the vanilla if you want something a bit jazzier. I like lemon in the spring!
- Tried rolling half in cinnamon sugar once, sorta like a snickerdoodle. My niece thought I was a genius (for once!).
- I once attempted using honey instead of sugar; the dough just crawled all over the pan and tasted odd—so, yeah, wouldn’t do that again.
Tools I Use (and How to Improvise If You Don’t Have ‘Em)
- Stand mixer or hand mixer – The hand mixer’s slower but just as good. Or a good ol’ wooden spoon if you want to feel like a pioneer.
- Cookie scoop – Optional, honestly. A regular spoon and your hands will do.
- Parchment paper – I run out all the time; buttering the tray works fine, but clean-up’s less fun.

How to Stash (a.k.a. Store) These Cookies
I keep mine in a lidded tin on the counter—good for 4ish days, probably, but honestly, in my house it never lasts more than a day! If you want them to stay extra soft, toss in a slice of bread—an old bakery trick. Freezing them’s totally fine too; just pop a few in a zip bag, then defrost for an anytime treat.
How We Serve ‘Em (And a Little Family Tradition)
So, my uncle always plops a scoop of vanilla ice cream between two of these for instant ice cream sandwiches, especially in sweltering summers. For me, I like ’em plain with a mug of Yorkshire tea—best for dunking. Sometimes, we put sprinkles on top if there’s a celebration (or a boring Tuesday that needs jazzing up).
Pro Tips—Learned the Ridiculous Way
- I once tried baking these on ‘convection’ setting to save time. Bad move—lost half of ’em to brown bottoms. Use regular bake.
- And don’t skip the chill: warm dough turns into sad puddles (learned from every time I was too hungry to wait).
- Letting them cool completely actually makes them taste better the next day. If you have the restraint, that is.
FAQ—Your Sugar Cookie Questions, Answered
- Can I freeze the dough? Yes, absolutely! Roll into balls, freeze on a tray, then bag ’em up. Bake straight form frozen—just add a minute or two. (Lazy-day win!)
- What if I don’t have vanilla? Honestly, you can skip it, or try almond or even maple extract if you’re adventurous. The cookies’ll still be sweet and buttery.
- Help! My cookies are too flat? Usually, the butter was too soft. Just chill your dough properly next time; it makes all the difference, promise.
- Can I make these vegan? Haven’t tried it, but my neighbour uses vegan butter and flax egg—she says it works (I kinda believe her).
If you want to nerd out more about baking, Sally’s Baking Addiction has tons of great troubleshooting tips, and for cookie science, check out Serious Eats’ breakdown. Trust me, it’s a rabbit hole worth falling into if you like food geekery.
Ingredients
- 2 3/4 cups all-purpose flour
- 1 teaspoon baking soda
- 1/2 teaspoon baking powder
- 1/2 teaspoon salt
- 1 cup unsalted butter, softened
- 1 1/2 cups granulated sugar (plus extra for rolling)
- 1 large egg
- 2 teaspoons vanilla extract
Instructions
-
1Preheat the oven to 350°F (175°C) and line baking sheets with parchment paper.
-
2In a medium bowl, whisk together the flour, baking soda, baking powder, and salt.
-
3In a large bowl, cream together the softened butter and 1 1/2 cups sugar until light and fluffy.
-
4Beat in the egg and vanilla extract until well combined.
-
5Gradually add the dry ingredients to the wet ingredients, mixing until just combined.
-
6Roll tablespoons of dough into balls, coat with extra sugar, and place on prepared baking sheets. Bake for 8-10 minutes until edges are set but centers are still soft. Cool on wire racks.
Approximate Information for One Serving
Nutrition Disclaimers
Number of total servings shown is approximate. Actual number of servings will depend on your preferred portion sizes.
Nutritional values shown are general guidelines and reflect information for 1 serving using the ingredients listed, not including any optional ingredients. Actual macros may vary slightly depending on specific brands and types of ingredients used.
To determine the weight of one serving, prepare the recipe as instructed. Weigh the finished recipe, then divide the weight of the finished recipe (not including the weight of the container the food is in) by the desired number of servings. Result will be the weight of one serving.
Did you make this recipe?
Please consider Pinning it!!


