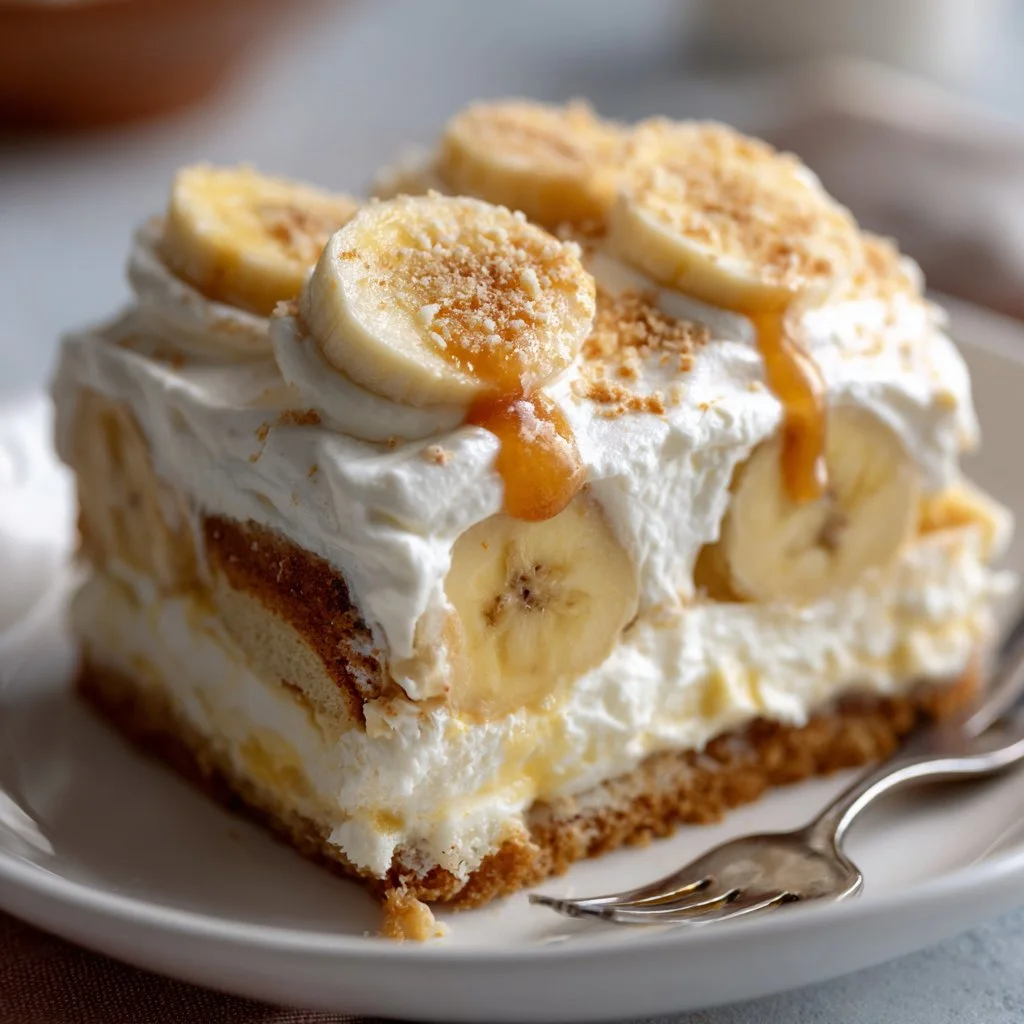
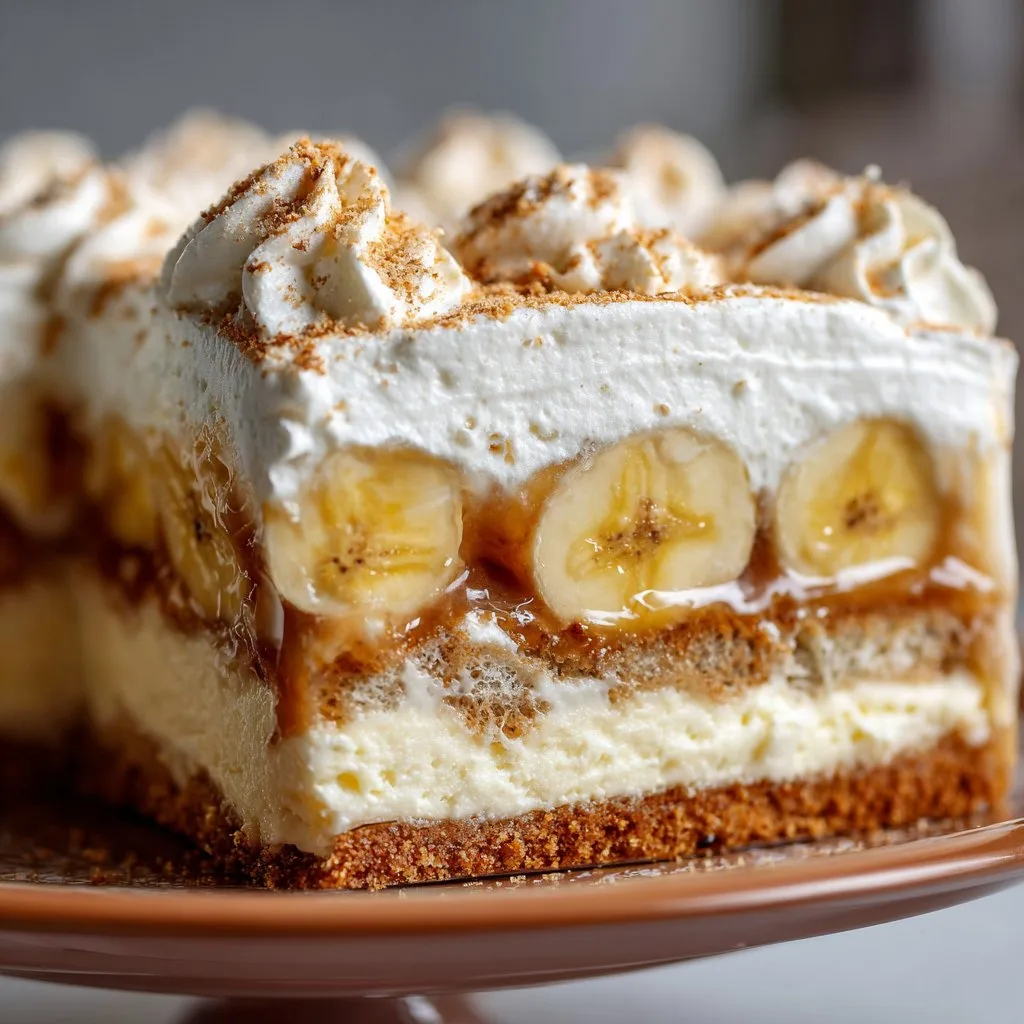
Hey y'all! If you’re looking to wow your friends and family with a truly irresistible dessert, this Not Yo Mama’s Banana Pudding with Cream Cheese Layer is going to rock your world. With layers of creamy, tangy cream cheese, sweet bananas, and crunchy vanilla wafers, this pudding is perfect for potlucks, holiday gatherings, or any time you need a comforting treat. It’s ultra-easy, absolutely scrumptious, and guaranteed to disappear fast. Let’s get cooking!
Why You’ll Love This Not Yo Mama’s Banana Pudding with Cream Cheese Layer
- Rich and creamy texture from the decadent cream cheese layer.
- Super simple, no-bake recipe—just assemble and chill!
- Perfect balance of sweet bananas and crunchy vanilla wafers.
- Feeds a crowd and always gets rave reviews at parties.
- Stays fresh for days, making it ideal for make-ahead desserts.
Ingredients for Not Yo Mama’s Banana Pudding with Cream Cheese Layer
- 2 (3.4 oz) boxes instant French vanilla pudding mix
- 2 cups cold whole milk
- 1 (8 oz) package cream cheese, softened
- 1 (14 oz) can sweetened condensed milk
- 1 (12 oz) container frozen whipped topping, thawed
- 4-5 ripe bananas, sliced
- 1 (11 oz) box vanilla wafer cookies
Directions: How to Make Not Yo Mama’s Banana Pudding with Cream Cheese Layer
Step 1: Prepare the Cream Cheese Layer
- In a large mixing bowl, beat the softened cream cheese with an electric mixer until smooth and creamy (about 2 minutes).
- Add sweetened condensed milk and continue beating until well combined and lump-free.
Step 2: Mix the Pudding
- In a separate bowl, whisk together instant French vanilla pudding mix and cold milk for 2 minutes until thickened.
- Fold the pudding mixture into the cream cheese mixture until completely blended.
- Gently fold in the thawed whipped topping until smooth and fluffy.
Step 3: Assemble the Banana Pudding Layers
- In a 9x13-inch baking dish, arrange a single layer of vanilla wafers to cover the bottom.
- Top with a layer of sliced bananas (about half the bananas).
- Spoon half of the cream cheese-pudding mixture over the bananas and spread evenly.
- Repeat with another layer of wafers, bananas, and the remaining pudding mixture.
Step 4: Chill and Serve
- Cover the dish with plastic wrap and refrigerate for at least 4 hours (overnight is best!) to let the flavors meld and wafers soften.
- Just before serving, garnish with extra wafers or banana slices if desired.
Notes for Perfect Not Yo Mama’s Banana Pudding with Cream Cheese Layer
- For the creamiest texture, use full-fat cream cheese and whole milk.
- Slice bananas just before layering to prevent browning; learn more about keeping bananas fresh here.
- Want a lighter dessert? Swap whipped topping for homemade whipped cream—get a recipe here.

Variations on Not Yo Mama’s Banana Pudding with Cream Cheese Layer
- Chocolate Banana Pudding: Swap half the vanilla wafers for chocolate wafers and use chocolate pudding mix.
- Peanut Butter Banana Pudding: Swirl ½ cup creamy peanut butter into the cream cheese layer.
- Berry Banana Pudding: Add a layer of fresh sliced strawberries or blueberries along with the bananas.
Required Equipment for Not Yo Mama’s Banana Pudding with Cream Cheese Layer
- 9x13-inch baking dish
- Electric mixer
- Mixing bowls
- Rubber spatula
- Plastic wrap
Storage Instructions for Not Yo Mama’s Banana Pudding with Cream Cheese Layer
Cover pudding tightly with plastic wrap or an airtight lid and store in the refrigerator for up to 4 days. For best texture, enjoy within 48 hours as bananas will soften over time—avoid freezing, as the texture may become watery when thawed.
Serving Recommendations for Not Yo Mama’s Banana Pudding with Cream Cheese Layer
This pudding pairs perfectly with a hot cup of coffee, or serve alongside a scoop of vanilla ice cream for an extra indulgent treat. It’s a showstopper for barbecue cookouts, potlucks, or festive gatherings!
Pro Tips for the Best Not Yo Mama’s Banana Pudding with Cream Cheese Layer
- Let the pudding chill overnight for maximum flavor blend and cookie softness.
- Use bananas that are ripe but still firm for the best taste and texture; check out banana ripeness tips here.
- Lightly toast the vanilla wafers for extra crunch before assembling, if you like a contrast in textures.
FAQ: Not Yo Mama’s Banana Pudding with Cream Cheese Layer
- Can I make Not Yo Mama’s Banana Pudding with Cream Cheese Layer ahead of time?
- Absolutely! It tastes even better after chilling overnight, which allows the flavors to meld seamlessly.
- Can I use homemade whipped cream instead of frozen whipped topping?
- Yes! Just make sure it’s whipped to stiff peaks for the right consistency.
- What if I don’t have French vanilla pudding mix?
- Regular vanilla pudding mix works just as well—your pudding will still be deliciously creamy and flavorful!
Prep Time: 20 minutes
Total Time: 4 hours 20 minutes (includes chilling)
Ingredients
- 1 (8 oz) package cream cheese, softened
- 1 (14 oz) can sweetened condensed milk
- 1 (5.1 oz) package instant vanilla pudding mix
- 2 cups cold milk
- 1 (12 oz) container frozen whipped topping, thawed
- 4-5 ripe bananas, sliced
- 1 (12 oz) box vanilla wafer cookies
Instructions
-
1In a large mixing bowl, beat the softened cream cheese until smooth. Add the sweetened condensed milk and mix until well combined.
-
2In a separate bowl, whisk together the instant vanilla pudding mix and cold milk for about 2 minutes until thickened.
-
3Fold the pudding mixture into the cream cheese mixture. Gently fold in half of the whipped topping until smooth and creamy.
-
4In a 9x13 inch dish, arrange a layer of vanilla wafer cookies on the bottom. Top with a layer of sliced bananas.
-
5Spread half of the cream cheese pudding mixture over the bananas. Repeat the layers with remaining wafers, bananas, and pudding mixture.
-
6Spread the remaining whipped topping over the top layer. Chill in the refrigerator for at least 2 hours before serving.
Approximate Information for One Serving
Nutrition Disclaimers
Number of total servings shown is approximate. Actual number of servings will depend on your preferred portion sizes.
Nutritional values shown are general guidelines and reflect information for 1 serving using the ingredients listed, not including any optional ingredients. Actual macros may vary slightly depending on specific brands and types of ingredients used.
To determine the weight of one serving, prepare the recipe as instructed. Weigh the finished recipe, then divide the weight of the finished recipe (not including the weight of the container the food is in) by the desired number of servings. Result will be the weight of one serving.
Did you make this recipe?
Please consider Pinning it!!


