
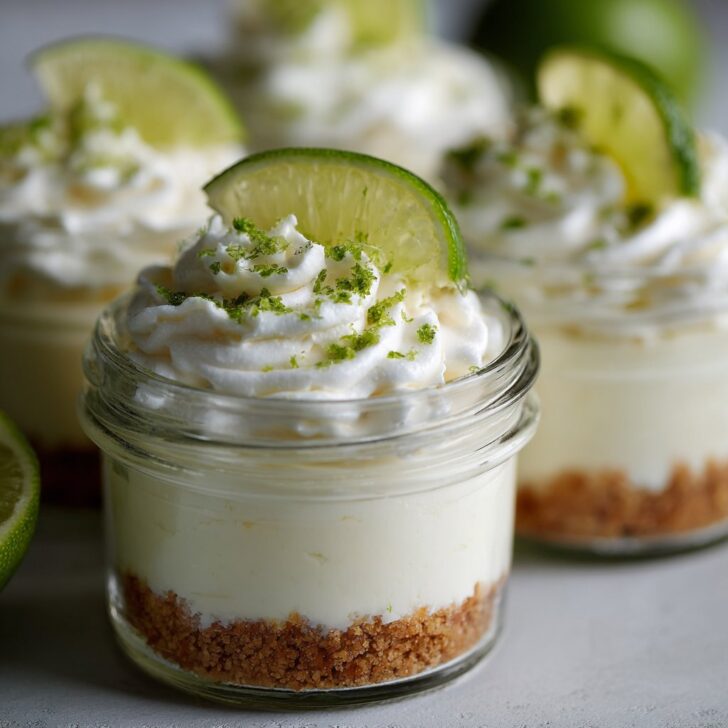

Hey y'all! If you're searching for a dessert that's creamy, tangy, and absolutely effortless, these No-Bake Key Lime Cheesecake Jars are your new go-to treat. They're the perfect combination of tart key lime flavor and smooth cheesecake filling, all stacked over a buttery graham cracker crust. Whether you're hosting a summer BBQ, looking for a refreshing sweet snack, or just want to impress your friends with minimal effort, this recipe delivers. Let's get cooking!
Why You'll Love This No-Bake Key Lime Cheesecake Jars Recipe
- No oven required—ideal for keeping cool on hot days.
- Individually portioned jars are perfect for parties or meal prep.
- Creamy, zesty cheesecake filling with a satisfying crumbly crust.
- Quick and easy—ready in just 20 minutes plus chilling.
- Customizable with your favorite toppings and mix-ins.
Ingredients for No-Bake Key Lime Cheesecake Jars
- 1 cup graham cracker crumbs (about 8 full crackers)
- 2 tablespoon granulated sugar
- 4 tablespoon unsalted butter, melted
- 8 oz (225g) cream cheese, softened
- ½ cup sweetened condensed milk
- ¼ cup fresh key lime juice (or regular lime juice)
- 1 teaspoon lime zest (plus extra for garnish)
- ½ teaspoon vanilla extract
- 1 cup heavy whipping cream
- 2 tablespoon powdered sugar
- Whipped cream, extra graham crumbs, and lime wedges for garnish (optional)
How to Make No-Bake Key Lime Cheesecake Jars
Step 1: Make the Graham Cracker Crust
- In a medium bowl, mix graham cracker crumbs, granulated sugar, and melted butter until well combined and the texture resembles wet sand.
- Spoon about 2 tablespoons of the mixture into the bottom of each of 6 small jars (4-6 oz size) and gently press down with a spoon or the back of a small glass. Set aside.
Step 2: Prepare the No-Bake Key Lime Cheesecake Filling
- In a large mixing bowl, beat the cream cheese with an electric mixer until smooth, about 2 minutes.
- Add the sweetened condensed milk, key lime juice, lime zest, and vanilla extract. Beat again until creamy and fully combined. Set aside.
Step 3: Whip the Cream
- In a separate bowl, whip the heavy cream and powdered sugar together until stiff peaks form, about 3-4 minutes.
- Fold the whipped cream gently into the key lime cheesecake mixture until fully incorporated for a light, airy texture.
Step 4: Assemble the Cheesecake Jars
- Pipe or spoon the cheesecake mixture evenly into your prepared jars over the graham cracker crusts.
- Garnish with whipped cream, extra graham cracker crumbs, and a slice of lime or sprinkle of zest if desired.
- Chill jars in the refrigerator for at least 2 hours (or overnight for best flavor and texture).
Notes for No-Bake Key Lime Cheesecake Jars
- Be sure to use softened cream cheese to avoid lumps in your filling.
- For authentic flavor, seek out fresh key limes at your local grocery store, or learn more about what makes key limes unique.
- Don't overmix the whipped cream into the filling—fold gently to keep it airy.


Variations on No-Bake Key Lime Cheesecake Jars
- Coconut Crunch: Add ¼ cup toasted shredded coconut to the graham cracker layer for a tropical twist.
- Berry Burst: Add a layer of macerated strawberries or blueberries between the crust and cheesecake filling.
- Chocolate Swirl: Drizzle melted dark chocolate over each layer for a decadent treat.
Required Equipment
- 6 small glass jars (4-6 oz capacity)
- Mixing bowls (medium and large)
- Electric mixer or hand mixer
- Spatula
- Measuring cups and spoons
- Spoon or piping bag
Storage Instructions for No-Bake Key Lime Cheesecake Jars
Cover jars tightly with lids or plastic wrap and refrigerate for up to 4 days. For best flavor and texture, serve chilled. These jars are not freezer-friendly, as freezing can alter the creamy consistency.
Suggested Pairings & Serving Recommendations
- Serve your No-Bake Key Lime Cheesecake Jars with a glass of sweet iced tea or refreshing summer drink.
- Top with fresh berries or a dollop of whipped cream for extra color and flavor.
- Perfect alongside a light grilled meal as the ultimate summer dessert.
Pro Tips for the Best No-Bake Key Lime Cheesecake Jars
- Use full-fat cream cheese for the creamiest, richest filling.
- Chill the jars overnight to let the flavors fully develop.
- For more info on making perfect whipped cream, check out this whipped cream guide.
FAQ: No-Bake Key Lime Cheesecake Jars
- Can I substitute regular limes for key limes?
- Yes! Regular limes will work wonderfully if you can't find key limes—the flavor will be slightly different but still delicious.
- How far in advance can I make these jars?
- You can prepare these up to 2 days in advance. Just assemble, cover, and chill until ready to serve.
- Can I use store-bought whipped topping instead of homemade whipped cream?
- Absolutely! You can substitute an equal amount of store-bought whipped topping if you're short on time.
Prep Time: 20 minutes
Total Time: 2 hours 20 minutes (including chilling)


Ingredients
- 1 cup graham cracker crumbs
- 3 tablespoons unsalted butter, melted
- 8 oz cream cheese, softened
- ½ cup sweetened condensed milk
- ¼ cup key lime juice (fresh or bottled)
- 1 teaspoon key lime zest
- ½ teaspoon vanilla extract
- 1 cup whipped cream, plus more for topping
Instructions
-
1In a small bowl, combine graham cracker crumbs and melted butter. Mix until the crumbs are evenly coated.
-
2Divide the crumb mixture evenly among 4 small jars or glasses, pressing down gently to form the crust layer.
-
3In a medium bowl, beat the softened cream cheese until smooth. Add sweetened condensed milk, key lime juice, key lime zest, and vanilla extract. Mix until well combined and creamy.
-
4Gently fold in the whipped cream until the mixture is light and fluffy.
-
5Spoon or pipe the cheesecake filling over the crust in each jar. Smooth the tops with a spoon.
-
6Chill the jars in the refrigerator for at least 2 hours. Before serving, top with additional whipped cream and a sprinkle of lime zest if desired.
Approximate Information for One Serving
Nutrition Disclaimers
Number of total servings shown is approximate. Actual number of servings will depend on your preferred portion sizes.
Nutritional values shown are general guidelines and reflect information for 1 serving using the ingredients listed, not including any optional ingredients. Actual macros may vary slightly depending on specific brands and types of ingredients used.
To determine the weight of one serving, prepare the recipe as instructed. Weigh the finished recipe, then divide the weight of the finished recipe (not including the weight of the container the food is in) by the desired number of servings. Result will be the weight of one serving.
Did you make this recipe?
Please consider Pinning it!!