
Hey y’all! If you’re searching for the ultimate crowd-pleasing dessert, these Mini Cheesecakes with Brownie Bottoms will steal the show at any occasion. Imagine a fudgy, chocolatey brownie layer topped with velvety cheesecake, all in a perfectly portioned bite-sized treat—talk about irresistible! Whether it’s for a birthday party, holiday gathering, or just a cozy night in, these mini delights are sure to wow everyone. Let’s get cooking!
Why You’ll Love This Mini Cheesecakes with Brownie Bottoms Recipe
- Perfectly portioned for parties, potlucks, or anytime snacking.
- Combines rich chocolate brownie with creamy, tangy cheesecake for an unforgettable flavor duo.
- Easy to make ahead and freezer-friendly for ultimate convenience.
- Customizable with your favorite toppings or mix-ins.
- Guaranteed to satisfy both chocolate and cheesecake lovers alike!
Ingredients for Mini Cheesecakes with Brownie Bottoms
- ½ cup (1 stick) unsalted butter, melted
- ¾ cup granulated sugar
- 1 large egg
- 1 teaspoon vanilla extract
- ⅓ cup unsweetened cocoa powder
- ½ cup all-purpose flour
- ¼ teaspoon salt
- 8 oz cream cheese, softened
- ¼ cup sour cream
- ⅓ cup granulated sugar (for cheesecake)
- 1 teaspoon vanilla extract (for cheesecake)
- 1 large egg (for cheesecake)
- Optional: mini chocolate chips, fruit preserves, or caramel sauce for topping
Directions: How to Make Mini Cheesecakes with Brownie Bottoms
Prep the Brownie Layer
- Preheat your oven to 350°F (175°C). Line a 12-count muffin tin with paper liners.
- In a medium bowl, whisk together melted butter and ¾ cup sugar. Add 1 egg and 1 teaspoon vanilla, whisking until smooth.
- Stir in cocoa powder, flour, and salt until just combined. Do not overmix.
- Spoon about 1 tablespoon of brownie batter into the bottom of each muffin liner and gently spread to cover the base.
Make the Cheesecake Filling
- In a separate bowl, beat the cream cheese until smooth and creamy.
- Add ⅓ cup sugar, sour cream, and 1 teaspoon vanilla extract. Mix until fully combined and no lumps remain.
- Add 1 egg and mix on low speed just until incorporated (do not overbeat).
Assemble and Bake Mini Cheesecakes with Brownie Bottoms
- Divide the cheesecake filling evenly among the muffin cups, spooning it over the brownie base.
- Tap the pan gently on the counter to remove air bubbles. Sprinkle mini chocolate chips or swirl in fruit preserves if desired.
- Bake for 18-20 minutes, until the centers are set but still slightly jiggly.
- Allow to cool completely in the pan, then chill in the fridge for at least 2 hours before serving.

Notes for Perfect Mini Cheesecakes with Brownie Bottoms
- For the creamiest cheesecake, make sure your cream cheese is fully softened before mixing. Learn more on King Arthur Baking Company.
- Let the mini cheesecakes cool to room temperature before chilling to avoid cracks.
- Want more tips about cheesecake techniques? Check out Sally’s Baking Addiction!
Variations for Mini Cheesecakes with Brownie Bottoms
- Oreo Crust: Swap out the brownie layer for crushed Oreos and melted butter for a cookies-and-cream vibe.
- Peanut Butter Swirl: Add a spoonful of peanut butter to the cheesecake layer before baking for a nutty twist.
- Fruit Topped: After chilling, top each cheesecake with fresh berries or a spoonful of fruit preserves for a burst of freshness.
Required Equipment
- 12-count muffin tin
- Paper cupcake liners
- Mixing bowls
- Hand mixer or stand mixer
- Rubber spatula
- Spoon or cookie scoop
Storage Instructions for Mini Cheesecakes with Brownie Bottoms
Store your mini cheesecakes with brownie bottoms in an airtight container in the refrigerator for up to 5 days. They also freeze beautifully—wrap individually and freeze for up to 2 months. Thaw overnight in the fridge before serving.
Suggested Pairings and Serving Ideas
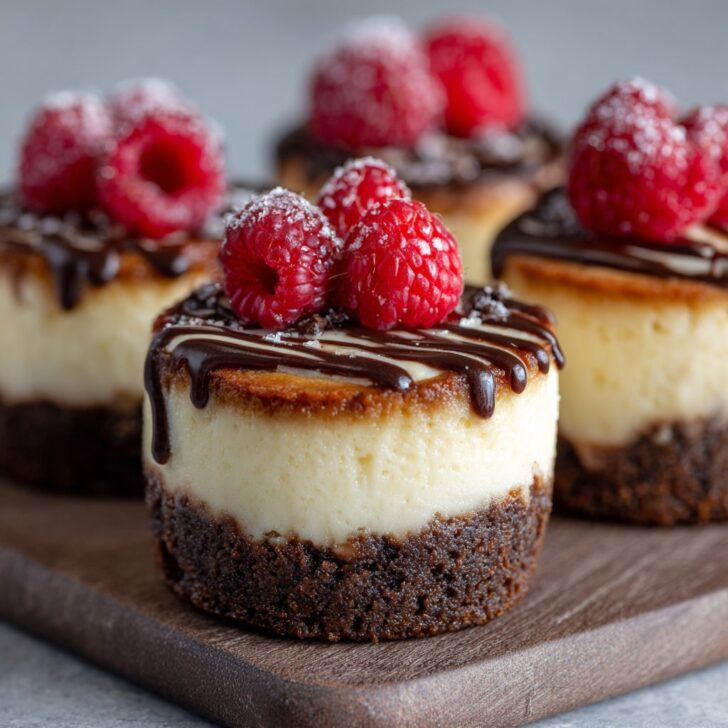
- Serve with fresh berries and a dusting of powdered sugar for a colorful, elegant touch.
- Drizzle with caramel or chocolate sauce for extra decadence.
- Pair with a cup of strong coffee or a glass of cold milk for the perfect dessert experience.
Pro Tips for Best Mini Cheesecakes with Brownie Bottoms
- Line your muffin tin with sturdy liners to prevent sticking and for easy removal (see liner recommendations).
- Don’t overmix the cheesecake batter—this helps avoid cracks and keeps the filling silky smooth.
- For the neatest presentation, chill fully before unwrapping and topping.
Mini Cheesecakes with Brownie Bottoms FAQ
- Can I make Mini Cheesecakes with Brownie Bottoms ahead of time?
- Absolutely! These mini cheesecakes are perfect for making a day or two in advance. Store covered in the fridge until ready to serve.
- Can I use a boxed brownie mix for the base?
- Yes, you can use your favorite boxed mix—just prepare as directed and spoon about 1 tablespoon into each liner for the bottom layer.
- How do I know when the cheesecakes are done baking?
- The centers should look set but slightly jiggly; they’ll continue to firm up as they cool and chill in the fridge.
Prep Time: 20 minutes
Cook Time: 20 minutes
Total Time: 2 hours 40 minutes (including chilling)

Ingredients
- 1/2 cup unsalted butter, melted
- 3/4 cup granulated sugar
- 2 large eggs
- 1/3 cup unsweetened cocoa powder
- 1/2 cup all-purpose flour
- 8 oz cream cheese, softened
- 1/4 cup sour cream
- 1/3 cup granulated sugar (for cheesecake layer)
- 1 large egg (for cheesecake layer)
- 1 tsp vanilla extract
Instructions
-
1Preheat oven to 350°F (175°C). Line a 12-cup muffin tin with paper liners.
-
2In a bowl, whisk together melted butter and 3/4 cup sugar. Add 2 eggs, cocoa powder, and flour. Mix until just combined to form the brownie batter.
-
3Spoon about 1 tablespoon of brownie batter into the bottom of each muffin liner and spread evenly.
-
4In another bowl, beat cream cheese until smooth. Add sour cream, 1/3 cup sugar, 1 egg, and vanilla extract. Mix until creamy.
-
5Divide the cheesecake mixture evenly over the brownie layers in the muffin tin.
-
6Bake for 22-25 minutes, or until the centers are set. Cool completely, then chill in the refrigerator before serving.
Approximate Information for One Serving
Nutrition Disclaimers
Number of total servings shown is approximate. Actual number of servings will depend on your preferred portion sizes.
Nutritional values shown are general guidelines and reflect information for 1 serving using the ingredients listed, not including any optional ingredients. Actual macros may vary slightly depending on specific brands and types of ingredients used.
To determine the weight of one serving, prepare the recipe as instructed. Weigh the finished recipe, then divide the weight of the finished recipe (not including the weight of the container the food is in) by the desired number of servings. Result will be the weight of one serving.
Did you make this recipe?
Please consider Pinning it!!