

Hey y’all! Get ready to elevate your dessert game with these irresistible Melt-in-Your-Mouth Chocolate Chip Cookie Bars. Loaded with gooey chocolate chips and a soft, buttery crumb, they are the perfect crowd-pleasing treat for potlucks, parties, or cozy nights in. With simple prep and classic flavors everyone loves, these cookie bars are a hit every single time. Let’s get cooking!
Why You’ll Love This Melt-in-Your-Mouth Chocolate Chip Cookie Bars Recipe
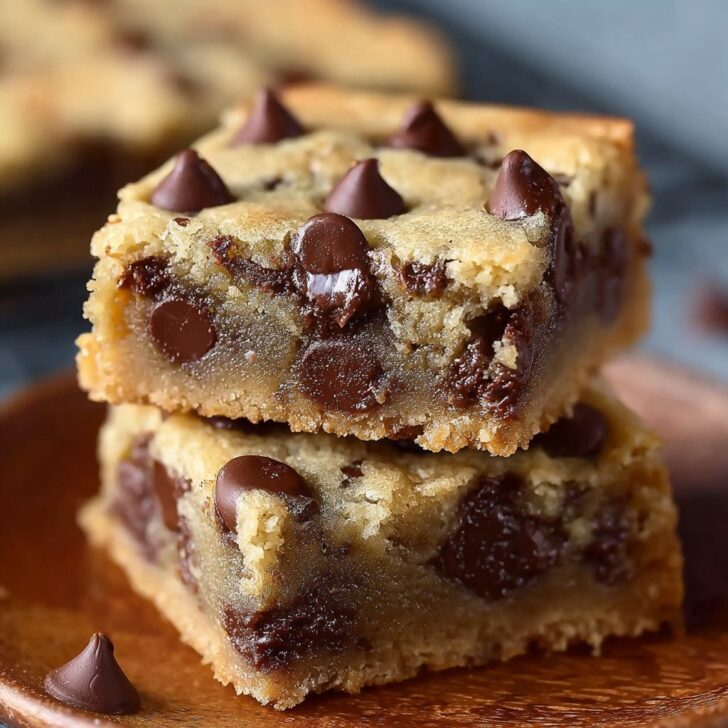
- Ultra-soft and chewy texture that literally melts in your mouth.
- One-bowl method means minimal cleanup and effortless prep.
- Perfect for make-ahead treats or last-minute gatherings.
- Customizable with nuts, candies, or different chocolate add-ins.
- Every bite bursts with rich, buttery, chocolatey goodness.
Ingredients – What You Need for Melt-in-Your-Mouth Chocolate Chip Cookie Bars
- 2 ¼ cups (285g) all-purpose flour
- ½ teaspoon baking soda
- ½ teaspoon salt
- ¾ cup (170g) unsalted butter, melted and cooled
- 1 cup (200g) light brown sugar, packed
- ½ cup (100g) granulated sugar
- 2 large eggs, room temperature
- 2 teaspoons pure vanilla extract
- 2 cups (340g) semisweet chocolate chips
- Optional: ½ cup chopped walnuts or pecans
How to Make Melt-in-Your-Mouth Chocolate Chip Cookie Bars
Step 1: Prep Your Pan & Ingredients
Preheat your oven to 350°F (175°C). Line a 9x13 inch baking pan with parchment paper, letting some hang over the sides for easy removal. Lightly grease the paper for extra non-stick insurance.
Step 2: Mix the Wet Ingredients
In a large mixing bowl, whisk together the melted butter, brown sugar, and granulated sugar until smooth and combined. Add eggs and vanilla, whisking until creamy and light.
Step 3: Combine the Dry Ingredients
In a separate bowl, whisk together the flour, baking soda, and salt. Gradually add the dry ingredients to the wet mixture, stirring gently until combined and no flour streaks remain.
Step 4: Fold in the Chocolate Chips
Gently fold in the chocolate chips and nuts (if using), making sure they’re evenly dispersed throughout the dough.
Step 5: Bake the Cookie Bars
Spread dough evenly into the prepared pan. Bake for 23-27 minutes, or until the edges are set and the center looks just slightly underbaked — that’s the secret for the melt-in-your-mouth texture!


Step 6: Cool & Slice
Cool in the pan for at least 30 minutes before lifting out and slicing into bars—trust us, this helps keep them perfectly soft.
Notes for the Best Melt-in-Your-Mouth Chocolate Chip Cookie Bars
- Don’t overbake—pull them when the center is still a tad soft for maximum gooeyness.
- Let melted butter cool slightly before mixing to avoid scrambling eggs (how to melt butter properly).
- Use high-quality chocolate chips for the richest flavor—try brands recommended by Serious Eats.
Variations on Melt-in-Your-Mouth Chocolate Chip Cookie Bars
- Peanut Butter Swirl: Drop dollops of peanut butter on top and swirl with a knife before baking.
- Oatmeal Cookie Bars: Replace ½ cup of flour with old-fashioned oats for a chewy twist.
- Triple Chocolate: Use a mix of milk, dark, and white chocolate chips for extra decadence.
Required Equipment for Melt-in-Your-Mouth Cookie Bars
- 9x13 inch baking pan
- Parchment paper
- Large mixing bowl
- Whisk and spatula
- Measuring cups and spoons
Storage Instructions for Chocolate Chip Cookie Bars
Store bars in an airtight container at room temperature for up to 4 days, or refrigerate for up to a week. For longer storage, freeze bars (well-wrapped) for up to 2 months—thaw at room temperature and enjoy!
Serving Suggestions & Pairings
Pair your Melt-in-Your-Mouth Chocolate Chip Cookie Bars with a cold glass of milk, a scoop of vanilla ice cream, or a mug of hot coffee for the ultimate treat.
Pro Tips for the Best Melt-in-Your-Mouth Chocolate Chip Cookie Bars
- Bring eggs to room temperature for a smoother, fluffier batter (why it matters).
- Chill the dough for 15 minutes before baking if you prefer extra thick, bakery-style bars.
- Sprinkle a little flaky sea salt on top right out of the oven to balance the sweetness and enhance flavor.
Melt-in-Your-Mouth Chocolate Chip Cookie Bars FAQs
- Can I use different types of chocolate? Absolutely! Mix and match your favorite chocolate chips—milk, dark, or white—all work deliciously.
- Why are my bars dry? Overbaking is the main culprit. Remove them when just set and let them continue cooking a bit as they cool.
- Can I halve the recipe? Yes, simply use an 8x8 or 9x9 inch pan and reduce the bake time to 20-24 minutes.
Prep Time: 10 minutes | Cook Time: 25 minutes | Total Time: 35 minutes | Yield: 24 bars


Ingredients
- 2 ¼ cups all-purpose flour
- 1 teaspoon baking soda
- ½ teaspoon salt
- 1 cup unsalted butter, softened
- ¾ cup packed brown sugar
- ½ cup granulated sugar
- 2 large eggs
- 2 teaspoons vanilla extract
- 2 cups semi-sweet chocolate chips
Instructions
-
1Preheat your oven to 350°F (175°C). Grease a 9x13-inch baking pan or line it with parchment paper.
-
2In a medium bowl, whisk together the flour, baking soda, and salt. Set aside.
-
3In a large bowl, cream together the softened butter, brown sugar, and granulated sugar until light and fluffy. Beat in the eggs one at a time, then mix in the vanilla extract.
-
4Gradually stir the dry ingredients into the wet ingredients until just combined. Fold in the chocolate chips.
-
5Spread the batter evenly into the prepared pan. Bake for 20-22 minutes, or until the edges are lightly golden and a toothpick inserted into the center comes out with a few moist crumbs.
-
6Cool completely in the pan before cutting into bars. Serve and enjoy!
Approximate Information for One Serving
Nutrition Disclaimers
Number of total servings shown is approximate. Actual number of servings will depend on your preferred portion sizes.
Nutritional values shown are general guidelines and reflect information for 1 serving using the ingredients listed, not including any optional ingredients. Actual macros may vary slightly depending on specific brands and types of ingredients used.
To determine the weight of one serving, prepare the recipe as instructed. Weigh the finished recipe, then divide the weight of the finished recipe (not including the weight of the container the food is in) by the desired number of servings. Result will be the weight of one serving.
Did you make this recipe?
Please consider Pinning it!!