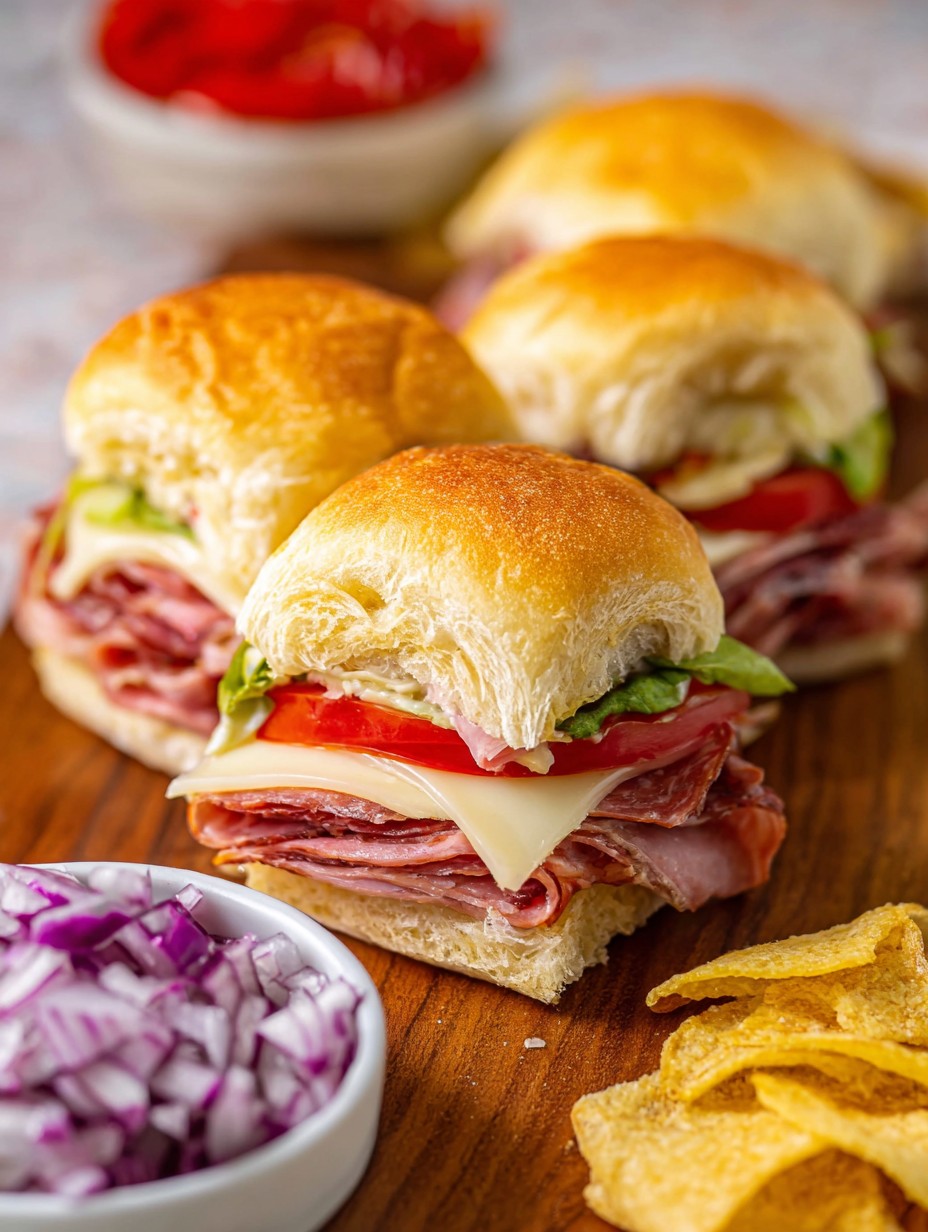
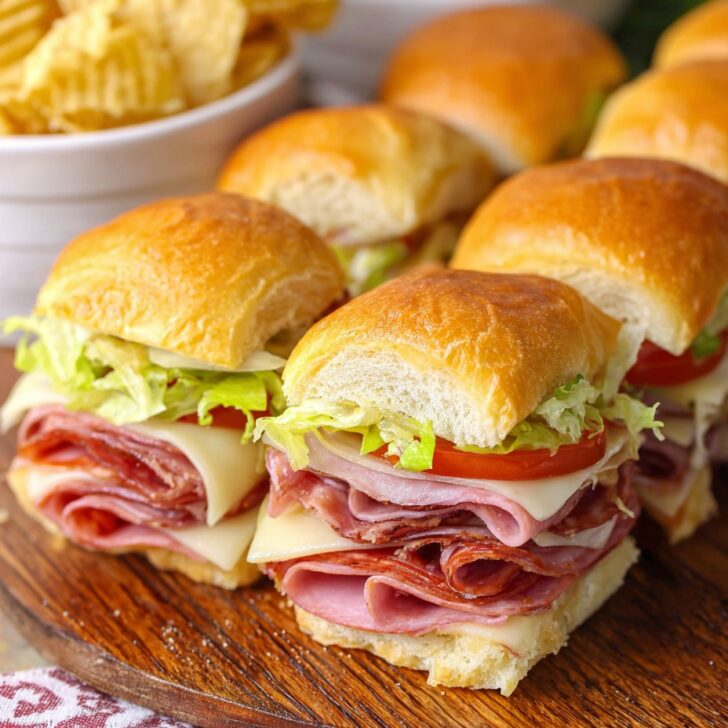
Hey y’all! If you’re looking for a show-stopping party snack that combines melty cheese, savory deli meats, and just the right amount of zing, these Italian Sub Sliders are exactly what you need. They’re perfect for game days, family gatherings, or just a fun dinner with friends—soft, buttery rolls loaded with all your favorite Italian sub fixings, baked to gooey perfection. Trust me, once you try these, you’ll be making them for every occasion! Let’s get cooking!
Why You’ll Love This Italian Sub Sliders Recipe
- Quick & Easy: Ready in just 30 minutes from start to finish—perfect for busy weeknights or spontaneous guests.
- Super Versatile: Perfect for parties, picnics, or satisfying weeknight dinners.
- Flavor Packed: Layers of deli meats, cheese, and tangy peppers deliver bold, authentic Italian flavor in every bite.
- Kid & Crowd Friendly: These mini sandwiches are a hit with all ages, making them a go-to for any event.
- Easy to Customise: Swap in your favorite meats, cheeses, or toppings!
Ingredients for Italian Sub Sliders
- 12 soft slider rolls (Hawaiian or Italian style recommended)
- 8 oz thinly sliced deli ham
- 8 oz thinly sliced Genoa salami
- 6 oz thinly sliced pepperoni
- 8 oz sliced provolone cheese
- 8 oz sliced mozzarella cheese
- 1 cup shredded lettuce
- ⅓ cup jarred banana peppers (drained)
- ¼ cup sliced red onions (optional)
- ¼ cup sliced tomatoes (optional)
- ¼ cup mayonnaise
- 2 tablespoon Italian dressing
- 2 tablespoon unsalted butter (melted)
- 1 teaspoon garlic powder
- 1 teaspoon dried Italian seasoning
- 1 tablespoon grated Parmesan cheese
How to Make Italian Sub Sliders: Step-by-Step Directions
Step 1: Prep the Slider Rolls
Preheat your oven to 350°F (175°C). Using a serrated knife, slice the rolls in half horizontally (don’t separate the individual rolls). Place the bottom halves in a baking dish or on a lined baking sheet.
Step 2: Layer the Meats & Cheeses
Spread a light layer of mayonnaise over the bottom layer of rolls. Start layering with ham, then salami, followed by pepperoni. Add a layer of provolone and then mozzarella cheese.
Step 3: Add Fresh Toppings
Sprinkle shredded lettuce and banana peppers over the top. If using, add slices of red onion and tomato. Drizzle with Italian dressing for extra tang.
Step 4: Top & Assemble
Place the top halves of the slider buns back on. In a small bowl, mix melted butter, garlic powder, dried Italian seasoning, and Parmesan cheese. Brush this mixture generously over the top of the rolls.
Step 5: Bake to Perfection
Cover the sliders loosely with foil and bake for 15 minutes. Remove the foil, then bake another 5–7 minutes until the tops are golden brown and the cheese is melted and bubbly.

Step 6: Slice & Serve
Remove from oven and let cool for 5 minutes. Cut into individual sliders and enjoy warm!
Notes for Making Perfect Italian Sub Sliders
- You can use store-bought or homemade slider buns; just make sure they’re soft and fluffy.
- Keep an eye on the oven in the final minutes—the sliders brown quickly!
- For a lower calorie option, use turkey or chicken-based deli meats and reduced-fat cheese.
Variations: Italian Sub Sliders Your Way
- Spicy Italian Sliders: Add sliced jalapeños or hot cherry peppers for extra heat.
- Vegetarian Italian Sliders: Skip the meats and double up on roasted veggies and cheese.
- Classic Hoagie-Style: Swap mayo for creamy hoagie spread and add extra vinegar for tang.
Required Equipment for Italian Sub Sliders
- 9×13 inch baking dish or rimmed baking sheet
- Serrated bread knife
- Small mixing bowl
- Pastry brush
- Aluminum foil
Italian Sub Sliders Storage Instructions
Store cooled sliders in an airtight container in the refrigerator for up to 3 days. For best results, reheat covered in the oven at 325°F (160°C) for 10 minutes, until warmed through—the rolls will re-crisp slightly while the filling stays gooey.
Serving Suggestions & Pairings for Italian Sub Sliders
- Pair with a crunchy side salad or classic Italian pasta salad.
- Serve with kettle chips or baked fries for a satisfying crunch.
- A chilled glass of sparkling water or Italian soda makes a refreshing complement.
Pro Tips for the Best Italian Sub Sliders
- Be sure to keep the rolls together when spreading fillings, so the sliders hold their shape after baking.
- Let the sliders cool for a few minutes before slicing, so the fillings set slightly and don’t ooze out.
- For extra melty cheese, add an extra layer of mozzarella on top of the meats before baking. For more sandwich-making tips, check out this Bon Appetit guide.
FAQ: Italian Sub Sliders
- Can I prepare Italian Sub Sliders ahead of time?
- Yes! Assemble the sliders up to a day in advance, cover tightly, and refrigerate. Bake just before serving.
- Can I freeze Italian Sub Sliders?
- You can freeze baked and cooled sliders tightly wrapped for up to 2 months. Thaw in the refrigerator and reheat covered in the oven.
- What kinds of meats can I use?
- Any combination of deli favorites like capicola, mortadella, or roast turkey works great—just keep the total amount to around 1–1.5 lbs for best stacking.
Need more on Italian-American classics? Check out these authentic Italian-American recipes for endless inspiration!

