
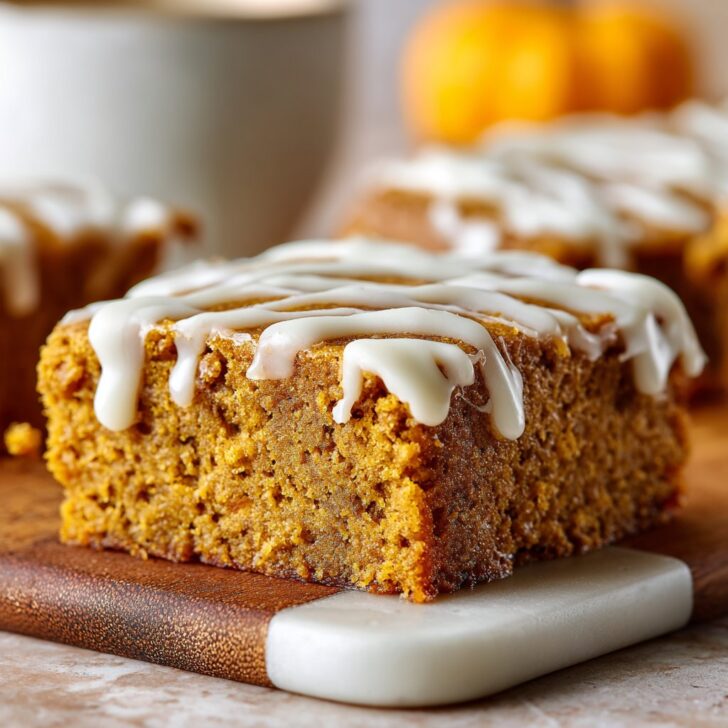
Hey y’all! If you’re searching for the ultimate autumn treat that everyone can enjoy, look no further than these Gluten Free Pumpkin Bars with Icing. They’re supremely moist, filled with cozy pumpkin spice flavor, and crowned with a luscious cream cheese icing. Whether it’s a family gathering, potluck, or just a snack on a crisp fall afternoon, these bars are bound to impress. Let’s get cooking!
Why You’ll Love This Gluten Free Pumpkin Bars with Icing Recipe
- Super moist and tender thanks to real pumpkin puree.
- Easy to make with simple gluten free ingredients.
- Perfectly spiced for cozy, seasonal flavor year-round.
- Dairy-free options make them versatile for many diets.
- Great for sharing at parties, potlucks, or as a sweet snack!
Ingredients for Gluten Free Pumpkin Bars with Icing
- 1 cup pumpkin puree (not pumpkin pie filling)
- ¾ cup packed light brown sugar
- ½ cup vegetable oil (or melted coconut oil)
- 2 large eggs, room temperature
- 1 ¼ cups gluten-free all-purpose flour (with xanthan gum, like King Arthur Measure for Measure)
- 1 teaspoon baking powder
- ½ teaspoon baking soda
- ¼ teaspoon salt
- 1 ½ teaspoons ground cinnamon
- ½ teaspoon ground ginger
- ¼ teaspoon ground nutmeg
- ¼ teaspoon ground cloves
- Cream Cheese Icing:
- 4 oz cream cheese, softened
- 2 tablespoons unsalted butter, softened
- 1 cup powdered sugar
- ½ teaspoon vanilla extract
- Pinch of salt
How to Make Gluten Free Pumpkin Bars with Icing
Step 1: Prep the Pan and Oven
Preheat your oven to 350°F (175°C). Grease and line a 9×13-inch baking pan with parchment paper for easy removal.
Step 2: Mix Wet Ingredients
In a large bowl, whisk together the pumpkin puree, brown sugar, oil, and eggs until smooth and well combined.
Step 3: Combine Dry Ingredients
In a separate bowl, whisk together the gluten-free flour, baking powder, baking soda, salt, cinnamon, ginger, nutmeg, and cloves.
Step 4: Combine and Pour
Add the dry ingredients to the wet ingredients and mix just until no dry streaks remain. Pour the batter into the prepared baking pan and smooth the top.
Step 5: Bake the Bars
Bake for 22-25 minutes, or until a toothpick inserted in the center comes out clean or with a few moist crumbs. Cool completely in the pan before icing.

Step 6: Prepare the Icing
Beat the cream cheese and butter together until fluffy. Gradually mix in the powdered sugar, vanilla, and a pinch of salt until smooth and creamy.
Step 7: Frost and Serve
Spread the cream cheese icing evenly over the cooled pumpkin bars. Cut into squares and enjoy!
Notes for Making the Best Gluten Free Pumpkin Bars with Icing
- For best texture, use a gluten-free flour blend that contains xanthan gum; learn more about gluten-free baking tips.
- Let the bars cool completely before icing to prevent the frosting from melting.
- Store leftovers in the fridge for up to 5 days for maximum freshness.
Variations: Gluten Free Pumpkin Bars with Icing Three Ways
- Dairy-Free: Use vegan cream cheese and plant-based butter for the icing.
- Nutty Crunch: Stir ½ cup chopped pecans or walnuts into the batter.
- Chocolate Chip: Fold ½ cup mini chocolate chips into the batter for a sweet twist.
Required Equipment for Gluten Free Pumpkin Bars with Icing
- 9×13-inch baking pan
- Parchment paper
- Mixing bowls
- Whisk and spatula
- Electric mixer (for icing)
Storage Instructions for Gluten Free Pumpkin Bars with Icing
Store bars in an airtight container in the refrigerator for up to 5 days. For longer storage, freeze (without icing) for up to 2 months. Thaw at room temperature and frost before serving.
Serving Suggestions & Pairings for Gluten Free Pumpkin Bars with Icing
- Serve chilled or at room temperature with a mug of hot coffee or chai tea.
- Top with a sprinkle of chopped toasted nuts for extra crunch.
- Pair with a scoop of vanilla ice cream for an indulgent dessert.
Pro Tips for Perfect Gluten Free Pumpkin Bars with Icing
- Don’t overmix the batter to keep the bars fluffy and tender—here’s why it matters.
- Bring eggs to room temperature for best rise and even texture.
- Use pure pumpkin puree (not pie filling) for optimal flavor and moisture.
FAQ: Gluten Free Pumpkin Bars with Icing
- Can I use almond flour instead of gluten free all-purpose flour?
- Almond flour will change the texture and may make the bars too dense; for best results, stick to a 1:1 gluten free flour blend.
- Can I make these bars ahead of time?
- Yes! They can be baked and iced a day ahead—just store covered in the fridge until ready to serve.
- How do I make these pumpkin bars vegan?
- Replace the eggs with flax eggs and use dairy-free cream cheese and butter for the icing.
Prep time: 15 minutes | Cook time: 25 minutes | Total time: 40 minutes | Makes: 18 bars

Ingredients
- 1 cup canned pumpkin puree
- 2 large eggs
- 3/4 cup granulated sugar
- 1/2 cup vegetable oil
- 1 1/4 cups gluten free all-purpose flour
- 1 teaspoon baking powder
- 1/2 teaspoon baking soda
- 1 teaspoon ground cinnamon
- 1/4 teaspoon salt
- 4 ounces cream cheese, softened (for icing)
- 1/4 cup unsalted butter, softened (for icing)
- 1 cup powdered sugar (for icing)
- 1/2 teaspoon vanilla extract (for icing)
Instructions
-
1Preheat oven to 350°F (175°C). Grease a 9×13-inch baking pan and set aside.
-
2In a large bowl, whisk together pumpkin puree, eggs, sugar, and vegetable oil until smooth.
-
3In a separate bowl, combine gluten free flour, baking powder, baking soda, cinnamon, and salt. Gradually add dry ingredients to the wet mixture, stirring until just combined.
-
4Pour batter into the prepared pan and spread evenly. Bake for 30 minutes or until a toothpick inserted in the center comes out clean. Allow to cool completely.
-
5For the icing, beat together cream cheese, butter, powdered sugar, and vanilla extract until smooth and creamy. Spread icing over cooled pumpkin bars. Cut into squares and serve.
Approximate Information for One Serving
Nutrition Disclaimers
Number of total servings shown is approximate. Actual number of servings will depend on your preferred portion sizes.
Nutritional values shown are general guidelines and reflect information for 1 serving using the ingredients listed, not including any optional ingredients. Actual macros may vary slightly depending on specific brands and types of ingredients used.
To determine the weight of one serving, prepare the recipe as instructed. Weigh the finished recipe, then divide the weight of the finished recipe (not including the weight of the container the food is in) by the desired number of servings. Result will be the weight of one serving.
Did you make this recipe?
Please consider Pinning it!!