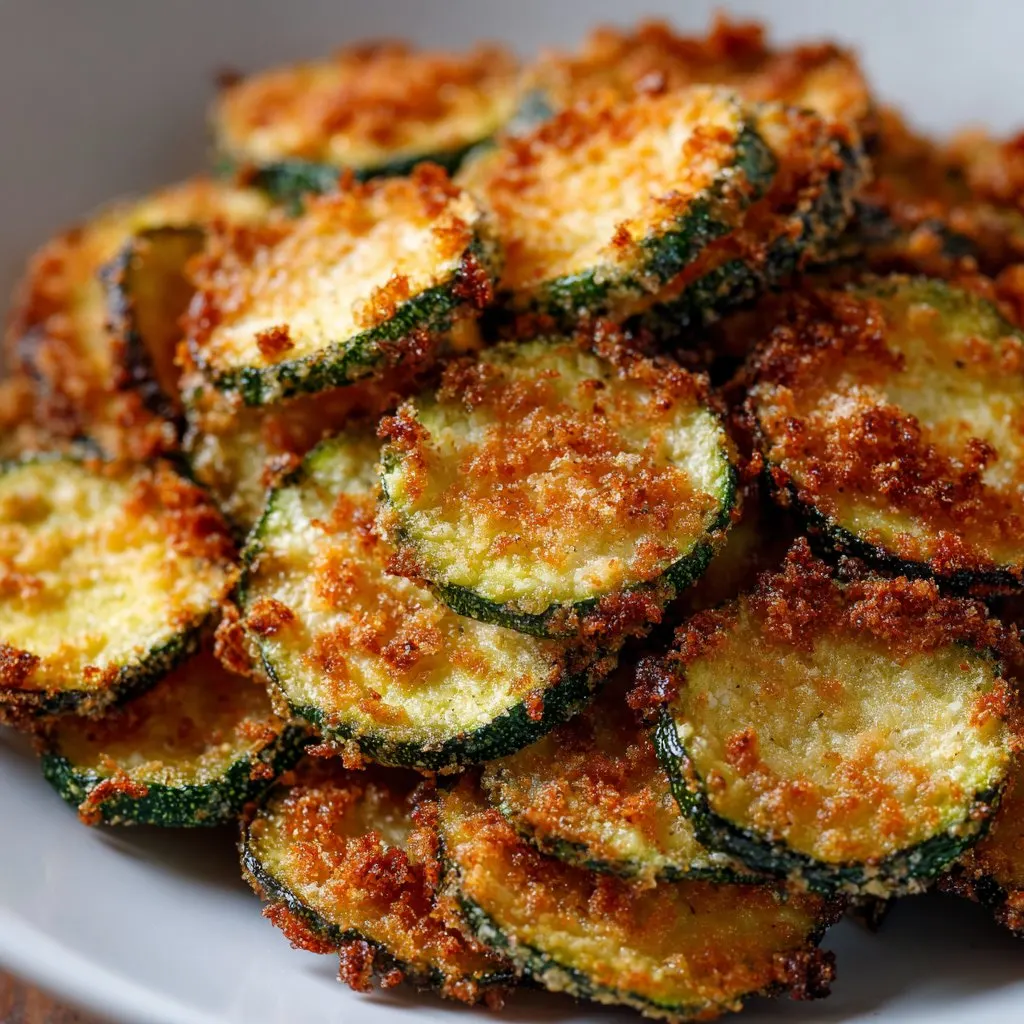
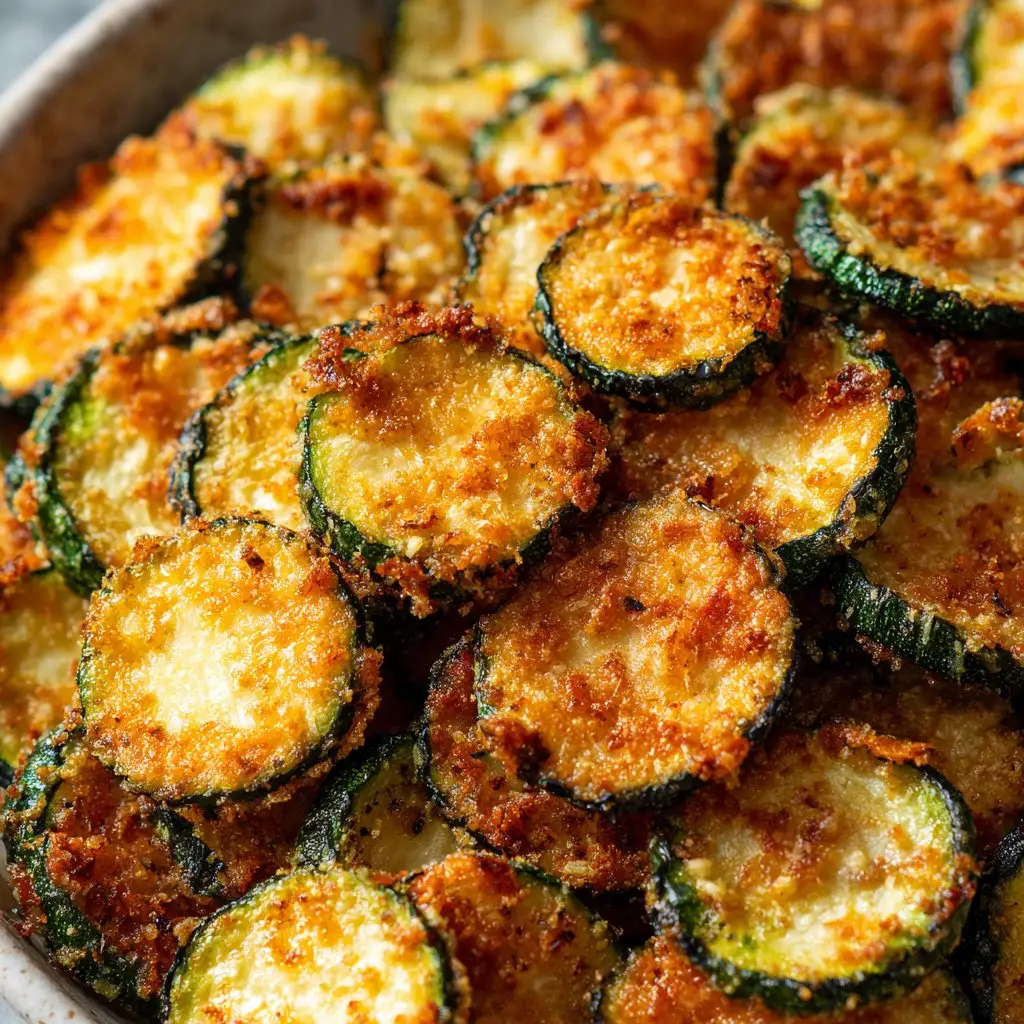
Hey y'all! If you love crunchy snacks but crave something a bit healthier, these Crispy Zucchini Chips are about to become your new obsession. Light as air, perfectly seasoned, and irresistibly crisp, they're perfect for game nights, lunch boxes, or guilt-free movie snacking. Let's get cooking!
Why You'll Love This Crispy Zucchini Chips Recipe
- They’re baked, not fried, for a healthier twist on traditional chips.
- Super simple to make with just a handful of ingredients.
- Great way to use up extra summer zucchini.
- Customizable with your favorite seasonings and dips.
- Kids and adults alike can’t resist the crunchy goodness!
Ingredients for Crispy Zucchini Chips
- 2 medium zucchinis
- 1 tablespoon olive oil
- ½ teaspoon sea salt
- ½ teaspoon garlic powder
- ¼ teaspoon black pepper
- ¼ cup grated Parmesan cheese (optional)
- ½ cup panko breadcrumbs (optional for extra crunch)
How to Make Crispy Zucchini Chips: Step-by-Step Directions
Step 1: Prep the Zucchini
Preheat your oven to 225°F (110°C). Wash and dry the zucchinis thoroughly. Using a mandoline slicer or a sharp knife, cut the zucchinis into thin rounds, about ⅛-inch thick for maximum crispiness.
Step 2: Season and Coat
Place the zucchini slices in a large bowl. Drizzle with olive oil and toss to coat evenly. Sprinkle in the sea salt, garlic powder, black pepper, and, if using, Parmesan and panko. Mix well so every slice is seasoned and coated.
Step 3: Arrange and Bake
Line two baking sheets with parchment paper. Lay the zucchini slices in a single layer without overlapping. Bake for 1.5 to 2 hours, flipping halfway, until the chips are golden and crisp (watch closely towards the end to avoid burning).
Step 4: Cool and Serve
Remove from the oven and let the chips cool completely on the baking sheet—this helps them firm up even more. Serve immediately for maximum crunch!
Notes for Perfect Crispy Zucchini Chips
- Slice the zucchini as uniformly as possible for even baking; a mandoline (why use a mandoline) is a game changer.
- If chips seem limp after cooling, pop them back in the oven for 10-15 minutes at low heat.
- For an extra cheesy kick, sprinkle additional Parmesan in the last 10 minutes of baking.

Crispy Zucchini Chips Recipe Variations
- Spicy Zucchini Chips: Add ¼ teaspoon cayenne pepper for a kick.
- Dairy-Free: Skip the Parmesan and use nutritional yeast for cheesy flavor (how to use nutritional yeast).
- Herbed: Swap garlic powder for Italian seasoning or dried thyme.
Required Equipment for Crispy Zucchini Chips
- Mandoline slicer or sharp knife
- Mixing bowl
- Baking sheets
- Parchment paper
- Oven
How to Store Crispy Zucchini Chips
Once completely cooled, store zucchini chips in an airtight container at room temperature for up to 3 days. If they lose their crunch, reheat in the oven at 200°F (95°C) for 10 minutes to crisp them back up.
Serving Suggestions and Pairings
- Serve with hummus, Greek yogurt dip, or classic ranch dressing.
- Pair with a turkey sandwich for a healthy lunch.
- Enjoy as a crunchy topping for salads or soups.
Pro Tips for the Best Crispy Zucchini Chips
- Pat the zucchini slices dry with paper towels before seasoning to remove excess moisture (see more about eliminating moisture from zucchini).
- Don’t overcrowd the baking sheet—single layer only for even crisping.
- Let the chips cool completely before storing to prevent sogginess.
Crispy Zucchini Chips FAQ
- Can I use yellow squash instead of zucchini?
- Absolutely! Yellow squash works just as well and brings a slightly different flavor.
- How thin should I slice the zucchini?
- Aim for about ⅛-inch thick—thinner slices crisp up better and more evenly.
- Can I make these in an air fryer?
- Yes! Air fry at 350°F (175°C) for 10-15 minutes, flipping halfway through, until golden and crispy.
Ingredients
- 2 medium zucchinis
- ½ cup panko breadcrumbs
- ¼ cup grated Parmesan cheese
- ½ teaspoon garlic powder
- ½ teaspoon paprika
- ¼ teaspoon salt
- ¼ teaspoon black pepper
- 2 tablespoons olive oil
- 1 large egg
Instructions
-
1Preheat the oven to 425°F (220°C). Line a baking sheet with parchment paper and lightly grease with olive oil.
-
2Slice the zucchinis into thin rounds, about ⅛ inch thick, using a sharp knife or mandoline.
-
3In a shallow bowl, whisk the egg. In another bowl, combine panko breadcrumbs, Parmesan cheese, garlic powder, paprika, salt, and black pepper.
-
4Dip each zucchini slice into the egg, then coat with the breadcrumb mixture. Arrange the coated slices in a single layer on the prepared baking sheet.
-
5Drizzle or spray the zucchini slices lightly with olive oil. Bake for 20-25 minutes, flipping halfway through, until golden and crispy.
-
6Remove from the oven and let cool slightly before serving. Enjoy your crispy zucchini chips warm or at room temperature.
Approximate Information for One Serving
Nutrition Disclaimers
Number of total servings shown is approximate. Actual number of servings will depend on your preferred portion sizes.
Nutritional values shown are general guidelines and reflect information for 1 serving using the ingredients listed, not including any optional ingredients. Actual macros may vary slightly depending on specific brands and types of ingredients used.
To determine the weight of one serving, prepare the recipe as instructed. Weigh the finished recipe, then divide the weight of the finished recipe (not including the weight of the container the food is in) by the desired number of servings. Result will be the weight of one serving.
Did you make this recipe?
Please consider Pinning it!!


