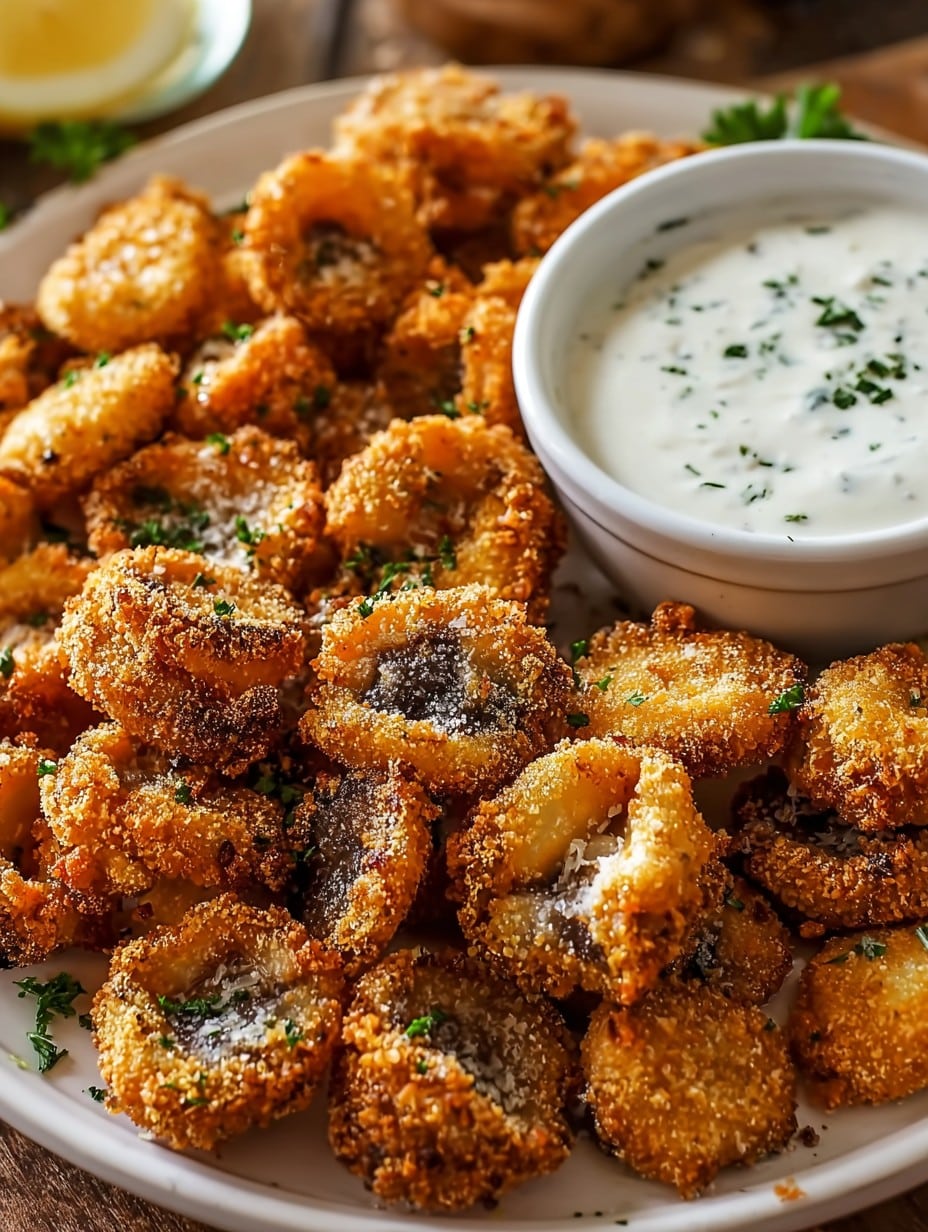
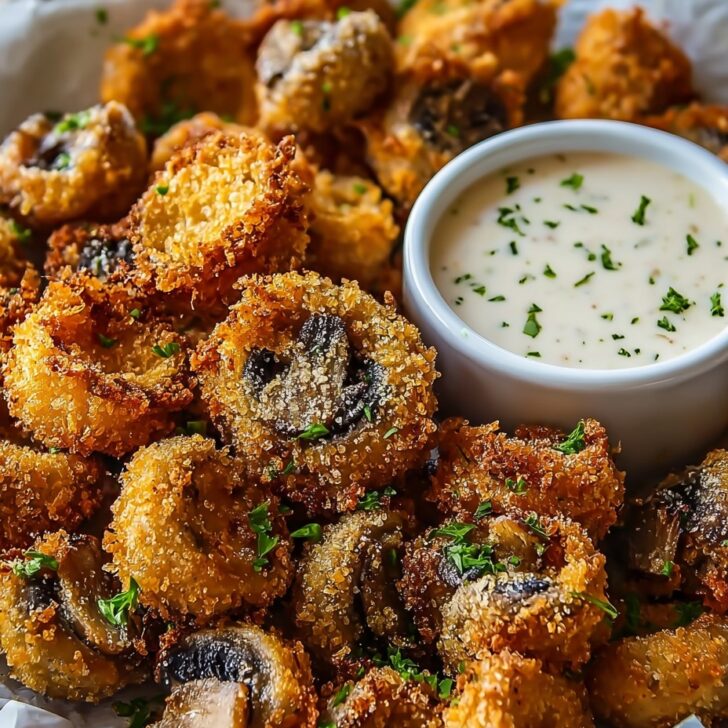
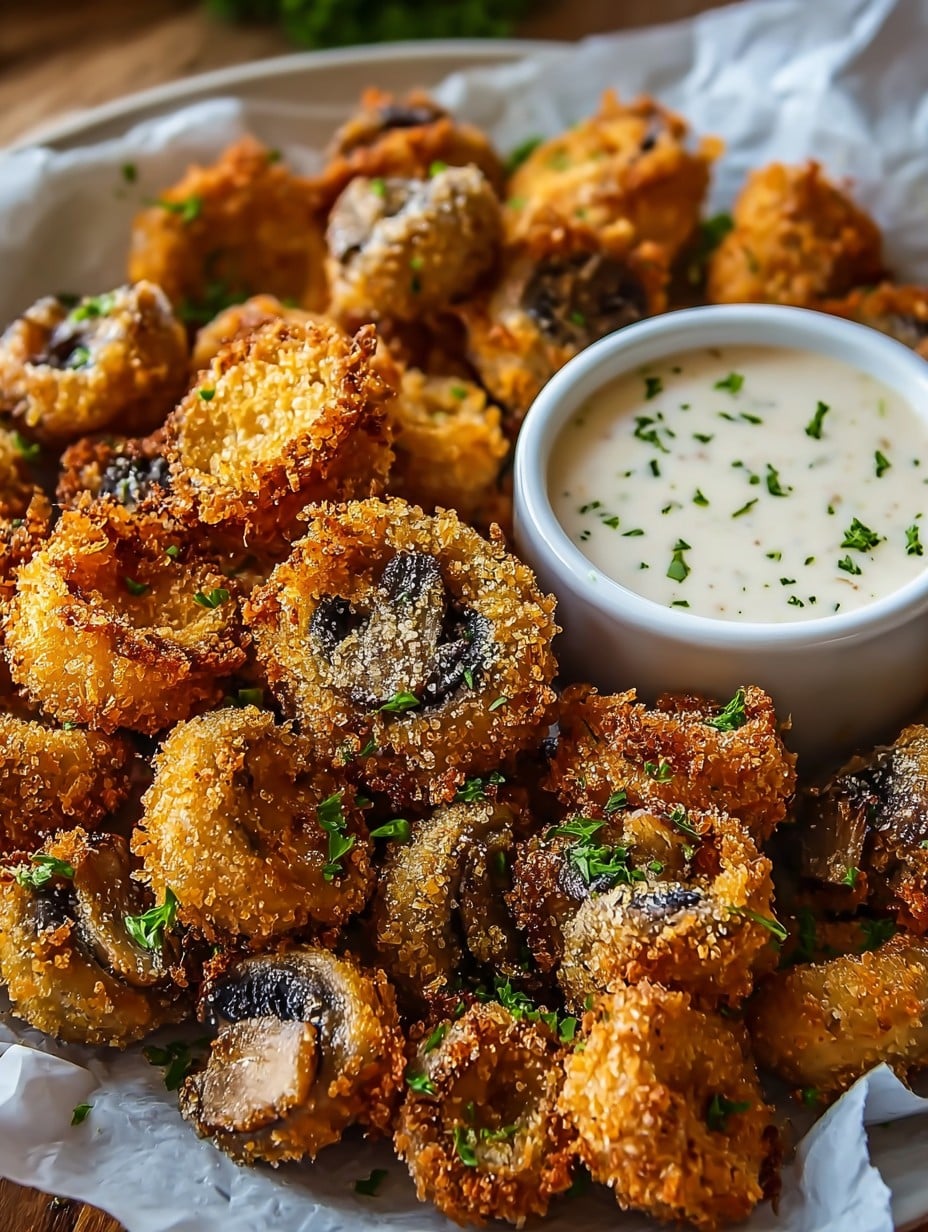
Let’s Talk Crunchy, Ranchy Mushrooms
You know how sometimes you get this wild craving at like, 9pm, for something crunchy but you want to pretend it’s a little healthy because, hey, it’s mushrooms? That’s where these crispy ranch-breaded mushrooms come in. First made them at a potluck where I’d actually forgotten what I was supposed to bring (oops). But after some rummaging and a packet of ranch mix that was, embarrassingly, expired (it was fine), these were born. Now, my friends ask for them by name—theirs, not mine, apparently.
Why You’ll Want to Make These (Again and Again)
I whip up a batch when folks are coming over and I secretly hope there’ll be leftovers, but there never are. The big kids (husband included) devour them, and even the small kids will nibble if I call them “magic crunchy nuggets” instead of mushrooms. The ranch packs a flavor punch that covers up any earthiness people might get weird about—especially if you’ve ever attempted to convince a mushroom hater (me, before the ranch era). Oh, and if you hate frying but want a crispy fix, these oven-baked ones are my peace offering after years of chasing the perfect crunch and only finding sadness or a burnt kitchen smell.
What You’ll Need (Substitutions Welcome!)
- About 500g (a generous pound) button mushrooms, cleaned and stems trimmed—creminis taste a bit richer, but honestly, any smallish mushrooms work. I even tried big portobellos once, but that went sideways.
- 1 cup panko breadcrumbs (or regular, or crushed crackers; in a pinch, cornflakes, yes really)
- 1 packet ranch seasoning (homemade or store-bought; Grandma swore by Hidden Valley, but store brand is fine—don’t let her ghost hear that)
- 1/2 cup plain flour (gluten-free flour works great too for my cousin Jake)
- 2 large eggs (I’ve occasionally subbed in aquafaba if the fridge was barren, but it’s just not the same)
- Oil spray (or a glug of olive oil, just use what you have)
- Salt and pepper, to taste (but don’t go nuts if your ranch mix is sodium-crazy)
How To Make ‘Em (Don’t Stress – It’s Easy)
- Preheat your oven to 220°C (about 425°F), or if you’re feeling lazy, just call it hot.
- Line a baking tray with parchment paper and spray or brush with oil. Or don’t line it if you like living dangerously—just expect stickage.
- Set up your dredging line (flour, then egg, then breadcrumb+ranch mix). Sometimes I dump the ranch seasoning in with the flour, but actually, I find it works better in the breadcrumbs so the flavor sticks to those lovely golden bits.
- Roll each mushroom in flour—seriously, give it a good coating, otherwise, it’ll look like it’s been half-heartedly snowed on. Dunk in egg, then roll in breadcrumb/ranch until you’ve made a mess and the mushrooms look like little asteroid nuggets.
- Place them in a single layer, giving them space to crisp, or they’ll just steam themselves and it’ll be sad.
- Spritz or drizzle generously with oil. This is when I sneak a couple into my mouth—raw flour isn’t the best, don’t repeat my mistake.
- Bake for 20–25 minutes, giving the tray a shake halfway—don’t panic if some coating falls off, just press it back, or eat it yourself (bonus chef’s treat).
- They’re done when golden and sizzling, and your kitchen smells like a fast food place in the best possible way.
The “Oh Yeah, Almost Forgot” Notes
- Don’t skip drying your mushrooms after washing—soggy shrooms just won’t crisp up.
- If you want ‘em even crispier, try double-dipping in the egg and breadcrumbs—messy hands but fantastic results.
- Once I over-salted mine thinking the ranch mix wasn’t enough—don’t do that. Taste it first or just trust the process; works most times.
Variations (Because Tinkering is Half the Fun)
- For spice addicts: toss in a spoonful of cayenne or chipotle powder with the breadcrumbs—my brother claims this version is “dangerously snackable.”
- Once I tried crushed cheese crackers in place of panko. The flavor was bonkers (in a good way), but the color was, uh, odd. Maybe warn your guests.
- Tried gluten-free panko, worked like a charm. Tried coconut flour (why…), and, well, wouldn’t do that again—bit too sweet, kind of odd vibes.
- Sometimes I skip ranch and use Italian seasoning; not the same thing, but still tasty.
What If You Don’t Have a Fancy Gadget?
You really don’t need a fancy air fryer (though Serious Eats tested air fryers here in case you’re curious). I do love using my battered old sheet pan. Worst case, use a regular baking dish—it might take a few extra minutes for crispiness, but honestly, who’s counting?

How to Store ‘Em (If There’s Any Left)
Fair warning: they’re at their crunchiest fresh out of the oven, but if (and I repeat, if) you’ve got leftovers, toss ‘em in an airtight container in the fridge. Re-crisp in a hot oven for 7–8 minutes. Actually, I think these taste better the next day—just with a little less crunch and a smidge more ranchy punch. They never last more than a day at my place, for what it’s worth.
How I Love to Serve These Bad Boys
I scatter them in a big bowl with a dish of spicy mayo or classic ranch dip (I like this one)—my aunt swears by blue cheese, but, controversial, I know. Sometimes we pretend they’re the “side” when actually they’re gone before the main dish lands. If we’re feeling silly, we eat them straight off the tray standing around the kitchen.
Don’t Make My Mistake – Here’s What I’ve Learned
- Once I tried rushing the breading step—don’t do it; the coating just slides right off and you wind up with sad-looking mushrooms and breadcrumbs everywhere but where you want them.
- Also, be patient on the bake time. Pulling them too soon leaves you with breaded mushrooms that just taste “meh.”
- And turn your mushrooms halfway—even if you forget (I often do), just pretend you meant to.
Real Questions I’ve Been Asked (and Some I’ve Asked Myself)
- Can I use any type of mushroom? Mostly yeah—just stick to smaller ones unless you want mushroom steaks. Those were … different.
- Is this really ranch-y? Not, like, overpowering, but definitely ranch-forward. If you want more subtle, dial back the seasoning a tad—I go big, though.
- What if I don’t have panko? Bread crumbs work. I used to use crushed saltines, even. Or ooh, crushed pretzels. Try it!
- Can I freeze these? Eh, I’ve tried, but the texture is a bit weird after thawing. I mean, you can—just don’t expect snappy crunch.
- Is it messy? Oh yes. But worth it. (Line your counter with parchment if you don’t want to chase breadcrumbs into the toaster for a week.)
- Kids eat these? Mine do, as long as I avoid the spicy versions. Sell them as “nuggets” if need be!
Quick detour—once, I brought these to a book club and realized I’d forgotten the dip, so we dunked them in salsa (don’t recommend unless you like flavor chaos, but hey, it sparked an argument about best dips, which was frankly more fun than the book discussion). Point is, make these your way, with whatever dip, and have fun muffing it up a bit—it’s just food, not rocket science. Enjoy!
Ingredients
- 16 oz button mushrooms, cleaned and trimmed
- 1 cup all-purpose flour
- 2 large eggs
- 1 cup panko breadcrumbs
- 1/2 cup grated Parmesan cheese
- 1 oz (1 packet) ranch seasoning mix
- 1/2 tsp black pepper
- 1/2 tsp garlic powder
- Vegetable oil, for frying
Instructions
-
1In a shallow bowl, add the flour. In a second bowl, beat the eggs. In a third bowl, combine panko breadcrumbs, Parmesan cheese, ranch seasoning mix, black pepper, and garlic powder.
-
2Dip each mushroom into the flour to coat, then into the beaten eggs, and finally roll in the breadcrumb mixture until well coated.
-
3Heat about 2 inches of vegetable oil in a deep skillet or saucepan to 350°F (175°C).
-
4Fry the breaded mushrooms in batches for 3-4 minutes, turning occasionally, until golden brown and crispy.
-
5Remove mushrooms with a slotted spoon and drain on paper towels. Serve hot with your favorite dipping sauce.
Approximate Information for One Serving
Nutrition Disclaimers
Number of total servings shown is approximate. Actual number of servings will depend on your preferred portion sizes.
Nutritional values shown are general guidelines and reflect information for 1 serving using the ingredients listed, not including any optional ingredients. Actual macros may vary slightly depending on specific brands and types of ingredients used.
To determine the weight of one serving, prepare the recipe as instructed. Weigh the finished recipe, then divide the weight of the finished recipe (not including the weight of the container the food is in) by the desired number of servings. Result will be the weight of one serving.
Did you make this recipe?
Please consider Pinning it!!


