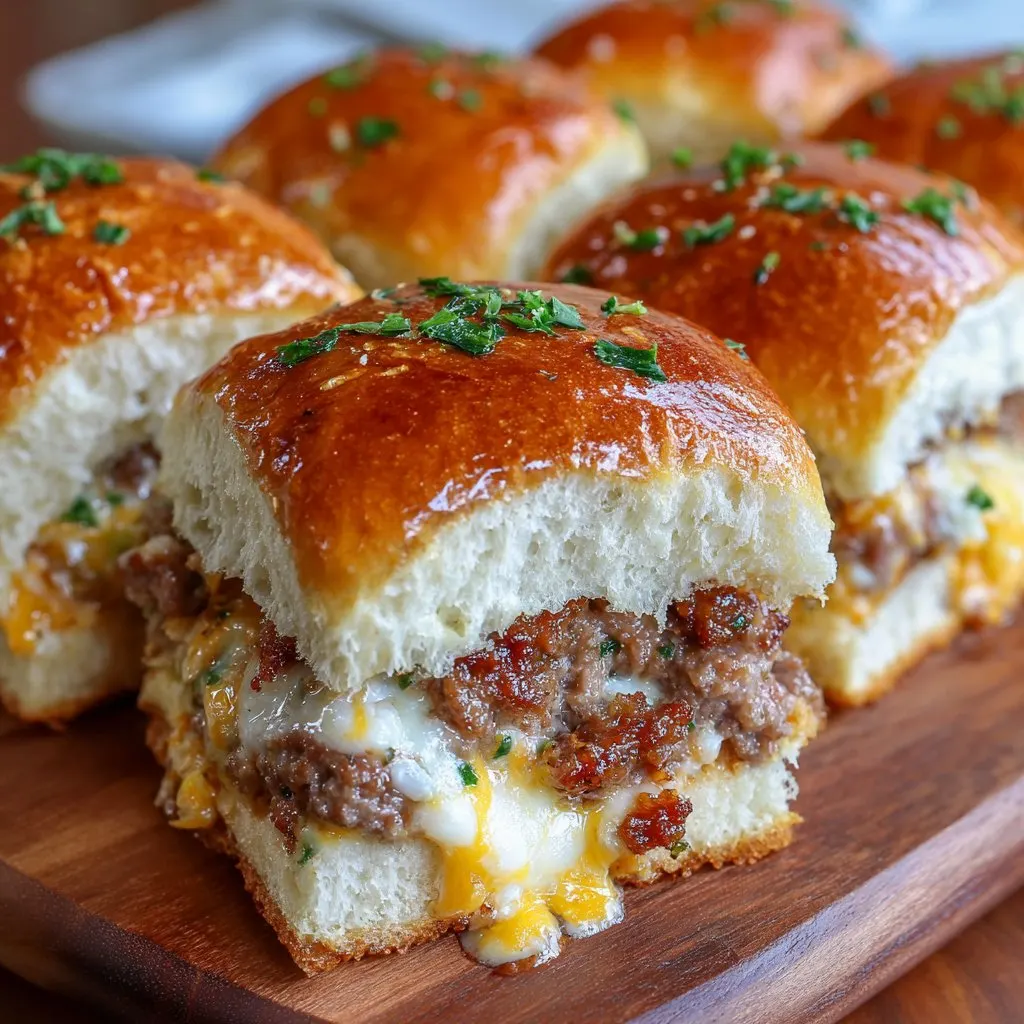
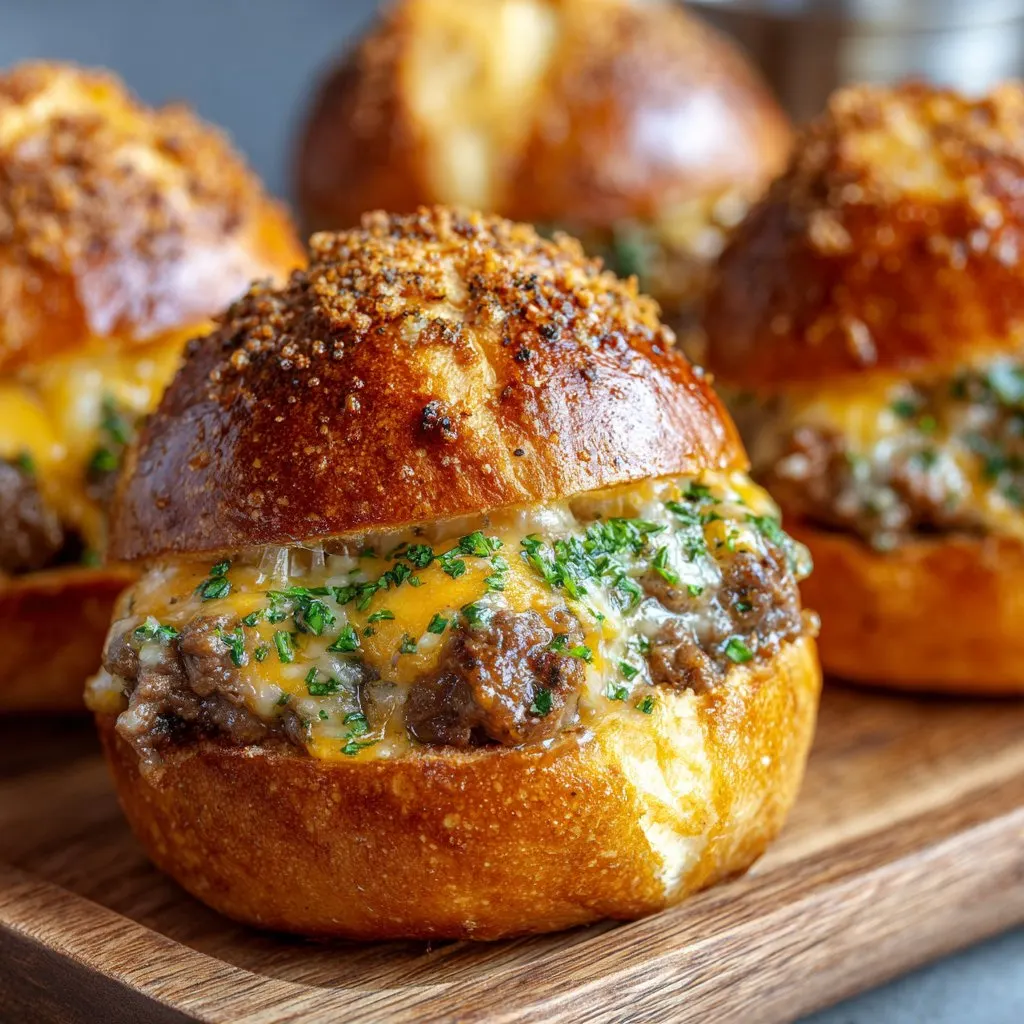
Hey y'all! If you love juicy cheeseburgers oozing with melted cheese and crave the golden, garlicky goodness of fresh-baked bread, you’re in for a treat. These Cheeseburger Bombs with Garlic Butter are the ultimate snack or dinner for game nights, family gatherings, or anytime you want a cozy comfort food fix. They're easy to make, packed with flavor, and guaranteed to disappear fast. Let’s get cooking!
Why You'll Love This Cheeseburger Bombs with Garlic Butter Recipe
- Perfectly portable and crowd-pleasing for parties or game day snacks.
- Melty cheese and seasoned beef tucked in fluffy, golden dough with a buttery garlic finish.
- Simple, everyday ingredients make prep a breeze.
- Customizable with your favorite toppings and cheeses.
- Great for kids and adults alike – the ultimate family-friendly meal!
Ingredients for Cheeseburger Bombs with Garlic Butter
- 1 lb (450g) ground beef (80/20 preferred)
- ½ teaspoon salt
- ½ teaspoon black pepper
- ½ teaspoon garlic powder
- ½ teaspoon onion powder
- 1 tablespoon ketchup
- 1 tablespoon yellow mustard
- 1 cup shredded cheddar cheese (plus more for topping, optional)
- 1 can (16 oz) refrigerated biscuit dough (8 large biscuits)
- 2 tablespoon unsalted butter (melted)
- 2 cloves garlic (minced)
- 1 tablespoon chopped fresh parsley (optional)
- Sesame seeds (optional, for garnish)
How to Make Cheeseburger Bombs with Garlic Butter
Step 1: Prepare the Beef Filling
- Preheat your oven to 375°F (190°C). Line a baking sheet with parchment paper.
- In a large skillet over medium heat, add the ground beef. Cook for 4-5 minutes, breaking it up as it browns.
- Stir in salt, pepper, garlic powder, and onion powder. Drain excess fat if needed.
- Add ketchup and mustard, stirring to combine. Remove from heat and let cool for 3-5 minutes.
- Mix in the shredded cheddar cheese until evenly distributed.
Step 2: Assemble the Cheeseburger Bombs
- Separate the biscuit dough into 8 pieces. Flatten each into a 4-inch round disc using your hands or a rolling pin.
- Spoon 2 tablespoons of the beef-cheese mixture onto the center of each disc.
- Fold the dough around the filling, pinching the seams closed tightly to form a ball. Place seam-side down on the prepared baking sheet.
Step 3: Bake
- In a small bowl, mix the melted butter with minced garlic and parsley.
- Brush half of the garlic butter over the tops of the dough balls. Sprinkle with sesame seeds if using.
- Bake for 15-18 minutes, until golden brown and cooked through.
- Remove from the oven and brush with the remaining garlic butter.
- Let cool for 3-4 minutes, then serve warm and gooey.

Notes for Perfect Cheeseburger Bombs with Garlic Butter
- Don’t overfill the dough—too much filling can cause leaks. For more tips on working with biscuit dough, check out King Arthur Baking’s biscuit guide.
- If using homemade dough, be sure to chill it slightly before assembling for easier handling.
- Melted cheese is best right out of the oven, but these can be reheated for next-day snacking.
Cheeseburger Bombs with Garlic Butter Variations
- Bacon Cheeseburger Bombs: Add ¼ cup cooked, chopped bacon to the beef mixture.
- Spicy Jalapeño Bombs: Mix in 2 tablespoons diced pickled jalapeños with the cheese.
- Vegetarian Option: Substitute cooked lentils or plant-based crumbles for beef.
Required Equipment for Cheeseburger Bombs with Garlic Butter
- Baking sheet
- Parchment paper
- Large skillet
- Mixing bowls
- Basting brush
- Rolling pin (optional)
Storage Instructions for Cheeseburger Bombs with Garlic Butter
- Store cooled leftovers in an airtight container in the refrigerator for up to 3 days.
- Reheat in a 350°F (175°C) oven for 10 minutes or until heated through.
- To freeze, wrap individually and store up to 2 months. Thaw overnight before reheating.
Serving Suggestions for Cheeseburger Bombs with Garlic Butter
- Serve with classic burger sauces: ketchup, mustard, or burger sauce for dipping.
- Pair with a crisp green salad, fries, or classic coleslaw for a full meal.
- Great for lunchboxes, picnics, or as a hearty party appetizer.
Pro Tips for the Best Cheeseburger Bombs with Garlic Butter
- Let the beef filling cool before assembling to prevent the dough from getting soggy.
- Seal each dough ball tightly to keep the cheese from escaping as it bakes.
- For extra flavor, try using a blend of cheeses such as cheddar and mozzarella. For cheese pairing inspiration, see Cheese.com’s cheddar guide.
Cheeseburger Bombs with Garlic Butter FAQ
- Can I use homemade dough instead of canned biscuits?
- Absolutely! Just make sure the dough is easy to shape and not too sticky for sealing.
- What dipping sauces go best with cheeseburger bombs?
- Try classic ketchup, mustard, ranch, or even barbecue sauce for a tasty twist.
- Can I make these Cheeseburger Bombs with Garlic Butter ahead of time?
- Yes, assemble and refrigerate up to 1 day ahead; bake just before serving for the freshest results.
Prep Time: 15 minutes | Cook Time: 18 minutes | Total Time: 33 minutes
Ingredients
- 1 lb ground beef
- ½ cup diced onion
- 1 cup shredded cheddar cheese
- ¼ cup chopped dill pickles
- 1 can (16 oz) refrigerated biscuit dough (8 biscuits)
- 2 tablespoon unsalted butter, melted
- 2 cloves garlic, minced
- ½ teaspoon salt
- ¼ teaspoon black pepper
- 1 tablespoon chopped fresh parsley (optional, for garnish)
Instructions
-
1Preheat oven to 375°F (190°C). Line a baking sheet with parchment paper.
-
2In a skillet over medium heat, cook ground beef and diced onion until beef is browned and onion is soft. Drain excess fat. Season with salt and black pepper.
-
3Remove skillet from heat. Stir in shredded cheddar cheese and chopped dill pickles until well combined.
-
4Flatten each biscuit dough round and place a heaping tablespoon of the beef mixture in the center. Fold dough around filling and pinch to seal, forming a ball.
-
5Place the sealed bombs seam-side down on the prepared baking sheet. Mix melted butter with minced garlic and brush over each bomb.
-
6Bake for 18-20 minutes or until golden brown. Garnish with chopped parsley if desired and serve warm.
Approximate Information for One Serving
Nutrition Disclaimers
Number of total servings shown is approximate. Actual number of servings will depend on your preferred portion sizes.
Nutritional values shown are general guidelines and reflect information for 1 serving using the ingredients listed, not including any optional ingredients. Actual macros may vary slightly depending on specific brands and types of ingredients used.
To determine the weight of one serving, prepare the recipe as instructed. Weigh the finished recipe, then divide the weight of the finished recipe (not including the weight of the container the food is in) by the desired number of servings. Result will be the weight of one serving.
Did you make this recipe?
Please consider Pinning it!!


