
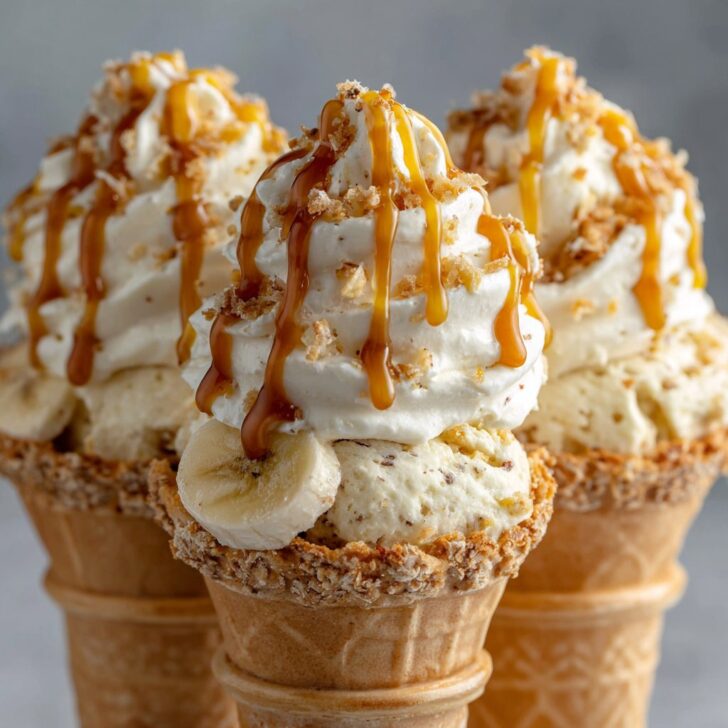

Hey y'all! If you love sweet treats that blend creamy, crunchy, and gooey all in one bite, you're going to adore these Banana Pudding Cheesecake Cones with Caramel Drizzle. They're a fun, no-bake dessert that's perfect for parties, family gatherings, or just treating yourself on a lazy weekend. With layers of velvety cheesecake, banana pudding, and a buttery cone crunch topped with dreamy caramel, every bite is pure joy. Let's get cooking!
Why You'll Love This Banana Pudding Cheesecake Cones with Caramel Drizzle
- Quick and easy — no baking required, just assemble and chill!
- Perfect for parties and portable for on-the-go snacking.
- Combines classic flavors of banana pudding and cheesecake in a fun, handheld cone.
- Creamy, crunchy, and caramel-drizzled for an irresistible texture combo.
- Customizable with your favorite toppings and variations.
Banana Pudding Cheesecake Cones with Caramel Drizzle Ingredients
- 8 sugar cones
- 1 (8 oz) package cream cheese, softened
- 1 cup heavy whipping cream, cold
- 1 cup powdered sugar
- 1 (3.4 oz) package instant banana pudding mix
- 1 cup cold milk
- 1 teaspoon pure vanilla extract
- 2 large ripe bananas, sliced
- 1 cup vanilla wafer cookies, crushed
- ½ cup caramel sauce, for drizzling
- Optional: whipped cream for topping
Directions for Banana Pudding Cheesecake Cones with Caramel Drizzle
1. Prepare the Cheesecake Filling
- In a large mixing bowl, beat the softened cream cheese with an electric mixer until smooth and fluffy (about 2 minutes).
- Add the powdered sugar and vanilla extract, and beat until well combined.
- Pour in cold heavy whipping cream and keep mixing on high speed until stiff peaks form (about 3 minutes). Set aside.
2. Make the Banana Pudding
- In a separate bowl, whisk instant banana pudding mix and cold milk for 2-3 minutes until thickened.
- Let the pudding stand for 5 minutes to set.
3. Assemble the Cones
- Gently fold half of the banana pudding into the cheesecake mixture for a marbled effect.
- Fill each sugar cone about halfway with crushed vanilla wafers.
- Layer in some sliced bananas, then pipe or spoon in the cheesecake-banana pudding filling to the top of the cone.
- Top with extra crushed wafers, banana slices, and a generous caramel drizzle.
- Add a swirl of whipped cream, if desired.


Notes for the Best Banana Pudding Cheesecake Cones with Caramel Drizzle
- For a crunchy cone, fill and serve immediately; for a softer bite, let cones chill in the fridge for 30 minutes before serving.
- Use ripe, but not overripe, bananas for best flavor and texture. See tips on banana ripeness at Bon Appétit.
- Pipe filling using a piping bag for neat, eye-catching presentation.
Variations for Banana Pudding Cheesecake Cones with Caramel Drizzle
- Chocolate Lovers: Add chocolate chips or drizzle cones with chocolate sauce instead of caramel.
- Nutty Crunch: Sprinkle chopped toasted pecans or walnuts on top for added texture.
- Berry Twist: Fold in fresh chopped strawberries or blueberries with the banana pudding layer.
Required Equipment for Banana Pudding Cheesecake Cones with Caramel Drizzle
- Electric hand mixer or stand mixer
- Mixing bowls
- Piping bag (optional, for filling)
- Spatula
- Measuring cups and spoons
Storage Instructions for Banana Pudding Cheesecake Cones with Caramel Drizzle
- Store assembled cones in an airtight container in the fridge for up to 2 days.
- For best texture, keep cones and filling separate until just before serving.
- Bananas may brown slightly but are safe to eat within the storage window.
Suggested Pairings & Serving Recommendations
- Serve with fresh brewed coffee or a tall glass of iced tea for a Southern-inspired treat.
- Pair with extra caramel sauce and a sprinkle of sea salt for a sweet-salty finish.
- Enjoy as a show-stopping dessert at birthday parties, BBQs, or potlucks.
Pro Tips for Banana Pudding Cheesecake Cones with Caramel Drizzle
- Chill your mixing bowl and beaters before whipping cream for fluffier results. Learn more at Serious Eats: How to Make Whipped Cream.
- Don’t overfill the cones to avoid soggy bottoms—balance filling and wafers for best texture.
- For easy drizzling, warm the caramel sauce slightly before adding to the cones. Check more caramel tips at Allrecipes: How to Make Caramel Sauce.
FAQ: Banana Pudding Cheesecake Cones with Caramel Drizzle
- Can I make these cones ahead of time?
- Yes, you can make the filling and pudding a day ahead and store them separately. Assemble the cones just before serving for the best crunch.
- Can I use store-bought caramel sauce?
- Absolutely! Store-bought caramel works just fine and saves time, but homemade caramel will add a richer flavor if you have time to make it.
- What if I don't have sugar cones?
- You can use waffle cones or even serve the filling in bowls layered with crushed cookies for a parfait-style dessert.
Prep Time: 20 minutes
Total Time: 25 minutes
Servings: 8 cones


Ingredients
- 6 waffle cones
- 8 oz cream cheese, softened
- 1 cup heavy whipping cream
- ½ cup granulated sugar
- 1 (3.4 oz) package instant banana pudding mix
- 1 cup cold milk
- 1 cup vanilla wafer cookies, crushed
- 2 ripe bananas, sliced
- ¼ cup caramel sauce
Instructions
-
1In a large mixing bowl, beat the softened cream cheese and sugar together until smooth and creamy.
-
2In a separate bowl, whisk together the instant banana pudding mix and cold milk until thickened, about 2 minutes.
-
3Fold the banana pudding into the cream cheese mixture, then gently fold in the whipped heavy cream until fully combined.
-
4Spoon or pipe the cheesecake banana pudding filling into each waffle cone, filling to the top.
-
5Top each cone with sliced bananas, crushed vanilla wafers, and a generous drizzle of caramel sauce.
-
6Serve immediately or chill for up to 1 hour before serving for a firmer texture.
Approximate Information for One Serving
Nutrition Disclaimers
Number of total servings shown is approximate. Actual number of servings will depend on your preferred portion sizes.
Nutritional values shown are general guidelines and reflect information for 1 serving using the ingredients listed, not including any optional ingredients. Actual macros may vary slightly depending on specific brands and types of ingredients used.
To determine the weight of one serving, prepare the recipe as instructed. Weigh the finished recipe, then divide the weight of the finished recipe (not including the weight of the container the food is in) by the desired number of servings. Result will be the weight of one serving.
Did you make this recipe?
Please consider Pinning it!!