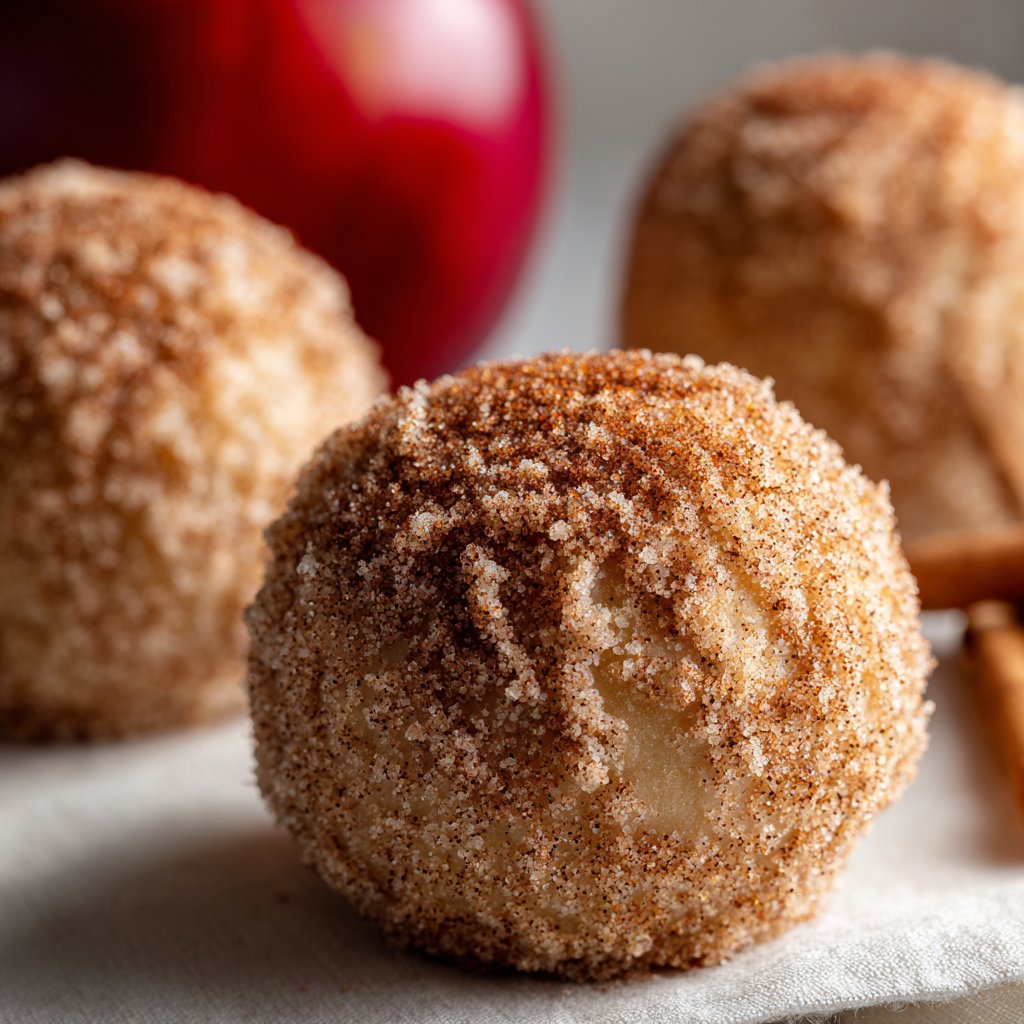
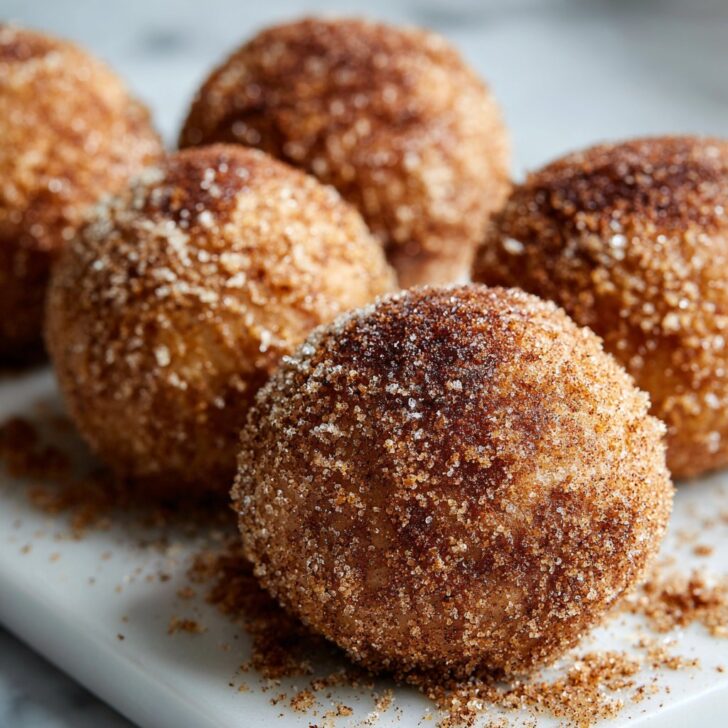
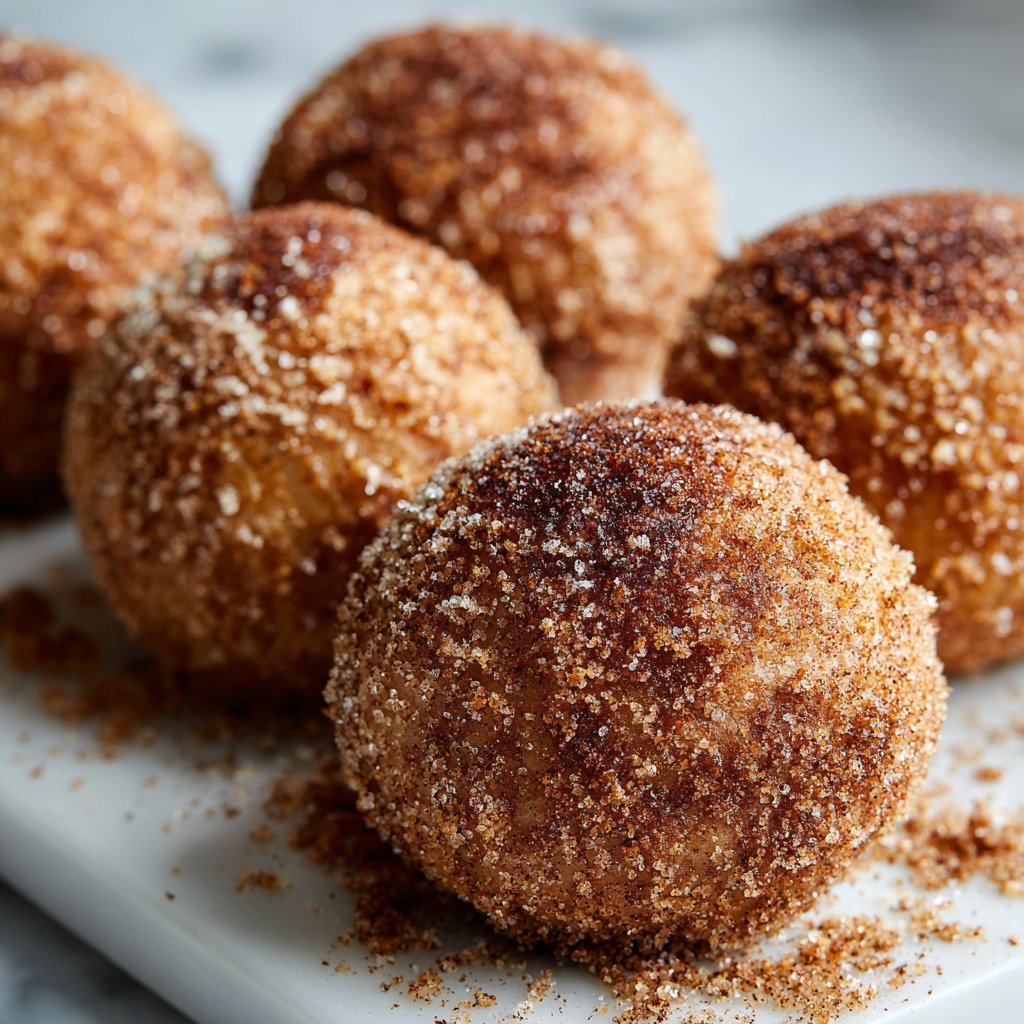
Hey y’all! If you’re searching for an irresistibly easy dessert that packs all the flavor of classic apple pie into a bite-sized treat, these Apple Pie Bombs with Cinnamon Sugar Coating are just what you need. Crispy on the outside, gooey and sweet on the inside, these little apple pie bombs are a hit at parties, cozy family gatherings, or whenever you need a quick, comforting bite of nostalgia. Let’s get cooking!
Why You’ll Love This Apple Pie Bombs with Cinnamon Sugar Coating Recipe
- Ready in under 30 minutes, making it perfect for busy days or last-minute cravings.
- Each bite offers a delightful combination of crispy, buttery dough and a gooey apple-cinnamon center.
- Kid-friendly and easily customizable with your favorite fillings or toppings.
- No complicated dough—store-bought biscuits make this recipe effortless.
- Perfect for sharing at brunches, potlucks, or holiday gatherings!
Ingredients for Apple Pie Bombs with Cinnamon Sugar Coating
- 1 can (16.3 oz) refrigerated biscuit dough (8 count)
- 1 cup apple pie filling, chopped into small pieces
- 4 tablespoons unsalted butter, melted
- ½ cup granulated sugar
- 2 teaspoons ground cinnamon
- Optional: pinch of nutmeg for extra warmth
How to Make Apple Pie Bombs with Cinnamon Sugar Coating
Step 1: Preheat & Prep
Preheat your oven to 375°F (190°C). Line a baking sheet with parchment paper or a silicone baking mat for easy cleanup.
Step 2: Prepare the Filling
Chop the apple pie filling into small, bite-sized pieces. This helps ensure every apple pie bomb has a gooey center without leaking.
Step 3: Assemble the Bombs
Flatten each biscuit dough round into a 4-inch circle. Place about 1 tablespoon of apple pie filling in the center. Carefully pull the edges up and pinch tightly to seal, shaping into a smooth ball. Place sealed-side down on your baking sheet.
Step 4: Bake
Bake in the preheated oven for 13-16 minutes, or until golden brown and puffy.
Step 5: Cinnamon Sugar Coating
While the bombs are baking, mix sugar and cinnamon in a shallow bowl. As soon as the apple pie bombs come out of the oven, brush generously with melted butter and immediately roll in the cinnamon sugar mixture until fully coated.

Notes for Perfect Apple Pie Bombs with Cinnamon Sugar Coating
- If your apple pie filling has really large chunks, chop them smaller so they fit neatly inside the dough.
- Seal the dough well to prevent leaks—pinch closed and roll gently in your hands.
- Want to learn more about working with biscuit dough? Check out King Arthur Baking’s tips for easy baking hacks.
Apple Pie Bombs with Cinnamon Sugar Coating: Variations
- Caramel Apple Bombs: Add a small caramel candy inside with the apple filling for ooey-gooey results.
- Cream Cheese Apple Bombs: Add 1 teaspoon of sweetened cream cheese along with the apple filling for a rich twist.
- Air Fryer Version: Air fry at 350°F (175°C) for about 9-11 minutes instead of baking in the oven.
Required Equipment for Apple Pie Bombs
- Baking sheet
- Parchment paper or silicone baking mat
- Mixing bowls
- Pastry brush
- Knife for chopping apples
Storage Instructions & Shelf Life
Store leftover apple pie bombs in an airtight container at room temperature for up to 2 days. For longer freshness, refrigerate up to 5 days. Reheat in the oven or air fryer at 300°F (150°C) for 4-5 minutes to restore crispiness. For more on food storage best practices, visit FoodSafety.gov.
Suggested Pairings & Serving Recommendations
- Serve warm with a scoop of vanilla ice cream for an indulgent treat!
- Pair with freshly brewed coffee or chai tea for a cozy afternoon snack.
- Drizzle with caramel or dust with powdered sugar for extra flair.
Pro Tips for the Best Apple Pie Bombs with Cinnamon Sugar Coating
- Don’t overfill—stick to about 1 tablespoon of filling to ensure a secure seal.
- Brush with melted butter immediately after baking so the cinnamon sugar sticks perfectly.
- For more tips on perfecting apple desserts, check out Serious Eats’ apple baking guide.
FAQ: Apple Pie Bombs with Cinnamon Sugar Coating
- Can I make Apple Pie Bombs in advance?
- Yes, assemble them up to a day ahead and store covered in the fridge, then bake fresh when needed.
- Can I freeze these apple pie bombs?
- Absolutely! Freeze baked (and cooled) bombs for up to 2 months. Reheat directly from frozen at 350°F (175°C) for 8-10 minutes.
- What apples work best if I want to make my own filling?
- Granny Smith, Honeycrisp, or Fuji apples are great for homemade apple pie filling—they’re sweet-tart and hold their shape well.
Prep Time: 10 minutes
Cook Time: 15 minutes
Total Time: 25 minutes
Yield: 8 apple pie bombs
Ingredients
- 1 can (8 oz) refrigerated biscuit dough
- 1 cup apple pie filling, chopped
- 2 tablespoons unsalted butter, melted
- 1/3 cup granulated sugar
- 1 teaspoon ground cinnamon
- 1 tablespoon all-purpose flour
- 1/2 teaspoon vanilla extract
- Pinch of salt
Instructions
-
1Preheat the oven to 375°F (190°C) and line a baking sheet with parchment paper.
-
2In a small bowl, combine the chopped apple pie filling, flour, vanilla extract, and a pinch of salt. Mix well.
-
3Flatten each biscuit dough round and place about 1 tablespoon of the apple filling in the center. Pinch the edges to seal and form a ball.
-
4Place the sealed dough balls seam-side down on the prepared baking sheet. Brush each with melted butter.
-
5Bake for 16-18 minutes or until golden brown. Remove from oven.
-
6In a shallow bowl, mix the sugar and cinnamon. While still warm, roll each pie bomb in the cinnamon sugar mixture to coat. Serve warm.
Approximate Information for One Serving
Nutrition Disclaimers
Number of total servings shown is approximate. Actual number of servings will depend on your preferred portion sizes.
Nutritional values shown are general guidelines and reflect information for 1 serving using the ingredients listed, not including any optional ingredients. Actual macros may vary slightly depending on specific brands and types of ingredients used.
To determine the weight of one serving, prepare the recipe as instructed. Weigh the finished recipe, then divide the weight of the finished recipe (not including the weight of the container the food is in) by the desired number of servings. Result will be the weight of one serving.
Did you make this recipe?
Please consider Pinning it!!


