
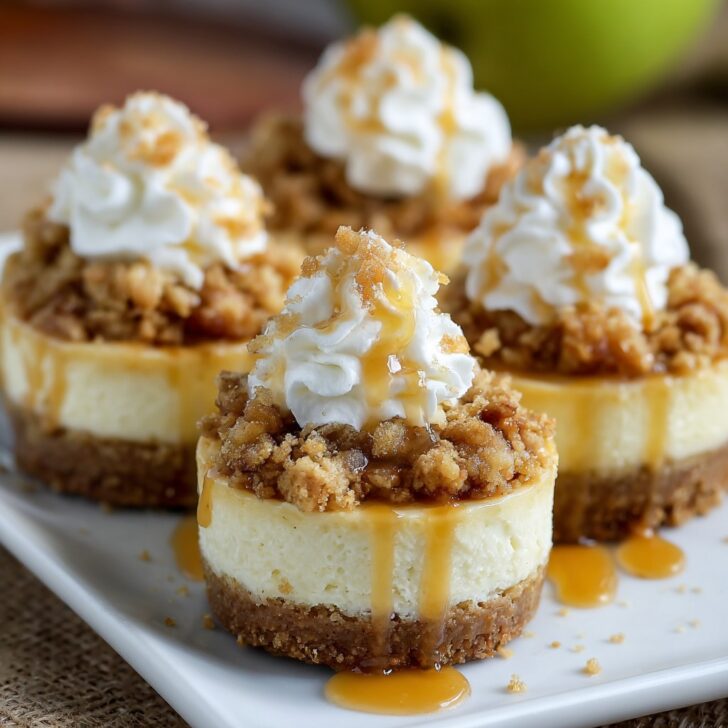

Hey y’all! Looking for a dessert that's creamy, crunchy, and packed with cinnamon-spiced apple goodness? These Apple Crisp Mini Cheesecakes are the perfect bite-sized treat for potlucks, holiday gatherings, or whenever you want to indulge your sweet tooth without making a full cake. Golden oat crumb topping and creamy cheesecake come together in one irresistible little cup. Let’s get cooking!
Why You'll Love This Apple Crisp Mini Cheesecakes Recipe
- They combine classic apple crisp flavors with rich, velvety cheesecake – the best of both worlds!
- Perfectly portioned for parties or lunchbox treats—no slicing needed.
- Make-ahead friendly, so your dessert is ready whenever you are.
- The sweet cinnamon oat topping adds a delightful crunch.
- Easy to customize with gluten-free or vegan options.
Ingredients for Apple Crisp Mini Cheesecakes
Crust:
- 1 cup graham cracker crumbs
- 2 tablespoon granulated sugar
- 4 tablespoon unsalted butter, melted
Cheesecake Filling:
- 12 oz (340 g) cream cheese, softened
- ⅓ cup granulated sugar
- 1 large egg
- 1 teaspoon vanilla extract
- ¼ cup sour cream
Apple Crisp Topping:
- 2 medium apples (e.g., Granny Smith or Honeycrisp), peeled and diced small
- 2 tablespoon brown sugar
- ½ teaspoon cinnamon
- ½ cup old-fashioned oats
- ¼ cup all-purpose flour
- 3 tablespoon cold unsalted butter, cubed
How to Make Apple Crisp Mini Cheesecakes
Step 1: Prep the Crust
Preheat your oven to 325°F (163°C). Line a 12-cup muffin pan with cupcake liners. In a bowl, mix graham cracker crumbs and sugar; stir in melted butter until evenly combined. Press 1 tablespoon of mixture firmly into the bottom of each liner to form the crust.
Step 2: Make the Cheesecake Filling
Using an electric mixer, beat the cream cheese until creamy and smooth, about 2 minutes. Add sugar; beat until fluffy. Mix in the egg, vanilla, and sour cream until fully incorporated and silky.
Step 3: Assemble the Cheesecakes
Spoon the cheesecake filling evenly over each crust—about 2 tablespoons per cup.
Step 4: Prepare the Apple Crisp Topping
In a bowl, toss diced apples with brown sugar and cinnamon. In another bowl, combine oats, flour, and cubed cold butter; mix with your fingers or a pastry cutter until crumbly. Stir in the spiced apples. Divide the apple-oat mixture over the cheesecake layer in each muffin cup.
Step 5: Bake
Bake for 22-25 minutes, until the cheesecakes are set and the topping is golden. Cool at room temperature for 1 hour, then chill in the fridge for at least 2 hours before serving.
Notes for Perfect Apple Crisp Mini Cheesecakes
- Room-temperature cream cheese blends better for a smooth filling.
- For a gluten-free version, use oat flour and gluten-free graham crackers (learn more).
- If you're new to mini cheesecakes, check out these mini cheesecake tips.


Variations on Apple Crisp Mini Cheesecakes
- Caramel Drizzle: Top with salted caramel sauce before serving.
- Pecan Crunch: Add chopped pecans to the oat topping for extra flavor.
- Berry Swirl: Fold in a few spoonfuls of berry compote with the apples.
Equipment Needed for Apple Crisp Mini Cheesecakes
- 12-cup muffin pan
- Paper cupcake liners
- Mixing bowls
- Electric hand mixer or stand mixer
- Measuring cups and spoons
- Rubber spatula
- Knife and cutting board
Storage Instructions for Mini Apple Crisp Cheesecakes
Keep these mini cheesecakes in an airtight container in the refrigerator for up to 5 days. To freeze, wrap each cheesecake tightly in plastic wrap, then foil; freeze for up to 2 months. Thaw overnight in the fridge before serving.
Apple Crisp Mini Cheesecakes: Serving Ideas & Pairings
- Top with whipped cream or a scoop of vanilla ice cream for even more decadence.
- Serve with a mug of spiced chai or hot apple cider (homemade recipe here).
- Pair with crisp sparkling wine for an elegant dessert bite.
Pro Tips for Amazing Apple Crisp Mini Cheesecakes
- Chill thoroughly before removing liners for sharp, clean edges.
- Use tart apples like Granny Smith to balance the sweetness.
- Don’t overmix the cheesecake filling—just blend until smooth. For more cheesecake tips, see this guide.
FAQ About Apple Crisp Mini Cheesecakes
- Can I make Apple Crisp Mini Cheesecakes ahead?
- Absolutely! These are best after a few hours in the fridge, so you can easily make them the night before your event.
- What apples work best in this recipe?
- Tart apples like Granny Smith or Honeycrisp are best for flavor and texture.
- Can I freeze these mini cheesecakes?
- Yes! Wrap individually and freeze for up to 2 months for a quick treat anytime.


Ingredients
- 1 cup graham cracker crumbs
- 3 tablespoon unsalted butter, melted
- 8 oz cream cheese, softened
- ⅓ cup granulated sugar
- 1 large egg
- ½ teaspoon vanilla extract
- 1 cup diced apples (peeled)
- 2 tablespoon brown sugar
- ½ teaspoon ground cinnamon
- ¼ cup rolled oats
- 2 tablespoon all-purpose flour
Instructions
-
1Preheat the oven to 350°F (175°C) and line a muffin tin with 12 paper liners.
-
2Combine graham cracker crumbs and melted butter in a bowl. Press about 1 tablespoon of the mixture into the bottom of each muffin liner to form the crust.
-
3In a mixing bowl, beat the cream cheese and granulated sugar until smooth. Add egg and vanilla extract, and mix until just combined. Spoon the cheesecake batter evenly over the crusts.
-
4Mix diced apples with brown sugar and cinnamon. Spoon a small amount over the cheesecake layer in each cup.
-
5In another bowl, combine oats, flour, and a tablespoon of brown sugar. Sprinkle the oat crumble evenly over the apples.
-
6Bake for 22-25 minutes or until the centers are set. Cool completely before serving.
Approximate Information for One Serving
Nutrition Disclaimers
Number of total servings shown is approximate. Actual number of servings will depend on your preferred portion sizes.
Nutritional values shown are general guidelines and reflect information for 1 serving using the ingredients listed, not including any optional ingredients. Actual macros may vary slightly depending on specific brands and types of ingredients used.
To determine the weight of one serving, prepare the recipe as instructed. Weigh the finished recipe, then divide the weight of the finished recipe (not including the weight of the container the food is in) by the desired number of servings. Result will be the weight of one serving.
Did you make this recipe?
Please consider Pinning it!!