Introduction
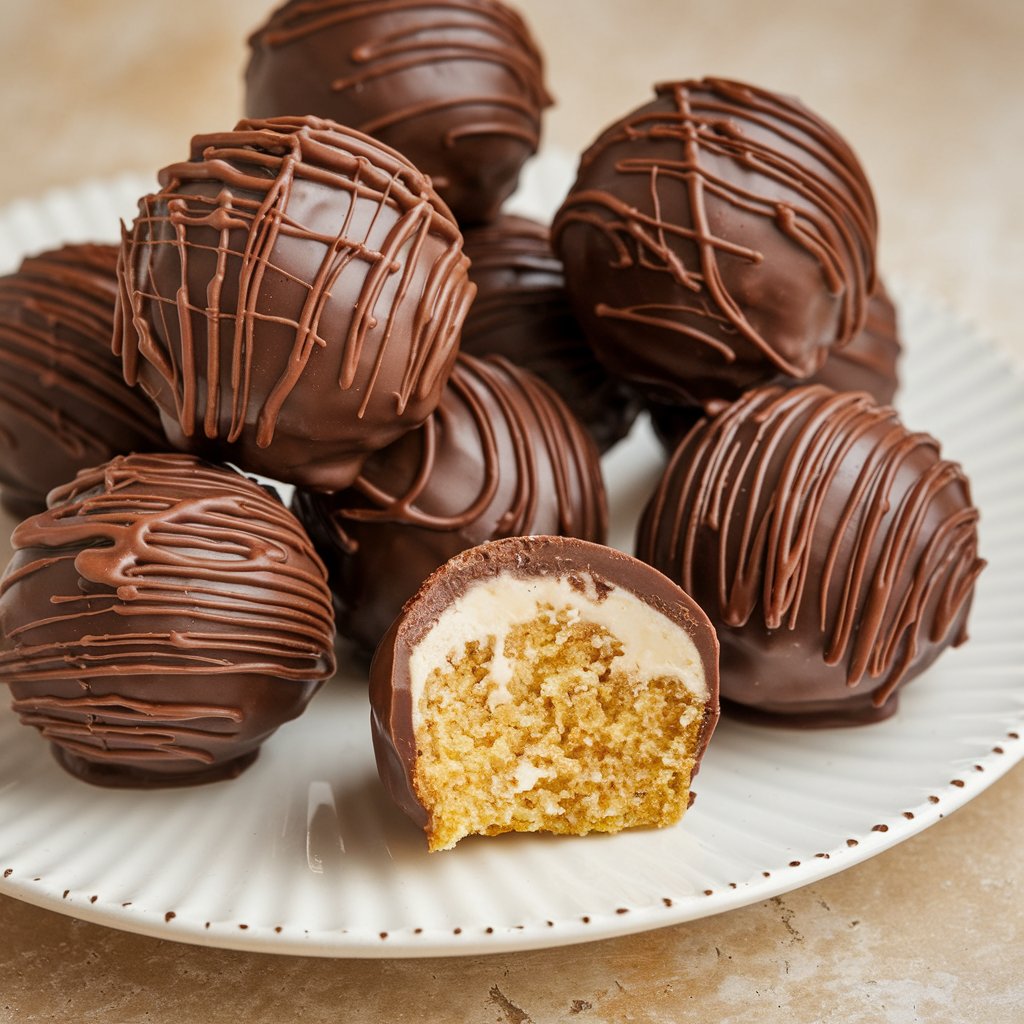
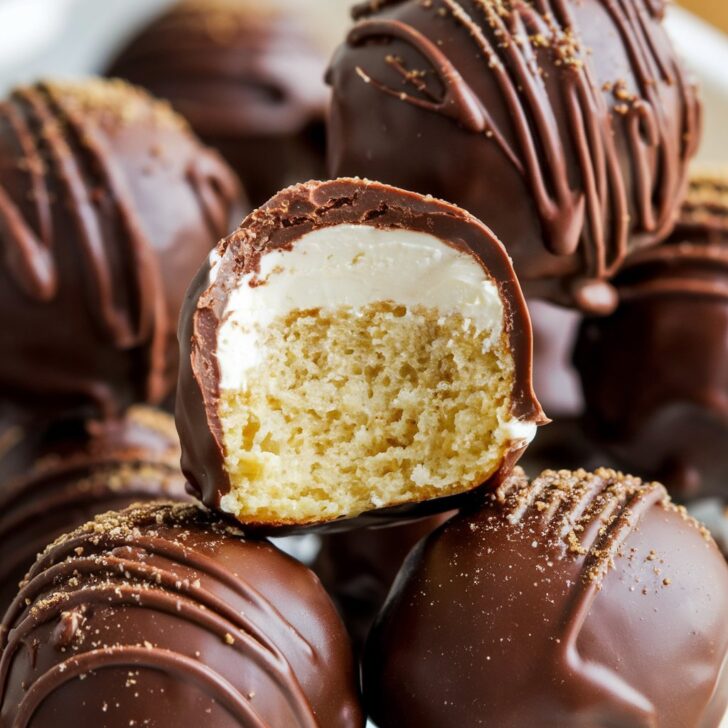
The holiday season is all about indulging in comforting and flavorful treats, and nothing captures the festive spirit quite like eggnog. Combining the rich, creamy taste of eggnog with a velvety chocolate coating, eggnog cake balls are a perfect addition to any holiday table. These bite-sized desserts are a crowd-pleaser, offering a blend of soft cake, spiced frosting, and a smooth chocolate shell. Whether you're looking to impress at a family gathering, surprise your friends, or give a homemade gift, this recipe is a must-try. Let’s dive into creating these delectable treats step by step!
Ingredients Needed
For the Cake Base
To create the base for the eggnog cake balls, you'll need:
- 1 box of vanilla or white cake mix (or use your favorite homemade vanilla cake recipe)
- Ingredients as specified on the cake mix (typically eggs, oil, and water)
- ½ cup eggnog to replace part of the liquid in the cake mix
For the Eggnog Frosting
The frosting not only binds the cake crumbs but also adds a delightful eggnog flavor. Here’s what you need:
- 4 oz cream cheese, softened
- 2 cups powdered sugar
- 3 tablespoons eggnog
- ½ teaspoon ground nutmeg
For the Chocolate Coating
A luscious chocolate coating elevates these cake balls to the next level:
- 12 oz semi-sweet, milk, or white chocolate chips
- 1 tablespoon coconut oil or shortening (optional, for a smoother consistency)
Optional Decorations
Add a festive touch with:
- Sprinkles
- Crushed candy canes
- A drizzle of contrasting chocolate
Choosing the Best Eggnog
Eggnog is the cornerstone of this recipe, so its quality matters. You can use store-bought eggnog for convenience or make your own if you want a fresh and authentic flavor. When choosing store-bought eggnog, opt for a rich, creamy variety with natural spices for the best results. If you're feeling adventurous, you can experiment with flavored eggnogs, such as vanilla, cinnamon, or even bourbon-spiked versions. Non-dairy eggnogs, like almond or oat-based ones, work wonderfully for a vegan-friendly alternative.
Tools and Equipment Required
Having the right tools on hand can make the process smoother. Gather these items before you start:
- Mixing bowls: For preparing the cake batter and frosting
- Electric mixer: To ensure a smooth and lump-free frosting
- Baking pan: For baking the cake base
- Cooling rack: To cool the cake evenly
- Cookie scoop or spoon: For portioning the cake mixture into even-sized balls
- Microwave-safe bowl: For melting the chocolate
- Fork or dipping tool: To coat the cake balls in chocolate
- Parchment paper: For placing the dipped cake balls to set
Step-by-Step Recipe for Eggnog Cake

1. Baking the Cake
- Preheat your oven to 350°F (175°C) and grease your baking pan.
- Prepare the cake batter according to the package or recipe instructions, substituting ½ cup of the liquid with eggnog. This adds the signature holiday flavor to the cake.
- Pour the batter into the prepared pan and bake as directed, typically for 25–30 minutes.
- Once baked, remove the cake from the oven and allow it to cool completely on a cooling rack.
Adding Eggnog Frosting
1. Making the Frosting
- In a mixing bowl, beat the softened cream cheese until smooth.
- Gradually add the powdered sugar, one cup at a time, and continue mixing until fully incorporated.
- Add the eggnog and ground nutmeg, blending until the frosting is creamy and spiced to perfection.
2. Crumbling the Cake
- Once the cake has cooled, crumble it into fine crumbs using your hands or a fork. Ensure there are no large chunks.
- Add the frosting gradually to the cake crumbs, mixing well after each addition. The mixture should be moist enough to hold its shape when pressed but not overly sticky.
Forming the Cake Balls
- Use a cookie scoop or spoon to portion the mixture into even-sized balls (approximately 1 inch in diameter).
- Roll the portions between your palms to form smooth balls.
- Place the balls on a parchment-lined baking sheet and refrigerate them for at least 1 hour. This step helps the cake balls firm up, making them easier to coat.
Preparing the Chocolate Coating
1. Melting the Chocolate
- Place the chocolate chips in a microwave-safe bowl. Microwave in 30-second intervals, stirring well after each interval until the chocolate is completely melted and smooth.
- If the chocolate is too thick for dipping, add 1 tablespoon of coconut oil or shortening and stir well.
2. Dipping the Cake Balls
- Remove the chilled cake balls from the refrigerator.
- Using a fork or dipping tool, dip each cake ball into the melted chocolate, ensuring it is fully coated.
- Lift the ball out of the chocolate, gently tapping the fork on the edge of the bowl to remove excess chocolate.
- Place the coated cake ball onto a parchment-lined tray. Repeat with the remaining cake balls.
Decorating and Storing Eggnog Cake Balls
1. Decorating
- While the chocolate coating is still wet, sprinkle festive decorations, such as sprinkles or crushed candy canes, over the top.
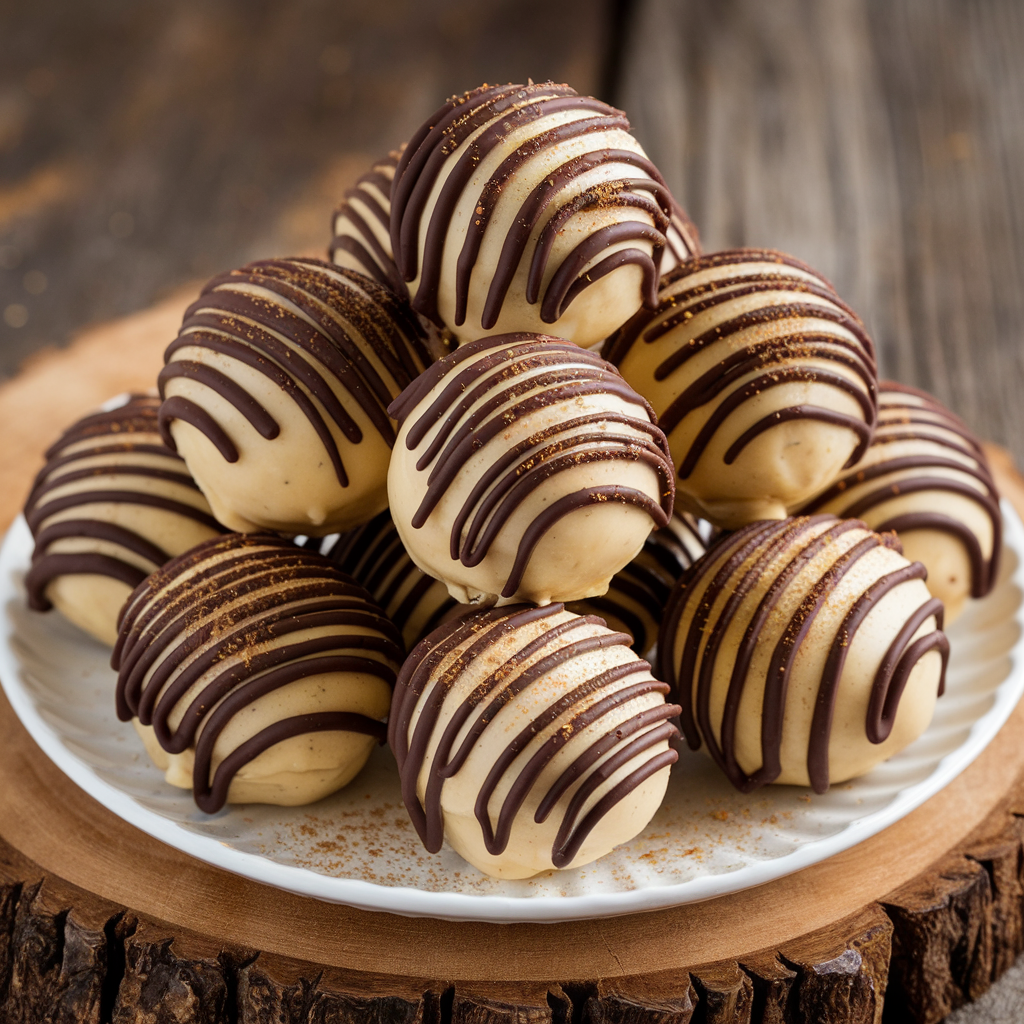
- For a more elegant look, drizzle white chocolate over semi-sweet chocolate-coated balls or vice versa.
2. Storing
- Allow the chocolate coating to set completely. This can take 15–20 minutes at room temperature or 5–10 minutes in the refrigerator.
- Transfer the cake balls to an airtight container. Store them in the refrigerator for up to 1 week or freeze for up to 3 months.
Tips for Success
- Consistency is Key: Aim for a texture that is sticky enough to hold together but not too wet. Add the frosting gradually to achieve this balance.
- Chill for Ease: Always chill the cake balls before dipping them in chocolate to prevent them from falling apart.
- Smooth Coating: Use a fork or dedicated dipping tool for an even chocolate coating. Adding a bit of coconut oil to the chocolate can improve its flow.
- Work Quickly: If decorating, do so while the chocolate is still wet to ensure the toppings stick.
Variations and Customizations

1. Flavored Eggnog
- Experiment with non-traditional eggnog flavors, such as caramel or pumpkin spice, to create unique variations.
2. Alternate Coatings
- Instead of chocolate, roll the cake balls in powdered sugar, crushed graham crackers, or shredded coconut.
3. Boozy Twist
- Add a splash of rum or bourbon to the frosting for an adult-friendly version of this treat.
Serving Suggestions
Eggnog cake balls are incredibly versatile and can be served in various ways:
- Arrange them on a festive platter for holiday gatherings.
- Package them in decorative boxes or tins as edible gifts.
- Serve them alongside warm drinks like hot cocoa, coffee, or mulled wine for a cozy treat.
Nutritional Information
| Nutrient | Per 2 Cake Balls |
|---|---|
| Calories | ~150 |
| Fat | 8g |
| Carbohydrates | 20g |
| Protein | 2g |
| Sugar | 12g |
For a healthier version, you can use reduced-fat cream cheese, sugar substitutes, or non-dairy chocolate.
Frequently Asked Questions
1. How long can I store eggnog cake balls?
Eggnog cake balls can be stored in the refrigerator for up to 7 days. For longer storage, freeze them in an airtight container for up to 3 months.
2. Can I freeze eggnog cake balls?
Yes, they freeze beautifully! Ensure they are in an airtight container to prevent freezer burn.
3. Can I use dark chocolate instead of semi-sweet?
Absolutely! Dark chocolate adds a deeper, richer flavor that pairs beautifully with the eggnog.
4. What if I don’t have eggnog?
You can make a substitute by combining heavy cream with a pinch of nutmeg and cinnamon.
5. How do I fix runny chocolate?
If your chocolate is too runny, let it cool slightly before dipping. Alternatively, add more chocolate chips and melt them to thicken the consistency.
6. How can I make these vegan-friendly?
Use a dairy-free cake mix, vegan eggnog, and non-dairy cream cheese for the frosting. Opt for vegan chocolate chips for the coating.
Conclusion
Eggnog cake balls with chocolate coating are a delightful blend of seasonal flavors and textures. Their rich, creamy filling and luxurious chocolate shell make them a perfect addition to any festive celebration. With this detailed guide, you can easily create these show-stopping treats and impress your family and friends. Don’t wait—make this recipe your go-to holiday indulgence!

