

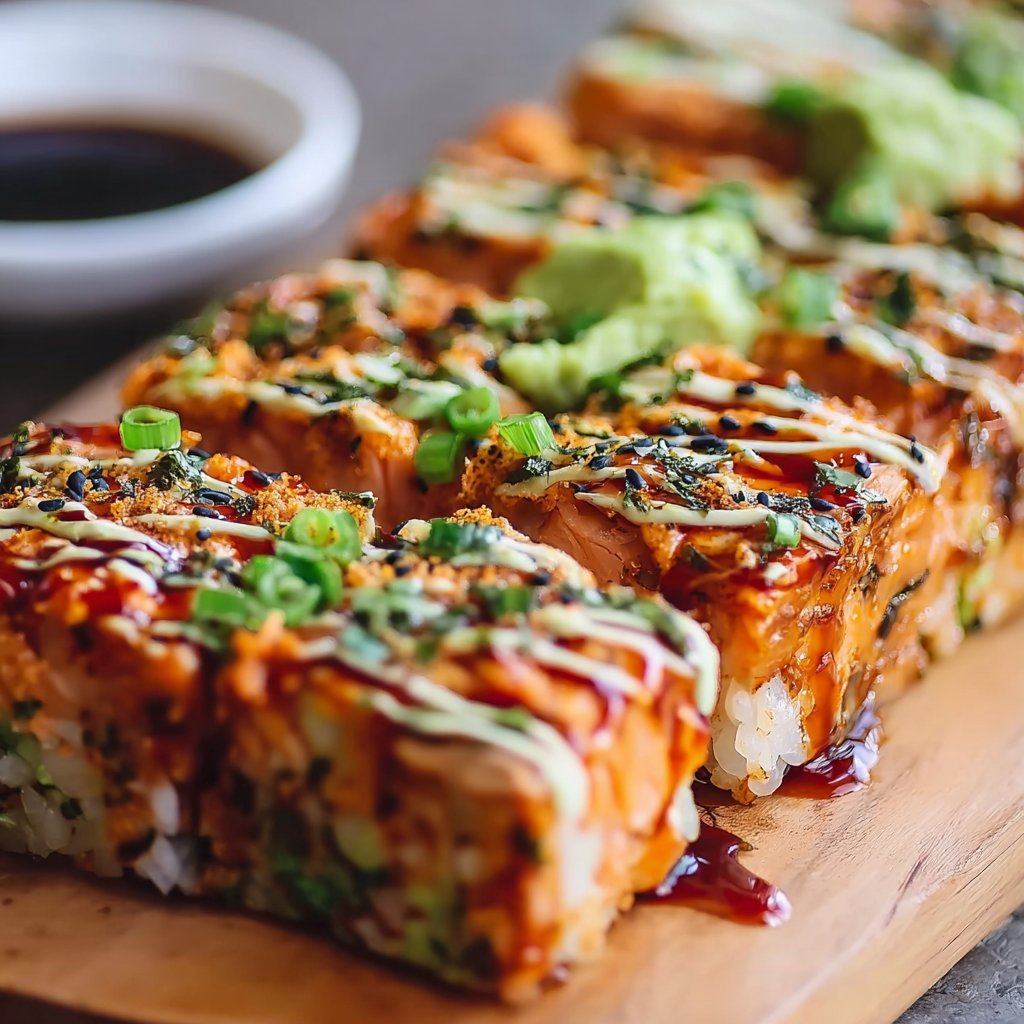
Hey y'all! If you're craving all the flavors of sushi but want something easy, comforting, and perfect for sharing, this Spicy Salmon Sushi Bake is about to become your new favorite. It's creamy, spicy, and irresistibly savory—basically everything you love about sushi rolls, but in a warm, bubbly casserole that's great for weeknight dinners, potlucks, or just treating yourself. Grab your chopsticks (or a spoon) and let's get cooking!
Why You'll Love This Spicy Salmon Sushi Bake
- It delivers all the sushi flavors you crave, but with less fuss and no rolling required.
- Perfect for feeding a crowd or meal prepping for the week.
- Customizable for spice level, add-ins, and dietary needs.
- Creamy, cheesy, and loaded with umami flavor in every bite.
- Bakes up in just 30 minutes for an easy, comforting meal.
Ingredients for Spicy Salmon Sushi Bake
- 2 cups cooked sushi rice (see how to make perfect sushi rice)
- 2 tablespoons seasoned rice vinegar
- 12 oz cooked salmon (about 2 fillets), flaked
- ½ cup mayonnaise (preferably Kewpie or Japanese mayo)
- 3 tablespoons sriracha sauce (adjust to taste)
- 2 teaspoons soy sauce
- 1 tablespoon cream cheese, softened
- 1 tablespoon green onions, finely sliced (plus extra for garnish)
- 1 tablespoon furikake seasoning
- ½ teaspoon sesame oil
- ½ cup shredded mozzarella cheese (optional, for extra creaminess)
- Roasted seaweed (nori) sheets or snack-size nori squares, for serving
- Cucumber and avocado slices, for topping (optional)
How to Make Spicy Salmon Sushi Bake – Step-by-Step Directions
1. Prepare the Sushi Rice Base
- Preheat your oven to 400°F (200°C). Grease an 8x8-inch baking dish.
- In a bowl, gently mix the warm cooked sushi rice with seasoned rice vinegar. Spread the rice evenly over the bottom of the baking dish. Sprinkle with half the furikake.
2. Make the Spicy Salmon Mixture
- In another bowl, combine the flaked salmon, mayonnaise, sriracha, soy sauce, cream cheese, sesame oil, and green onions. Mix until creamy and well incorporated. Adjust sriracha for heat preference.
3. Layer and Bake
- Spread the spicy salmon mixture evenly over the sushi rice layer. Sprinkle with remaining furikake and mozzarella cheese (if using).
- Bake for 15-18 minutes, until the top is bubbly and beginning to brown at the edges.
4. Garnish and Serve
- Remove from oven, let cool for 5 minutes, then top with extra green onions, avocado, and cucumber slices if desired.
- Serve warm with roasted seaweed sheets for scooping!
Notes & Helpful Cooking Tips for Spicy Salmon Sushi Bake
- If using raw salmon, bake or air-fry salmon fillets until cooked through before flaking; refer to this guide to cooking salmon for tips.
- Kewpie mayo adds an authentic rich flavor, but regular mayo works in a pinch.
- Don't skip the furikake—it brings savory, crunchy goodness!
Spicy Salmon Sushi Bake Variations You’ll Love
- Crab Sushi Bake: Substitute cooked salmon with imitation crab or lump crab meat.
- Vegetarian Sushi Bake: Swap salmon for roasted veggies like mushrooms or sweet potato.
- Extra Crunchy: Add a layer of panko bread crumbs on top before baking.
Equipment Needed for Spicy Salmon Sushi Bake
- 8x8-inch baking dish or similar casserole dish
- Mixing bowls
- Rice cooker or pot for rice
- Spatula and spoon
- Sharp knife for slicing toppings
Storage Instructions for Spicy Salmon Sushi Bake
- Store leftovers tightly covered in the refrigerator for up to 3 days.
- Reheat individual portions in the microwave or oven until warmed through.
- Not recommended for freezing, as the texture of rice and salmon may change.
Serving and Pairing Suggestions for Spicy Salmon Sushi Bake
- Pair with a simple miso soup, edamame, or crisp cucumber salad for a balanced meal.
- Serve with extra sriracha, pickled ginger, and soy sauce on the side.
- Offer with a chilled green tea or sake for an authentic touch.
Pro Tips For the Best Spicy Salmon Sushi Bake
- For ultra-creamy texture, use a blend of Kewpie mayo and softened cream cheese.
- Don't overbake—just bake until the top bubbles and edges brown slightly.
- Use sushi-grade salmon if you prefer a slightly rare finish (read about sushi safety and techniques).
Spicy Salmon Sushi Bake FAQ
- Can I use canned salmon for this recipe?
- Absolutely! Drain it well before mixing, and check for any bones or skin.
- Can I make this Spicy Salmon Sushi Bake ahead?
- Yes, assemble it up to a day in advance and bake just before serving for best results.
- Is this recipe gluten-free?
- Use gluten-free soy sauce and check that your furikake is gluten-free to keep it safe for gluten-sensitive folks.
Prep Time: 15 minutes
Cook Time: 18 minutes
Total Time: 33 minutes
Servings: 4-6

Ingredients
- 2 cups cooked sushi rice
- 1 tablespoon rice vinegar
- ½ teaspoon sugar
- ½ teaspoon salt
- 12 oz skinless salmon fillet, cooked and flaked
- ¼ cup mayonnaise
- 2 tablespoons Sriracha sauce
- 1 tablespoon soy sauce
- 1 teaspoon sesame oil
- ½ cup shredded mozzarella cheese
- 2 sheets roasted seaweed (nori), cut into small squares
- 2 green onions, thinly sliced
- 1 tablespoon toasted sesame seeds
Instructions
-
1Preheat the oven to 400°F (200°C). Lightly grease an 8x8-inch baking dish.
-
2In a bowl, combine cooked sushi rice, rice vinegar, sugar, and salt. Mix well and press the rice evenly into the bottom of the prepared baking dish.
-
3In another bowl, mix flaked salmon, mayonnaise, Sriracha sauce, soy sauce, and sesame oil until well combined.
-
4Spread the spicy salmon mixture evenly over the rice layer. Sprinkle shredded mozzarella cheese on top.
-
5Bake for 18-20 minutes, or until the cheese is melted and bubbly. Remove from the oven and let cool slightly.
-
6Garnish with green onions and toasted sesame seeds. Serve warm with roasted seaweed squares for scooping.
Approximate Information for One Serving
Nutrition Disclaimers
Number of total servings shown is approximate. Actual number of servings will depend on your preferred portion sizes.
Nutritional values shown are general guidelines and reflect information for 1 serving using the ingredients listed, not including any optional ingredients. Actual macros may vary slightly depending on specific brands and types of ingredients used.
To determine the weight of one serving, prepare the recipe as instructed. Weigh the finished recipe, then divide the weight of the finished recipe (not including the weight of the container the food is in) by the desired number of servings. Result will be the weight of one serving.
Did you make this recipe?
Please consider Pinning it!!