
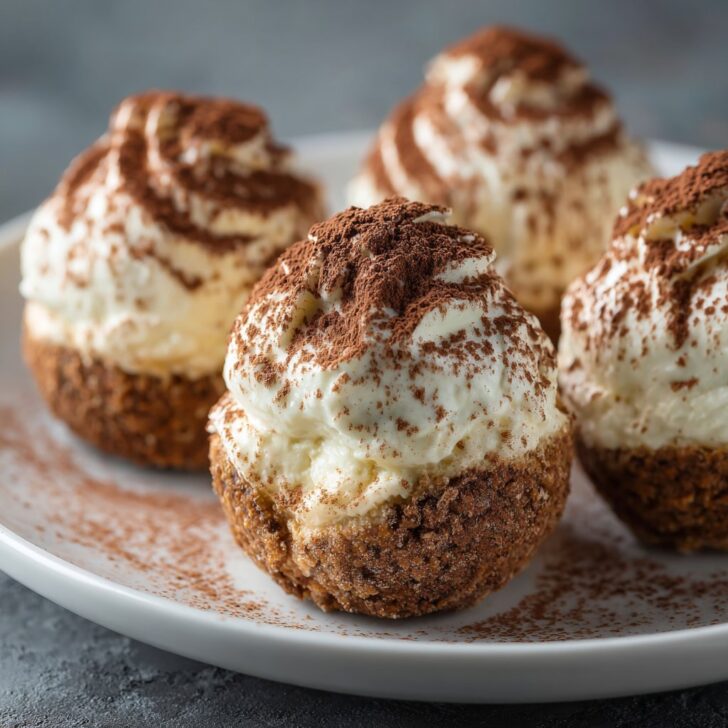

Hey y'all! If you've ever craved a decadent dessert but didn't want to spend hours in the kitchen, these 10 Minute Tiramisu Balls with Espresso and Cocoa are about to become your new obsession. Each bite is bursting with creamy, coffee-kissed flavor and a dreamy cocoa finish—perfect for parties, potlucks, or just a little afternoon pick-me-up. Let's get cooking!
Why You'll Love This 10 Minute Tiramisu Balls with Espresso and Cocoa Recipe
- Ready in just 10 minutes—no baking required!
- Rich, creamy, and packed with bold espresso and smooth cocoa flavor.
- Perfect bite-sized treats for gatherings or gifting.
- Easy to customize with your favorite flavors or liqueurs.
- Minimal cleanup with just a few simple ingredients!
Ingredients for 10 Minute Tiramisu Balls with Espresso and Cocoa
- 1 cup (100g) ladyfinger cookies (savoiardi), crushed
- ½ cup (120g) mascarpone cheese, softened
- ¼ cup (30g) powdered sugar
- 2 tablespoons espresso or strong brewed coffee, cooled
- 2 teaspoons coffee liqueur (optional, such as Kahlua)
- 1 teaspoon vanilla extract
- ¼ cup (25g) unsweetened cocoa powder (for rolling)
Directions: How to Make 10 Minute Tiramisu Balls with Espresso and Cocoa
Step 1: Crush the Ladyfingers
Place the ladyfinger cookies in a zip-top bag and crush them with a rolling pin until you get fine crumbs. Alternatively, use a food processor for a finer texture.
Step 2: Mix the Creamy Filling
In a medium bowl, combine the mascarpone cheese, powdered sugar, cooled espresso, coffee liqueur (if using), and vanilla extract. Stir until smooth and creamy.
Step 3: Combine and Form Tiramisu Balls
Add the crushed ladyfingers to the mascarpone mixture and mix well until evenly combined. The mixture should be soft but able to hold its shape when scooped.
Step 4: Shape and Coat
Scoop out heaping teaspoons of the mixture and roll into balls using your hands. Roll each ball in the unsweetened cocoa powder until fully coated, then place on a tray lined with parchment paper.
Step 5: Chill and Serve
Chill the tiramisu balls in the refrigerator for at least 15 minutes to set. Serve cold and enjoy the creamy, coffee-infused bliss!


Notes for Perfect 10 Minute Tiramisu Balls with Espresso and Cocoa
- If the mixture is too sticky, add a bit more crushed ladyfingers until it's easy to roll.
- Use high-quality espresso for the best flavor—learn more about brewing strong coffee at Serious Eats.
- For a lighter version, substitute part of the mascarpone with Greek yogurt for extra protein.
Variations on 10 Minute Tiramisu Balls with Espresso and Cocoa
- Chocolate Chip: Fold in mini dark chocolate chips before shaping the balls.
- Nutty Crunch: Add ¼ cup finely chopped hazelnuts or almonds to the mixture.
- Spiked: Use amaretto or Irish cream liqueur instead of coffee liqueur for a unique twist.
Required Equipment for 10 Minute Tiramisu Balls with Espresso and Cocoa
- Mixing bowls
- Measuring cups and spoons
- Rolling pin or food processor
- Tray and parchment paper
Storage Instructions for 10 Minute Tiramisu Balls with Espresso and Cocoa
Store tiramisu balls in an airtight container in the refrigerator for up to 5 days. For longer storage, freeze them for up to 1 month; thaw in the fridge before serving.
Suggested Pairings & Serving Recommendations
- Serve with hot espresso, cappuccino, or your favorite dessert wine.
- Dust with extra cocoa powder or grated dark chocolate for a pretty finish.
- Pair alongside fresh berries for a refreshing contrast.
Pro Tips for the Best 10 Minute Tiramisu Balls with Espresso and Cocoa
- Chill your hands slightly before rolling to prevent sticking (see more tips at Bon Appétit).
- Use a cookie scoop for evenly sized balls and a professional presentation.
- Let the flavors meld by chilling the tiramisu balls at least 30 minutes before serving; it really amps up the taste!
10 Minute Tiramisu Balls with Espresso and Cocoa FAQ
- Can I make tiramisu balls ahead of time?
Absolutely! You can make them up to 2 days in advance and store in the fridge until ready to serve. - What can I substitute for mascarpone?
Full-fat cream cheese or a mix of cream cheese and whipped cream are great alternatives—learn about mascarpone substitutes at The Spruce Eats. - How do I make these gluten-free?
Simply use gluten-free ladyfingers or gluten-free digestive biscuits in place of regular ladyfingers.


Ingredients
- 1 cup ladyfinger biscuits, finely crushed
- ½ cup mascarpone cheese, softened
- 2 tablespoons espresso, cooled
- 2 tablespoons powdered sugar
- ½ teaspoon vanilla extract
- ¼ cup dark chocolate chips, finely chopped
- 3 tablespoons unsweetened cocoa powder, for rolling
- 1 tablespoon coffee liqueur (optional)
Instructions
-
1In a medium bowl, combine the crushed ladyfinger biscuits, mascarpone cheese, powdered sugar, and vanilla extract.
-
2Add the cooled espresso and coffee liqueur (if using) to the mixture. Stir until a soft, sticky dough forms.
-
3Fold in the finely chopped dark chocolate chips until evenly distributed.
-
4Scoop out small portions of the mixture and roll into 1-inch balls using your hands.
-
5Roll each ball in the unsweetened cocoa powder to coat completely.
-
6Serve immediately or refrigerate for 10 minutes to firm up before serving.
Approximate Information for One Serving
Nutrition Disclaimers
Number of total servings shown is approximate. Actual number of servings will depend on your preferred portion sizes.
Nutritional values shown are general guidelines and reflect information for 1 serving using the ingredients listed, not including any optional ingredients. Actual macros may vary slightly depending on specific brands and types of ingredients used.
To determine the weight of one serving, prepare the recipe as instructed. Weigh the finished recipe, then divide the weight of the finished recipe (not including the weight of the container the food is in) by the desired number of servings. Result will be the weight of one serving.
Did you make this recipe?
Please consider Pinning it!!